
Testing a coil pack with a multimeter is one of the most common tests that can be done on an engine. This article will provide you with all of the information you need to successfully test a coil pack with a multimeter. We’ll go over what tools you’ll need, how to test for spark, and how to test for fuel injector pulse. With this information, you’ll be able to confidently test your coil pack and diagnose any problems that may be present!
What Is A Coil Pack
It consists of several coils of insulated wire, usually wound in a circular configuration, that are connected to an ignition system. The coils are energized by the ignition system and this creates a magnetic field which produces high voltage sparks that ignite the fuel/air mixture in the engine’s cylinder. This process helps maximize engine performance and efficiency by allowing more efficient combustion of the fuel and air mixture.
In order to ensure that your car’s engine runs smoothly, it is important to test your coil pack regularly with a multimeter or other similar diagnostic tool. [1], [2]
Tools Required To Test Coil Pack
So, what tools will you need to test your coil pack with a multimeter? The basic tools you’ll need include a multimeter, wrench, and a set of spark plugs.
A multimeter
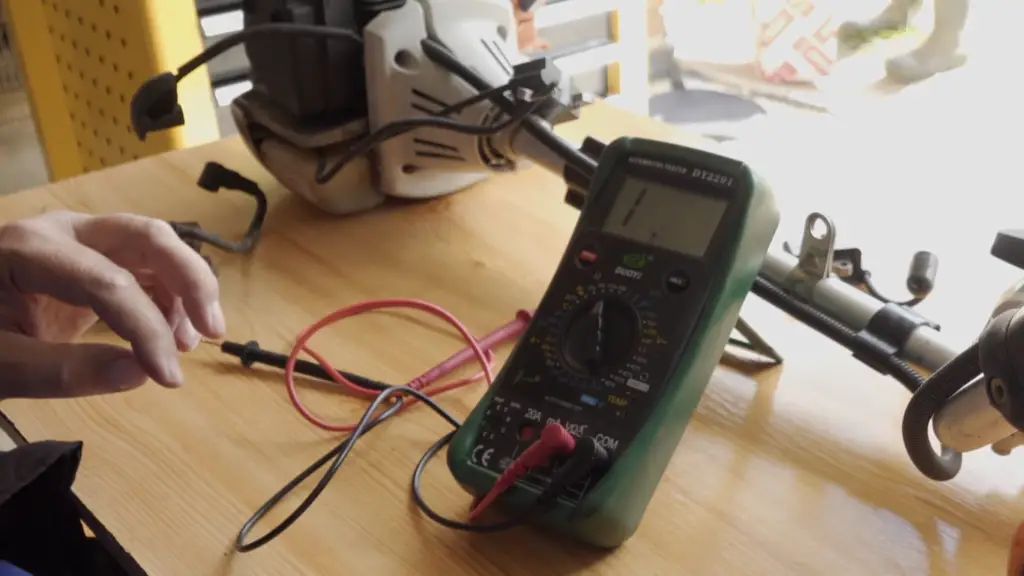
Let’s start by looking at the multimeter.
It can measure electrical characteristics such as voltage, current, resistance, and continuity. Multimeters are a must-have tool for any DIYer or serious electrician and can save time and money when diagnosing complex electrical problems.
Most multimeters have two main parts: the display screen (or “meter”) and the probe tips (or “leads”). The meter portion contains the LCD display that shows the measurements taken by the probes. It also usually has buttons to select different readings to be measured, as well as controls for adjusting range and other settings. The leads connect to the meter via a plug at their end, and are used to measure voltage and current.
There are two types of multimeters: analog and digital. An analog multimeter uses a needle-type display to show the measurement, while a digital one uses an LCD screen to show the reading. Digital multimeters are much more accurate than analog ones and can provide higher resolution readings.
This is an essential tool for testing any electrical component on your car, so it’s important to make sure that you have one that is designed specifically for automotive use. You should also make sure that it has the appropriate range and accuracy settings for testing your coil pack.
A wrench
The next tool you’ll need is a wrench. This is used to loosen and tighten the bolts on the coil pack as needed during testing. It’s important to make sure that you have a wrench that is the correct size for your particular type of coil pack, as using one that is too large or small can cause damage or incorrect readings.
Spark Plugs
Finally, you’ll need a set of spark plugs. These are essential in order to test whether or not the coil pack is providing an adequate spark to ignite the fuel/air mixture in the engine’s cylinder. Make sure that your spark plugs are properly gapped before testing, as this will ensure accurate readings and prevent misfires when testing your coil pack.
Now that you have all the tools needed to test your coil pack, it’s time to get started! In the next section, we’ll take a look at how to properly use your multimeter and other tools to test your coil pack. Stay tuned for more! [1], [2]
How To Test Coil Pack With Multimeter
Now that you have all the necessary tools, it’s time to learn how to use them to test your coil pack. In this section we will cover the process step by step, in detail!
Locate The Coil Pack
The first step is to locate your coil pack. On most vehicles, the coil pack is located in the engine compartment and can be identified by its cylindrical shape. It will have a series of cables and wires leading to it.
If you’re having a trouble with this, we suggest you referring to the engine diagram in your vehicle’s manual.
Disconnect The Coil Pack
Once you’ve located the coil pack, disconnect it from the engine. This can usually be done by loosening the bolts that hold it in place and gently pulling it out. Make sure to keep track of any wires or cables that are connected to it, as these will need to be reattached later.
Just keep in mind that the coil pack has multiple coils and you may find it easier to disconnect the leads from each coil individually. This will help you keep track of which lead goes where and make it easier to reattach them later.
Don’t forget to disconnect the electrical connector as well. To remove the pack itself, you will make use of a useful wrench.
Set The multimeter To 200 Ohms Range
Finally, set the multimeter to a 200 ohms range. This will allow you to accurately measure the resistance of the coil pack and determine if it’s working properly or not. Make sure that your multimeter is properly calibrated, as this will help ensure accurate readings.
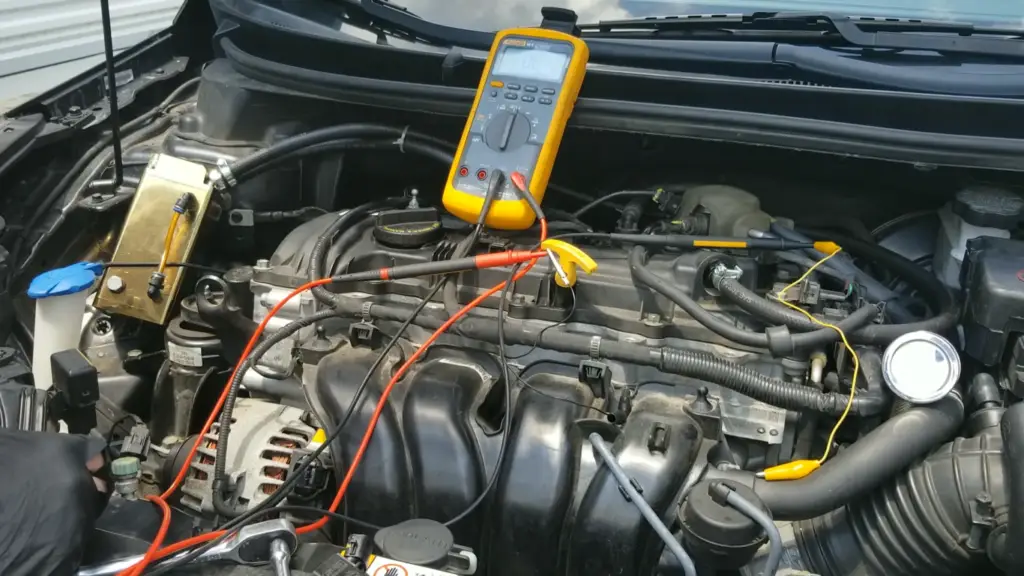
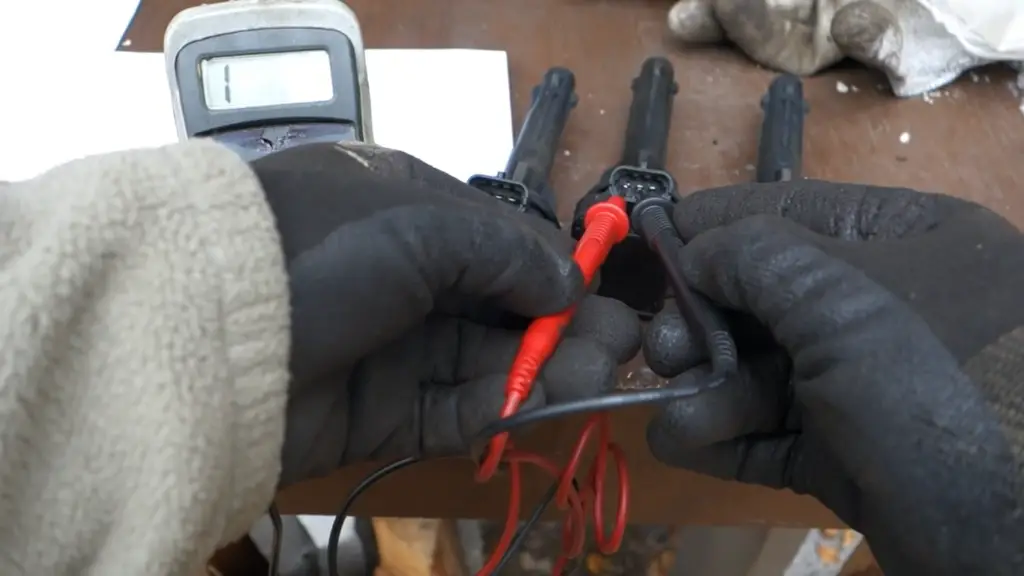
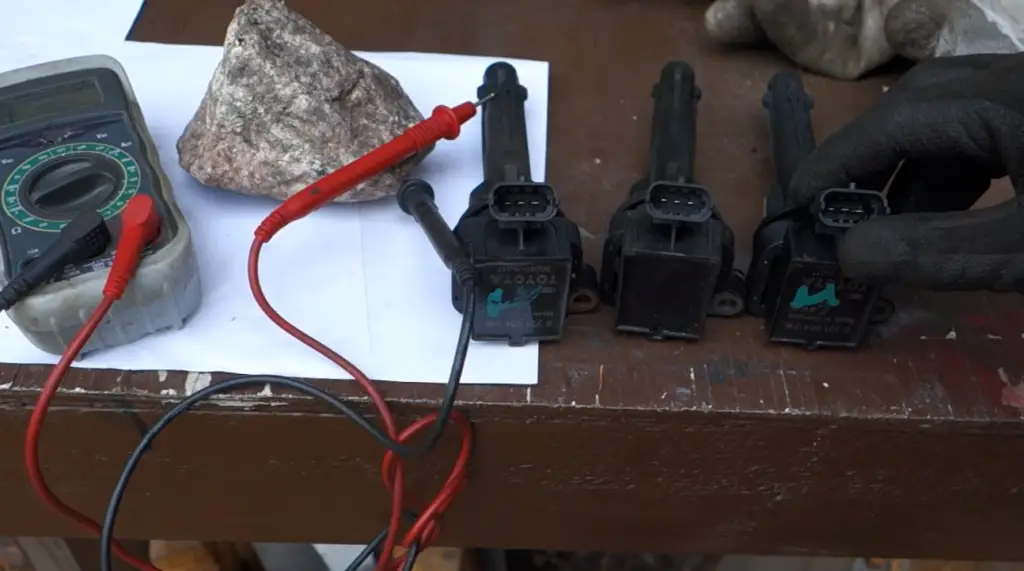
Once you have set up your meter, attach one lead from the meter to each terminal on the connector of the coil pack. Then turn on the meter and take note of any changes in resistance. There shouldn’t be any problems with this step as all multimeters can measure resistance on this range.
Check The Resistance Of Each Coil
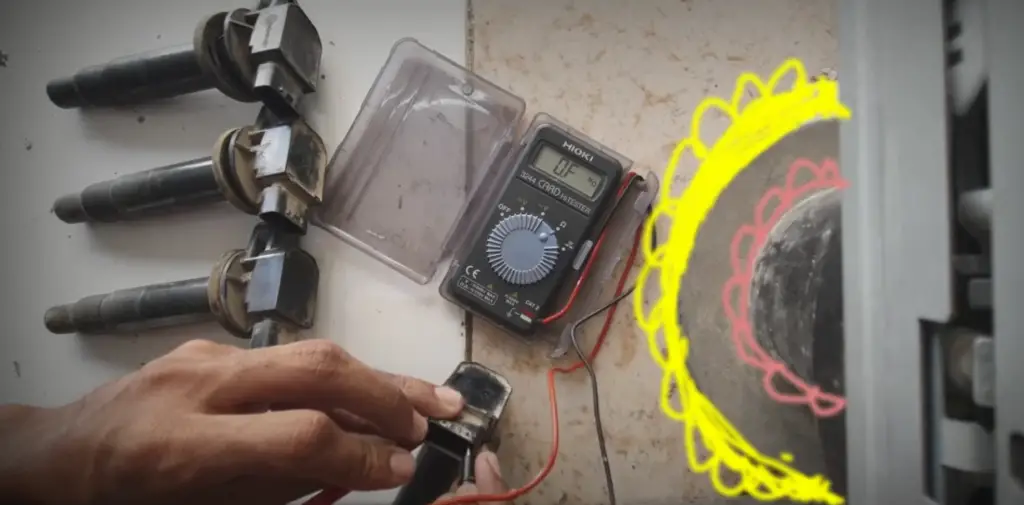
Now that you’ve taken note of the resistance of the coil pack, it’s time to check each individual coil for any abnormalities. The proper reading should be between 0.3 Ohms and 1.0 Ohms.
However, keep in mind that this value can vary from model to model so be sure to consult your car’s manual for a more precise range.
If you find that one of the coils is reading higher than your coil normal value, then you will need to work on replacing it asap.
An OL reading is no good either as this indicates that the coil is shorted out and needs to be replaced as well.
Set The Multimeter To 20kOhms Range
What we tested just now was a primary resistance, and now we will test the coil’s secondary resistance. To do this, set the multimeter to 20kOhms range and again attach one lead from the meter to each terminal on the connector of the coil pack.
This time, you should connect one lead to the output terminal between the secondary winding within the ignition coil, and place another lead on one of the input terminals in the primary winding.
Now turn on the meter, and take note of any changes in resistance again. If you get a reading that’s between 5kOhms and 12kOhms then this is a good sign as it indicates that the secondary winding within your coil pack is working correctly.
Again, if you get any other reading we already discussed, it means that the coil pack has a problem and needs to be replaced. [1], [2]
Testing the Coil Pack by Swapping it Out
If after testing the coil pack with a multimeter you still can’t locate any problems, then it’s time to try and swap out the coil pack for another one. This is usually done by removing the entire unit from its mounting bracket and replacing it with an identical part from a different vehicle.
Make sure that all connections are correct when installing the new coil and that everything is connected properly before turning on the engine. This will help ensure that your new coil is working correctly and doesn’t have any issues or defects from the factory.
Once installed, start up your engine and take note of any changes in performance or fuel economy. If all goes well, this should indicate that your new coil pack is working properly and you should be good to go. [1]
Visual Inspections
Sometimes the situation may be visible to the naked eye. In this case, a visual inspection of the coil pack is necessary.
Look for signs of wear and tear such as cracks, charred or burnt wires, broken leads, or anything else that may indicate something is wrong with the coil pack. If you find any of these issues then it’s a good idea to replace your coil pack as soon as possible.
If you’re unsure then it’s best to consult a professional technician for help in diagnosing and repairing any problems with your vehicle. Ultimately, this is the only way to guarantee that you’re getting the best possible service for your car. [1]
FAQ
What can a malfunctioning coil pack lead to?
A malfunctioning coil pack can lead to a wide range of symptoms, depending on the severity of the issue. It may cause your vehicle to misfire or run roughly, or it might cause the Check Engine light to illuminate. Poor fuel economy, hesitation when accelerating, and difficulty starting the engine are also common signs that something is wrong with your coil pack. In extreme cases, a faulty coil pack can cause the engine to shut off completely. Because of the potential for serious issues, it is important to have any suspected coil pack problems promptly checked and repaired by a qualified mechanic.
Additionally, if you experience any of these symptoms and suspect your coil pack may be at fault, it is recommended to reduce operation of your vehicle until the issue can be diagnosed and corrected in order to avoid further damage or safety risks. Taking care of a malfunctioning coil pack as soon as possible will help ensure that your vehicle continues running reliably.
What are the symptoms of a bad coil pack?
One of the most common signs that a coil pack is bad is engine misfiring. This can manifest as a rough idle, jerking or stuttering while accelerating, reduced fuel efficiency, and even backfiring. Other symptoms may include stalling when coming to stops, difficulty starting the vehicle, and illumination of the check engine light on your dashboard.
Do I need a multimeter to test a coil pack?
Yes, a multimeter is necessary in order to accurately test a coil pack. A multimeter is an electronic device that can measure electrical resistance, current, and voltage. It will be the most efficient way to determine if your coil pack is functioning properly or not.
Luckily, testing a coil pack is relatively simple. All you need is a multimeter and some basic knowledge. First, make sure that the vehicle’s ignition system is off before you begin. Next, disconnect the coil pack from the engine. Then, attach your multimeter to the terminals of the coil pack. Finally, switch on your multimeter and measure the resistance of the coil pack. If the measured value is within an expected range for a healthy coil pack, then it’s in good condition.
Can I perform coil pack testing by myself?
Yes, it is possible to perform coil pack testing by yourself using a multimeter and following the right steps. However, without proper safety precautions and knowledge of automotive systems, you should always bring your vehicle to a certified mechanic for any repairs or inspections.
To begin testing, first locate the coil pack and detach it from its connection points so that you can properly access all connections with the multimeter probes.
The next step is to connect each terminal of the coil pack leads individually to one side of your multimeter set to measure resistance reading in Ohms (Ω). Depending on how many leads there are on your particular coil pack, you will need to measure the resistance of each one. If the readings display a value that is not consistent with what’s indicated in your vehicle’s service manual, then it could be an indication that there may be something wrong with the coil. If everything appears normal, reattach the leads and reconnect them to its connection points.
What is a coil pack and why is it so important?
A coil pack is an essential component in an engine’s ignition system. It consists of several individual coils that are used to create the spark necessary for combustion within the cylinders of the engine. This spark is created by using a high voltage current generated by an electric field inside the coils, which then ignites the fuel-air mixture in each cylinder.
The importance of a functioning coil pack lies in its ability to provide a powerful and reliable spark at exactly the right moment during every cycle of operation; if it malfunctions or fails completely, then combustion won’t occur and your vehicle will not start. Additionally, faulty coil packs can cause misfires due to poor timing or weak sparks, resulting in excessive emissions, reduced fuel efficiency, and rough running.
Useful Video: how to Test Ignition Coil using multimeter pajero io Pinin GDI
Conclusion
Testing a coil pack with a multimeter can be tricky, but it’s an essential part of diagnosing engine problems. By following these steps you should be able to accurately test your coil pack and determine if it has any issues.
In this article we have covered how to set up the multimeter to test a coil pack, the readings you should take and what they mean, as well as tips on how to interpret those results. You should be aware that some vehicles may require different settings or procedures for testing your coil pack. If you are at all unsure, it is best to consult a professional technician for assistance. We also have covered alternative testing methods, such as visual inspection.
Remember to always keep safety in mind when working with electrical components, as there is a risk of shock or other physical harm. If you feel uncomfortable attempting this task, then it may be best to consult with a professional mechanic instead for further guidance. Good luck!
References
- https://electrouniversity.com/how-to-test-coil-pack-with-multimeter/
- https://www.autozone.com/diy/ignition/how-to-test-ignition-coil