Soldering is a process of joining two metals by heating the surfaces until they melt and flow together. When done correctly, a soldered joint is strong and permanent. In this guide, we will discuss the process of soldering, common mistakes people make when soldering, and how to avoid them. We will also cover the different types of solder joints and how to create them. So whether you’re just starting out in electronics or are a seasoned pro, this guide has something for everyone!
What is Soldering?
Soldering is the process of joining two pieces of metal together using a filler material, called solder. The filler material melts and then hardens to create a strong bond between the two pieces of metal. Solder typically has a lower melting point than the metals being joined, so it can be melted using less heat.
There are two main types of soldering: hot soldering and cold soldering. Hot soldering uses high temperatures to melt the solder, while cold soldering uses lower temperatures or sometimes no heat at all. Cold soldering is also sometimes called “low temperature soldering” or “reflow soldering.”
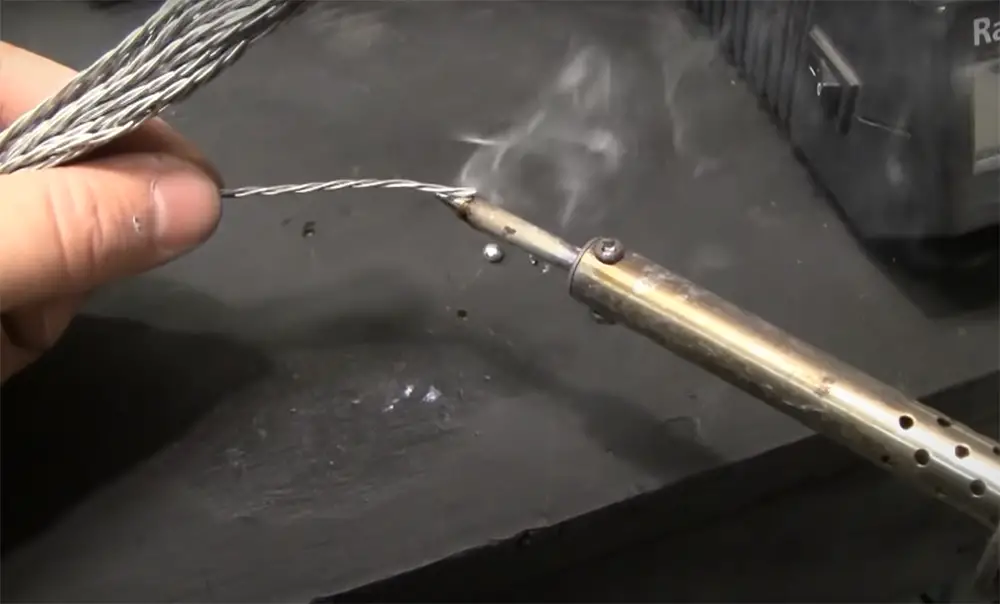
Hot solders are commonly used in electrical applications because they provide a stronger joint than cold solders. However, hot solders can be more difficult to work with and can damage sensitive components. Cold solders are often used in applications where heat sensitivity is a concern, such as with delicate electronic components. [1], [2]
What are Cold Solder Joints?
A cold solder joint is a type of electrical connection where the soldered joint has not been properly heated and didn’t melt completely. This can happen for a number of reasons, such as using too little heat, not applying heat evenly, or not applying heat for long enough. Cold solder joints are weaker than properly heated ones and can cause electrical problems.
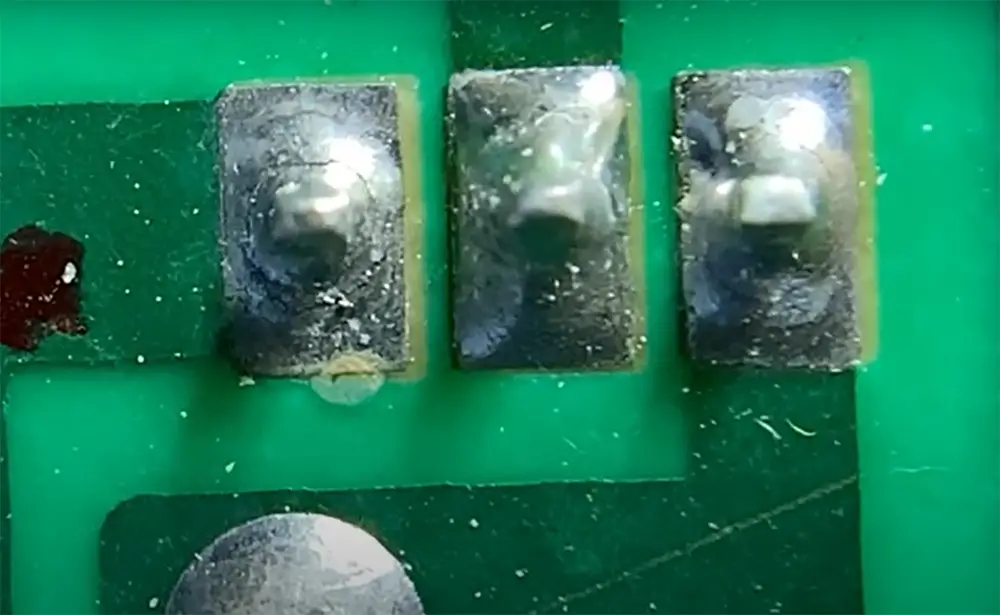
One way to tell if a solder joint is cold is by looking at it with a magnifying glass. A cold solder joint will look dull and grainy, while a well-soldered joint will be shiny and smooth. Another way to test for a cold solder joint is to try to move the component that is soldered in place; if the joint is weak, the component will move slightly. [3], [4]
How is a Cold Solder Joint Formed?
The best way to avoid cold solder joints is to use the proper soldering technique. When soldering, it’s important to apply heat evenly to the joint and not overheat it. If possible, use a temperature-controlled soldering iron so that you can set the temperature precisely.
But there are plenty of factors that can lead to the formation of a cold solder joint, even if you are using the proper technique.
Unmatched geometry between the metal surfaces
This can happen when you are trying to solder two pieces of metal together and their surfaces don’t match up perfectly. If there is a large gap between the two pieces, it will be more difficult to heat the joint evenly and you may end up with a cold solder joint.
To avoid this problem, make sure that the surfaces of the two pieces being soldered are clean and flat. You may need to file or sand down the edges to get a good fit.
High temperatures
If you heat the joint too quickly, the solder will not have time to flow evenly and can create voids or uneven areas. This can happen if you are using a soldering iron with too high of a wattage for the application, or if you are holding the iron in one spot for too long. If possible, use a lower-wattage soldering iron and move it around frequently to distribute the heat evenly.
Low temperatures can cause cold solder joints
Similarly, if the soldering iron is not hot enough, the solder will not flow evenly and can create a cold joint. This is why it’s important to use a temperature-controlled soldering iron set to the proper temperature. If you don’t have a temperature-controlled soldering iron, you can try increasing the tip size or using a different type of solder with a lower melting point.
Improper melting temperature
If the solder melts at too low of a temperature, it will not flow properly and can cause a cold solder joint. This can happen if you are using a soldering iron with too low of a wattage or if you are using the wrong type of solder. It can also happen if you are trying to solder two pieces of metal that have different melting points; the lower melting point metal will melt before the higher melting point metal, causing an uneven joint.
Disturbances during cooling
Finally, a cold solder joint can also be formed by not waiting long enough for the solder to cool before moving on to the next step in the process. This can happen when someone is in a hurry or when they are inexperienced.
If the joint is disturbed while it’s cooling, the solder can solidify before it has had a chance to properly wet the surfaces being joined. This can happen if the joint is bumped or if there is air movement around the joint. [3], [4]
How to Repair Cold Solder Joint?
Luckily, cold solder joints are relatively easy to repair. The first step is to identify the joint that needs to be repaired. This can be done by visually inspecting the joint.
Reheat it
Once the joint has been identified, it needs to be heated up so that the solder will flow evenly. This can be done with a soldering iron or a hot air rework station. You only need to heat the joint long enough to melt the solder. Make sure that you apply heat evenly to the joint and don’t overheat it. If possible, use a temperature-controlled soldering iron so that you can set the temperature precisely. You can also add more solder if necessary. After the joint has cooled, it should be inspected again to make sure that it is strong and free of defects. You may also need to file or sand down the edges of the two pieces being joined to get a good fit.
Remove the excessive solder
If there is too much solder on the joint, it can be difficult to heat evenly. This can cause the solder to flow unevenly and can make the joint weaker. To remove the excess solder, you can use a soldering iron with a pointed tip or a desoldering tool. Place the tip of the iron or tool against the excess solder and wait for it to melt. Then, carefully wick away the molten solder with a piece of desoldering braid.
Once you have removed the excess solder, inspect the joint to make sure that there are no voids or gaps. If there are, you will need to fill them in before proceeding.
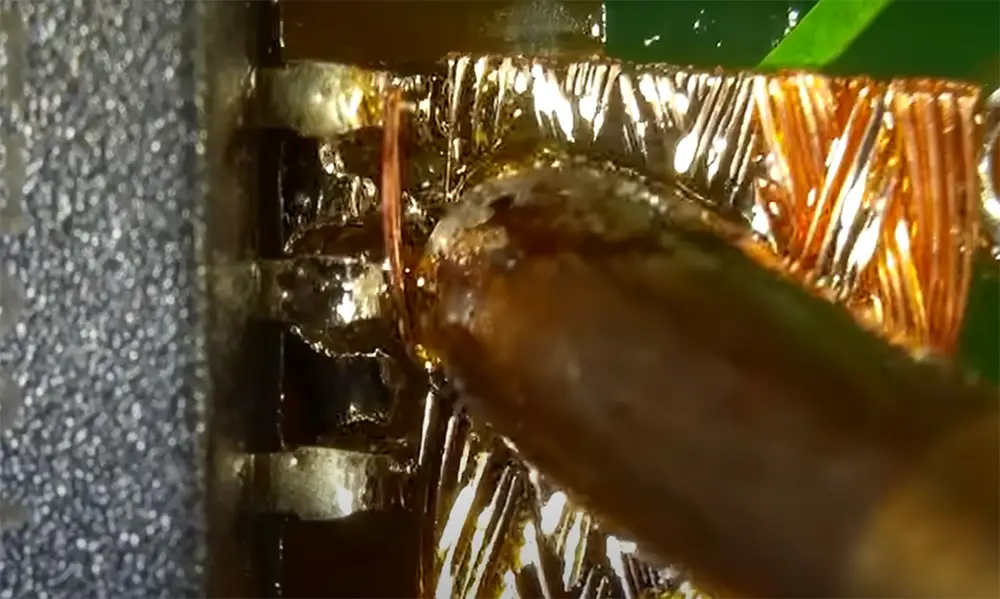
Next, apply fresh flux to the joint and reheat it with the soldering iron. The flux will help the new solder to flow evenly and will prevent oxidation.
Finally, apply fresh solder to the joint and wait for it to cool. Once it has cooled, inspect the joint to make sure that it is strong and that there are no voids or gaps. If the joint is still not strong enough, you can try repeating the process.
Keep in mind that you may need to replace the component if the cold solder joint is located on a critical connection. [3], [4]
How to Prevent Cold Solder Joints?
If you find yourself frequently repairing cold solder joints, there are a few things you can do to prevent them from happening in the first place.
Use an appropriate reflow profile
One of the most common causes of cold solder joints is using the wrong reflow profile. Reflow profiles are settings that control how quickly and at what temperature components are heated during soldering.
It’s also important to preheat the board before soldering. This can help to prevent thermal shock, which can cause components to crack or break.
Finally, make sure that you are using the proper type of solder paste for your application. There are many different types available and each has its own advantages and disadvantages. You should also be aware of the maximum temperature that your components can withstand as exposing them to too much heat can damage them irreparably. If you’re not sure which reflow profile to use, there are many online resources that can help you choose the right one for your project.
Remove vibration sources
Vibration and movements can cause the joint to be disturbed while it’s cooling, which can lead to a cold solder joint. To prevent this from happening, make sure that you are working in a stable environment and that there are no sources of vibration near your work area. If you are working with sensitive components, you may want to consider using anti-static devices such as wrist straps or floor mats.
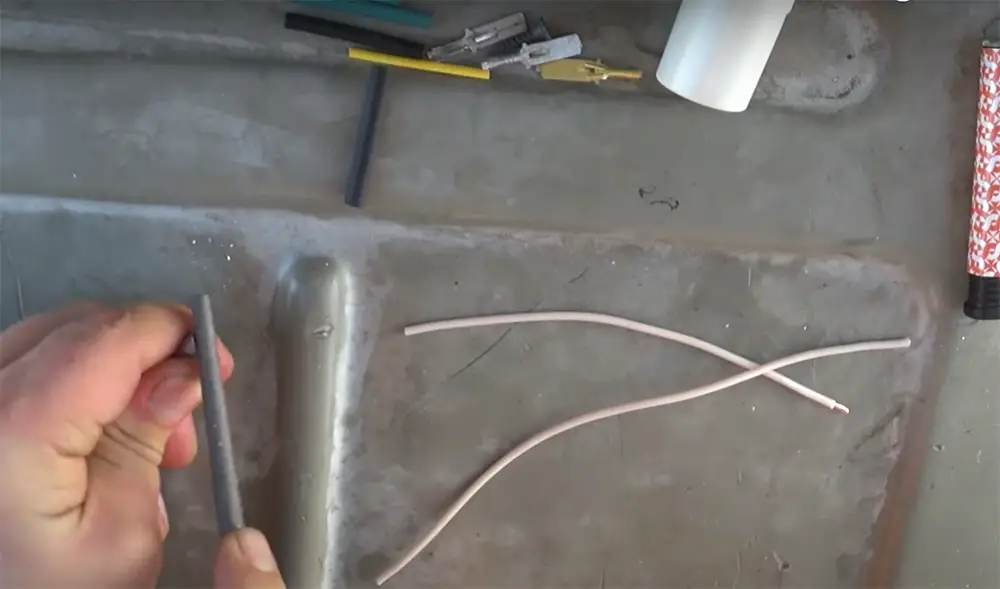
Once you’ve applied heat and melted the solder, allow the joint to cool undisturbed. Do not touch it or move it until the solder has had time to harden completely.
Another way to prevent disturbances during cooling is by using a “solder mask.” A solder mask is a layer of material that covers a soldered connection and prevents anything from coming into contact with the joint while it’s cooling.
Keep an eye on temperatures
One of the most important things you can do is to keep an eye on the temperatures. This includes the temperature of your soldering iron and the temperature of the joint itself. If either of these gets too hot, it can cause problems. Make sure you are using a soldering iron with enough wattage for the job and that you have a good heat source.
Use a good quality solder
This may seem like an obvious one, but using a good quality solder can make a big difference. Cheap solders often have impurities that can cause problems, so it’s worth spending a little extra to get a good quality solder.
If you’re sensitive to chemicals, you may want to consider using lead-free solder. Lead-free solder is more expensive than traditional leaded solder, but it’s much better for the environment and is less likely to cause health problems.
Another important consideration is the size of the solder wire. Using a larger diameter wire will result in fewer cold solder joints because there is less chance of the wire not making contact with the pad. [3], [4]
Other Common Issues in Soldering
Cold solder joints are not the only issue that can occur when soldering. Here are some other common problems and their solutions.
Heated joints
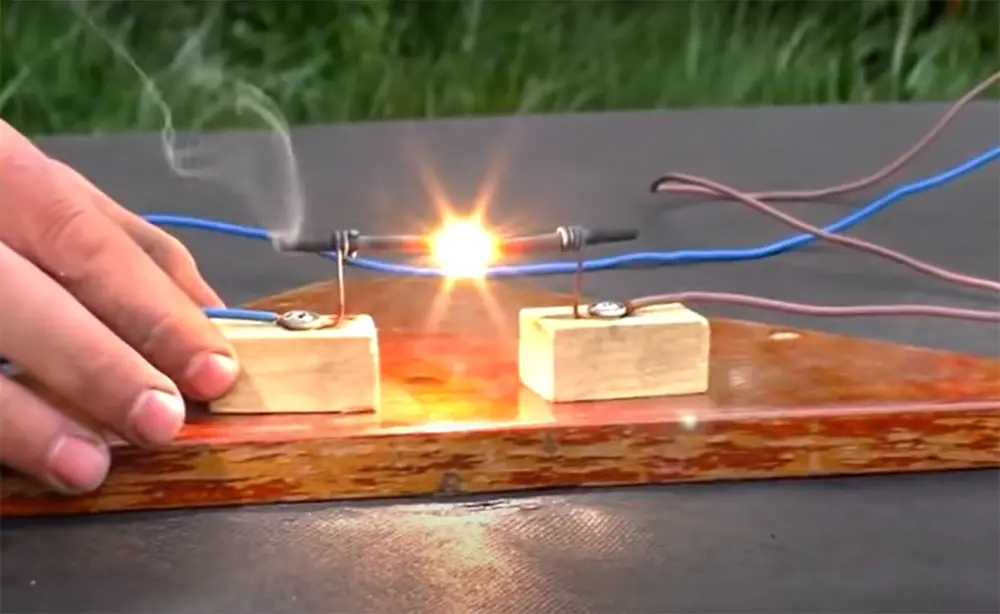
Overheated solder joints are characterized by a dull, glassy appearance. The solder will often look shiny and silver in color, but it will be lacking the smooth, wet look of a properly soldered joint. Overheated solder joints will also be covered in burned flux, which can be easily identified by its black or brown color.
In addition to their appearance, overheated solder joints will also feel brittle and fragile. If you try to bend the wire or component lead that is solderd to the pad, it may break off much more easily than a properly soldered joint.
Overheated solder joints are caused by applying too much heat to the joint for too long. This can happen if you use a soldering iron that is too hot, if you don’t have good thermal contact between the tip of your soldering iron and the joint, or if you hold the iron on the joint for too long. The result is, a solder that hasn’t flowed properly and is not wet.
Solder starved joints
Solder starved joints are a common type of problematic solder joint. They occur when there is not enough solder on the joint to create a good connection. This can happen for a number of reasons, including using too little solder, using the wrong type of solder, or not heating the joint properly.
Solder starved joints can be tricky to diagnose because they may look similar to other types of cold solder joints. However, one telltale sign of a solder starved joint is that it will often be dull and bumpy like other types of cold solder joints.
If you suspect that you have a solder starved joint, the best way to fix it is to add more solder to the joint. You can also try re-heating the joint to see if that helps.
If you’re still having trouble, there are a few other things you can try. First, make sure that you’re using the correct type of solder for your project. Second, check to see if the joint is clean and free of any dirt or debris. Finally, make sure that you’re heating the joint properly.
Disturbed solder joint
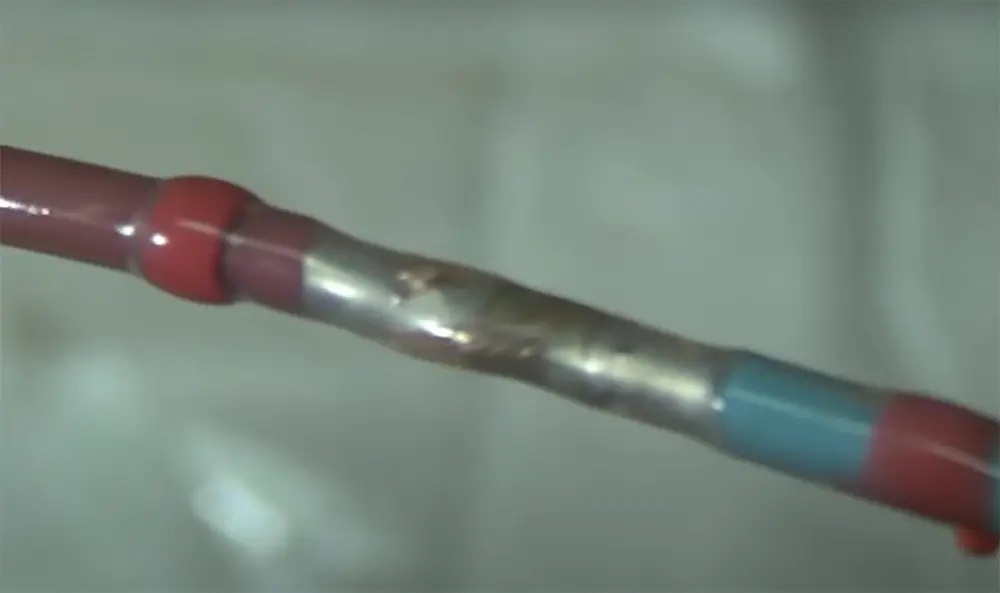
A disturbed solder joint is defined as a connection between two surfaces that has not been properly fused together. This can happen for a variety of reasons, but the most common is when the joint was subject to movement or vibration before the solder had a chance to properly cool and set. This can also happen if the soldering iron was not hot enough, or if the area around the joint was not clean enough.
Again, you can fix this issue by reheating the joint and adding more solder if necessary.
Solder bridge
A solder bridge is an unintended connection between two conductors. Solder bridges can occur during the soldering process if too much solder is used, or if the soldering iron tip touches two pads at the same time. Excess solder can be caused by using too much flux, or by not cleaning off the PCB after soldering.
If you find a solder bridge on your creation, you can usually fix it by carefully removing the excess solder with a soldering iron and some flux.
Lifted pads
Lifted pads are a common problem, especially in SMD soldering. This can happen when too much heat is applied to the pad, causing it to lift up from the board. It can also be caused by using too much flux or solder on the joint.
The best way to avoid lifted pads is to use as little heat as possible and be careful not to apply too much pressure when soldering.
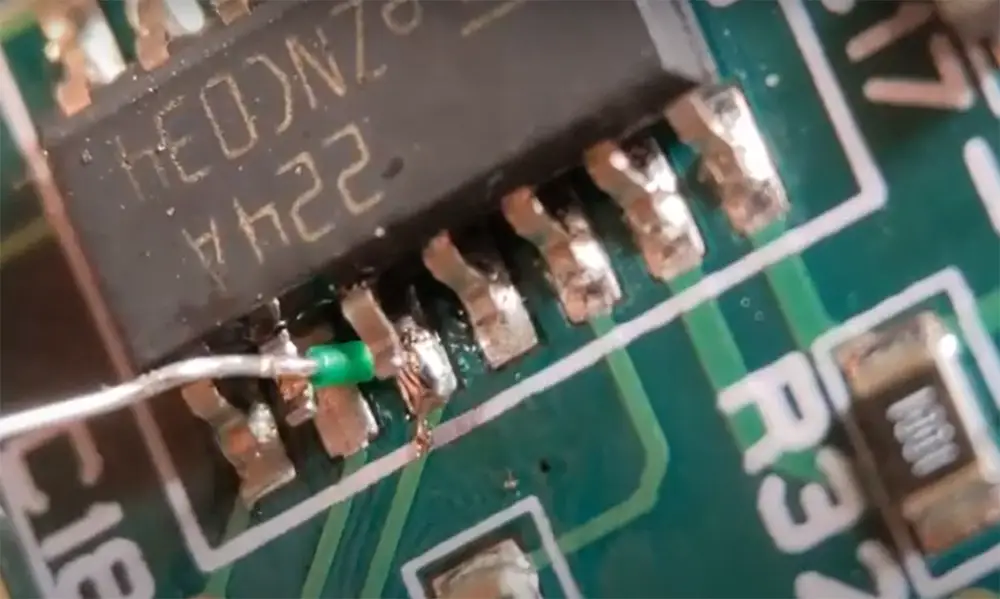
If a pad has already been lifted, you can try folding and resoldering it. If that doesn’t work, you can try soldering wires directly to the exposed copper on the underside of the board.
Untrimmed joints
If you don’t properly trim your wires before soldering, you run the risk of creating an untrimmed joint. This occurs when there is excess wire sticking out from the joint, which can cause a number of problems. First, it creates a point where the wire is more likely to break. Second, it can cause electrical shorts if the exposed wire comes into contact with another component or conductor. Finally, it can make it difficult to insulate the joint properly.
The solution to this problem is simple: trim your wires before soldering! Be sure to leave enough wire so that you can make a secure connection, but not so much that there is any risk of the problems listed above. [4]
FAQ
Can cold solder joints be fixed?
Yes, cold solder joints can be fixed. However, it is important to note that not all cold solder joints can be fixed. In some cases, the only way to fix a cold solder joint is to replace the component that is soldered onto the board.
There are a few ways to fix a cold solder joint. The most common way is to reheat the joint and add more solder. This will usually work if the original joint was not properly heated. Another way to fix a cold solder joint is to scrape off the old solder and add new solder. This method is more likely to work if the original joint was properly heated but did not have enough solder.
What does a cold solder joint do?
A cold solder joint is a type of electrical connection where two pieces of metal are joined together with solder, but the connection is not strong enough. This can cause problems like shorts or bad electrical connections.
Why is it called a cold solder joint?
A cold solder joint is called a cold solder joint because it is not melted during the soldering process. This can happen for a variety of reasons, but most often it is because the area to be soldered is not clean enough or the temperature of the iron is not hot enough.
Another common reason for cold solder joints is that the joint is disturbed as it is cooling, which can cause the solder to crack and not adhere properly to the metal.
How can you tell if you have a cold solder joint?
The easiest way to check for a cold solder joint is to look at the connection itself. If it looks dull or has cracks, then it’s likely that the connection is not good. If you are still unsure, you can always ask an electronics expert or take your device to a professional for diagnosis.
Useful Video: Soldering Without Electricity
Conclusion
While soldering is a fairly simple process, there is a lot that can go wrong. One of the most common issues is cold solder joints. A cold solder joint is defined as a soldered connection between two electronic components where the solder has not properly adhered to one or both of the metals being joined. This can happen for several reasons, but the most common cause is simply not heating the metals properly. If you suspect that you have a cold solder joint, there are a few things you can do to fix it. First, try removing the excessive solder with a solder wick. If that doesn’t work, you can try reheating the joint with a soldering iron. So there you have it! Now you know everything there is to know about cold solder joints. Be sure to use this information next time you are working on electronic projects. Thanks for reading!
References:
- https://science.howstuffworks.com/cold-heat.htm
- https://www.merriam-webster.com/dictionary/cold%20soldering
- https://www.pcbdirectory.com/community/what-is-a-cold-solder-joint
- https://learn.adafruit.com/adafruit-guide-excellent-soldering/common-problems






Leave a Reply