
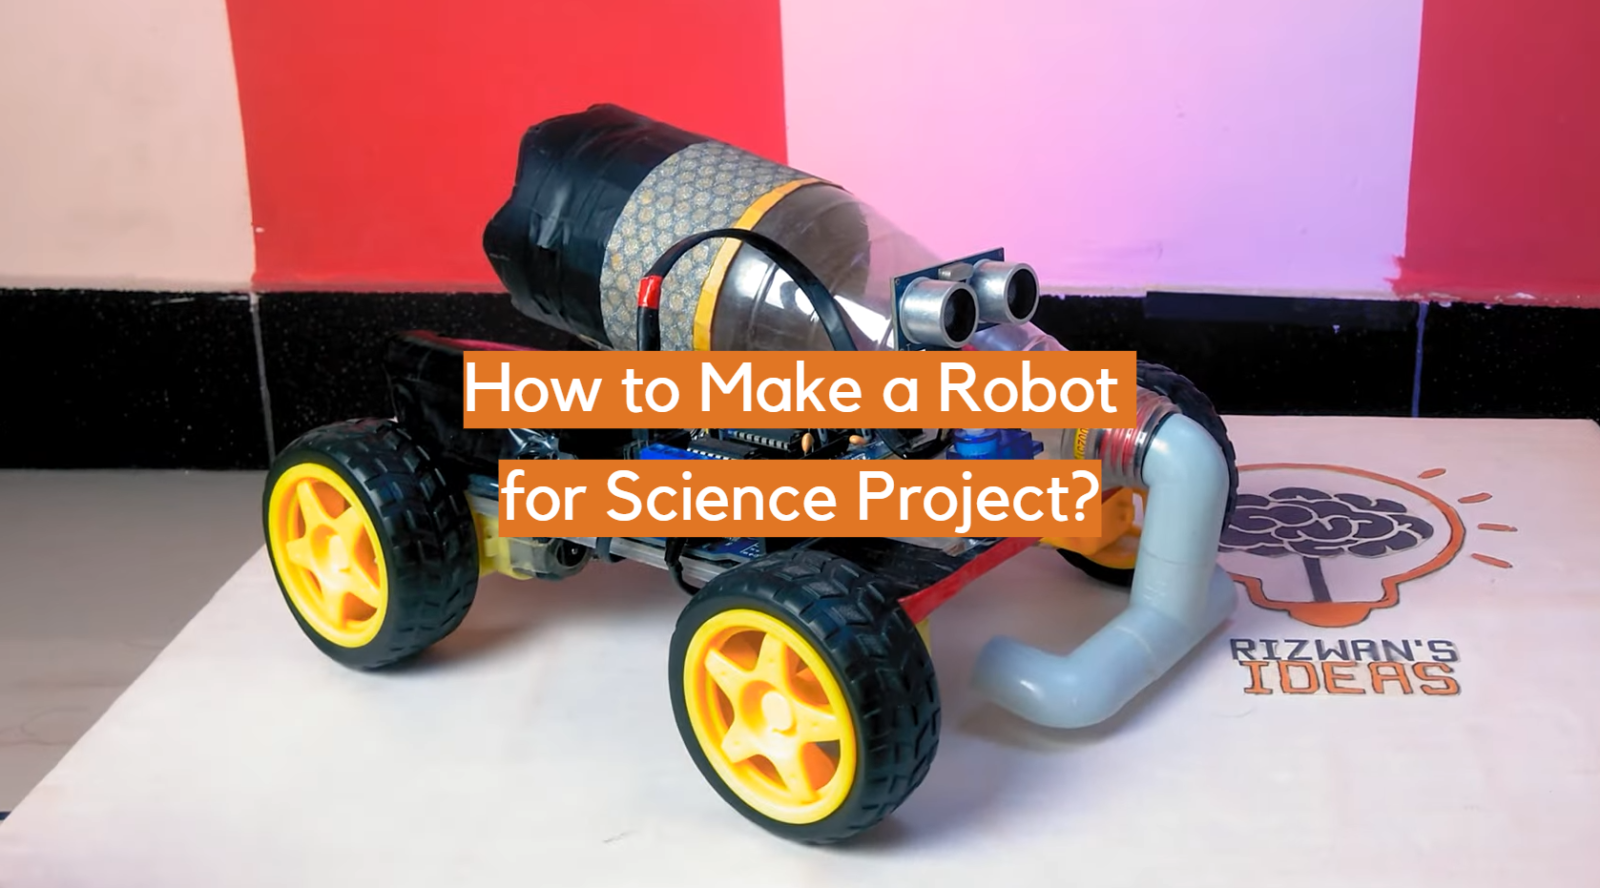
Are you ready to embark on an epic journey? With this guide, you’ll have everything necessary to construct your very own science project robot and become the creator of a unique engineering marvel! With a combination of tools, parts, and patient determination, you’ll soon have a fully functioning robot that you created from scratch. Read on for invaluable tips and tricks about constructing your perfect robot for your science project!
Why Robots are Ideal for Science Projects
Robots are ideal for science projects because they provide an opportunity to explore the fundamentals of computer programming, electronics, and engineering. You can program robots to detect objects in its path and respond accordingly. Robotics also allows students to explore concepts related to artificial intelligence (AI) such as natural language processing and image recognition.
Moreover, robots offer great potential for experimentation with various aspects of physical movement and manipulation. Robotic arms equipped with sensors can simulate real-world tasks such as moving an object from one location to another or performing autonomous activities like painting or sorting items into categories. Students can also program robots to interact with other machines or the environment, allowing for the exploration of concepts related to automation, control systems, and machine learning.
Finally, robotics offers an enjoyable and engaging way to learn both scientific principles and coding skills. The creative possibilities of programming robots inspire students’ curiosity while providing a platform to practice problem-solving skills in a fun and interactive way. Additionally, many schools now use robotics as part of their STEM curriculum which gives students an opportunity to explore topics they might not otherwise encounter. Overall, robots provide an excellent resource for science projects that allow students to gain experience with cutting-edge technology and develop new skills at the same time.
A Process on How to Make a Robot for a Science Project
So you are interested in making a robot for your science project? Great! In this section, we will explain the process of creating a robot for your project, from start to finish.
Select the platform for the robot you plan to create
The step in creating a robot for your science project is to select the base platform for the robot you plan to create.
Each one offers different advantages and disadvantages depending on what type of robotic project you want to create. Arduino is inexpensive and great for building basic robots with simple functions while Raspberry Pi enables more complex projects that involve programming and image processing. Lego Mindstorms provides a good balance between complexity and cost if you are looking for something in between.
Once you have selected the platform for your robot, it’s time to start assembling your robot’s body parts. This includes connecting motors, servos, sensors, battery packs, and other components to your chosen platform. It is important that each type of component requires different types of and may require special coding in order for them to interact with the robot’s base.
Choose the robot project type
Before starting on a robotic project, you need to have an idea of what type of robot project you want to build. Different types of robotic projects can require different components and tools, so it is important to choose the right project type for you.
The two main categories of robots are autonomous robots and teleoperated robots. Autonomous robots are computer-controlled machines that make decisions independently based on their environment, while teleoperated robots are controlled remotely by a user or operator. Depending on the complexity of your desired outcome, you will need to consider which type of robot fits best with your requirements.
When selecting a specific project type for your robotic project, there are several key factors to consider:
- The level of difficulty – Robotics can range from relatively simple systems like line-followers all the way to complex autonomous vehicles. Choosing the correct level of difficulty is important for ensuring that your project is feasible and can be completed within the desired timeframe.
- The budget – Your budget will determine which components, materials, and tools are available to you. It’s important to consider which components must be purchased in order to complete your project successfully, such as motors or sensors. You may also need specialized equipment such as soldering irons or 3D printers if you plan on building more complex robots.
- The time frame – How quickly do you need the robot to be built? Depending on the complexity of your project, it may take several days or even weeks to build a robot from start to finish. Be sure to factor in the amount of time you have when selecting your project type.
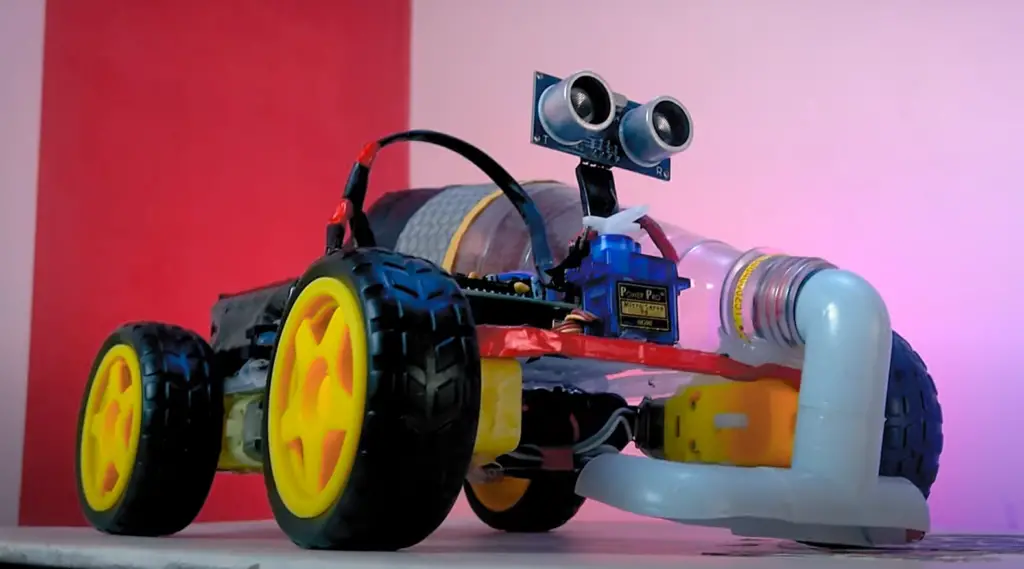
Select the robot’s movement type
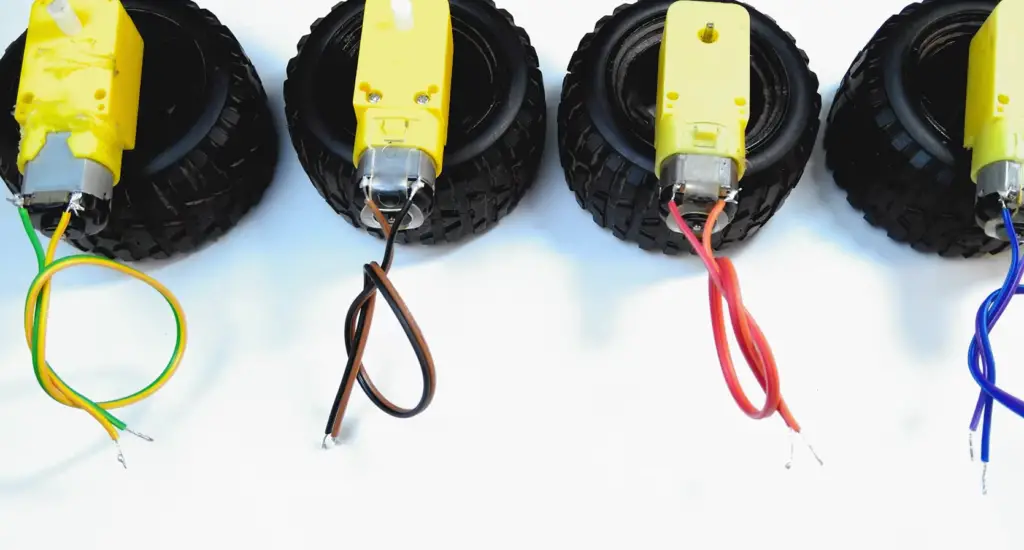
The next step is to select the type of actuation, or movement, your robot will use. The most common types are wheeled robots, tracked robots, and robotic arms. Wheeled robots are great for navigating through environments while tracked robots provide increased traction and stability on rough surfaces.
Depending on your project’s requirements you may need to purchase additional components in order to achieve the desired level of actuation. For example a wheeled robot may require specific motors whereas an arm requires servos and sensors.
Obtain all of the required components
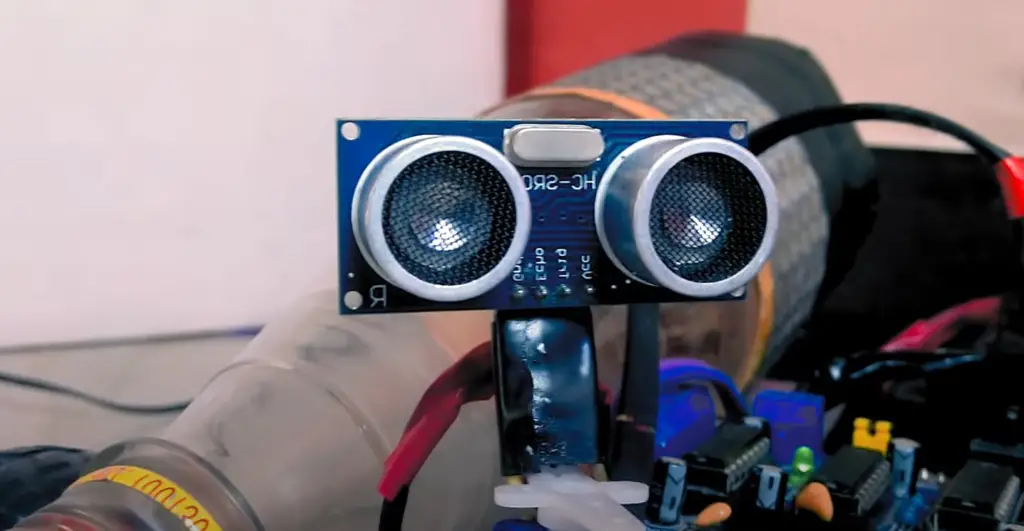
Once you know the type of platform and actuation your robot needs, it’s time to obtain all of the necessary components. This may involve purchasing hardware from an online store or scavenging parts from old electronics. Additionally, depending on the complexity of your project, you may need to purchase special tools such as soldering irons or 3D printers in order to build the robot correctly.
Keep the budget in mind as you purchase components for your robot as some parts can be expensive. Do research on the components you plan to buy so that you get the best value for your money. Additionally, some parts may require special coding in order for them to work properly with the platform’s base which means you will need to learn about programming and coding if you have not done so already.
Assemble the pieces
Once you have all of the necessary components, it’s time to assemble them into a functioning robot. This includes connecting the motors, servos, and sensors to the chosen platform as well as writing code that will enable these components to interact with each other properly. Depending on your project’s complexity this process can be very challenging and may require some trial and error before you get everything working correctly.
If you find yourself stuck at any point in the assembly process don’t hesitate to seek help from an experienced mentor or friend. There are also many online tutorials and forums dedicated to helping beginners build their first robots which is a great resource if you need assistance.
And of course the Internet has a lot of information on robotics and specific projects that you can read up on. This will help give you an idea of how different components are used together as well as provide insight into common problems and solutions.
Program your robot
Properly programming your robot is critical for successful operation. Through the use of programming, robots are able to complete complex tasks autonomously and with greater accuracy than humans. Programming a robot requires understanding of how a particular type of robot operates, as well as being familiar with the language used to program it. It is important to have an in-depth understanding of the functionality, limitations and capabilities of the specific robotic system you are working with.
In addition to giving instructions on what a robot should do, programming also allows robots to take input from sensors and other external sources such as cameras or lasers that can help guide its movements. By coding algorithms and incorporating feedback loops, robots can move more accurately and efficiently while avoiding obstacles and other hazards. Furthermore, programming also enables robots to be programmed with sophisticated communication systems that allow them to interact with humans and other robots in an intelligent manner.
It’s important to understand that programming a robot is a complex process that requires knowledge of the particular language used by the robot as well as being familiar with general programming principles. Depending on the type of robot, different software or firmware might be needed to operate its various components. Additionally, debugging and troubleshooting errors can take up considerable time when programming robots since they often involve complex algorithms and processes. For these reasons, it is important for anyone attempting to program a robot to have a thorough understanding of how the robotic system functions before beginning any coding tasks.
The most common language used to program robots is C++, although other languages such as Python can also be used. It is important to consider how much experience you have with programming before attempting this step – if you’re a beginner or never written code before, then coding could be a challenge for you. However, there are plenty of online tutorials available that can help teach even novice coders the basics.
You will want to use the language supported by the platform you have chosen for your robot. Many platforms also come with their own software development kits (SDKs) that can help make programming easier.
Test your robot
Finally, you will need to test your robot in order to get a feel for its capabilities and performance. Testing is an important step in any robotic project – it allows you to identify potential problems before the robot goes into operation.
Testing should start with static tests that involve checking all of the components and connections while they are not powered up. This ensures that everything is properly connected and working correctly without the risk of damaging any components by running them at full power.
Once these basic checks have been performed, dynamic testing can begin. This involves activating the robot’s motors and servos while it is stationary, to ensure they are functioning correctly. You may also want to use simulation software or virtual environments to test how your robot will behave when navigating obstacles and different terrains.
When you are confident that your robot is functioning correctly, it’s time to deploy it into the real world. During this stage of testing, you will be able to observe how your robot responds in its natural environment and make any necessary adjustments or improvements accordingly. This may involve changing existing code or adding new features to give the robot greater capabilities. [1]
FAQ
What platform do I need to make a robot?
When it comes to making a robot for a science project, there are several different platforms to choose from. You can use Arduino or Raspberry Pi, which offer basic robotics programming resources that can help you get started. Other options include microcontrollers like the ESP8266 and platforms like Lego Mindstorms EV3, which come with their own set of pre-programmed pieces to help you build more complex robots. Ultimately, the platform you choose will depend on what level of control and complexity you need for your robot project.
What is the easiest robot to make?
The easiest robot to make depends on the skill level of the individual making it. For beginners, a line following robot is one of the simplest robots to construct. This type of robot uses light sensors mounted on the bottom of the chassis to detect lines drawn on a flat surface and navigate along them. The components are relatively inexpensive and require basic soldering skills, making it an excellent starting project for any aspiring roboticist.
Other beginner-level robots include obstacle-avoiding robots or sumo robots, both of which use simple circuits combined with motors and sensors to detect walls or track down opponents. These types of robots can be constructed using commonly available components such as breadboards and servos and do not require advanced soldering skills.
As a beginner progresses in their skills, they can move on to more advanced robots such as robotic arms and humanoid robots. These types of robots require more complex circuits, motors, and programming knowledge in order to function properly. However, the challenge of creating these complex machines is part of what makes robotics so enjoyable!
No matter the skill level or type of robot chosen, there are plenty of resources available online to help guide aspiring roboticists on their journey. From tutorials to forums and even ready-made kits containing all necessary components, there’s no shortage of options for those looking to get started with robotics. With the right tools and dedication, it’s possible for anyone to make a robot for a science project!
How to build a simple robot from scratch?
Building a robot from scratch requires a lot of planning, research, and preparation. It also requires knowledge of basic electrical engineering principles and computer programming. If you’re just starting out in robotics, it may seem daunting at first but with the right guidance and resources, you can build your own robot quickly and easily.
The first step is to decide what type of robot you want to create. Do you want an autonomous robotic assistant or a remote-controlled model? Once this is decided, you’ll need to gather all the components necessary for your project including motors, batteries, wheels, microcontrollers, sensors etc. You’ll also need materials like screws, nuts & bolts, arduino board etc., as well as tools like soldering iron, pliers etc.
The next step is to plan out your robot’s design. You can use computer programs like CAD software or simply draw a diagram of your design on paper. Be sure to include exact measurements for each component so that when you’re ready to assemble the parts, you will have an easier time putting them together.
Once all the components have been gathered and the plans are ready, it’s time to start building! Depending on the complexity of your project, this could take anywhere from a few hours up to several days. Start by following your plans precisely and assembling the various pieces according to their diagrams.
When the robot is fully assembled, it’s time to program it. You can use programming languages like Python, C++, or Java to write code for your robot. Programming your robot involves writing code that tells the motors and sensors how to behave in order for the robot to complete a specific task. This could involve controlling movements, recognizing objects, mapping out environments etc.
Once all of these steps have been completed and tested, you will be ready to show off your finished product! A science project involving robots can be very fun and educational. With some patience and hard work, you can create a unique robotic creation that will be sure to impress anyone who sees it!
Useful Video: How to Make Arduino based Smart Vacuum Cleaner Robot Best for Science Project
Conclusion
Creating a robot for a science project is an excellent way to explore the world of robotics and engineering. Successful robot designs will not only impress your teachers but can also help you develop skills that may be useful in future projects. To get started on your own robot, first take some time to review the resources available online and decide what type of robot you want to build. Once you have a plan, start gathering materials and components needed for construction. Finally, use tools such as graphics software or programming languages to bring the design to life. Just remember that patience and perseverance are essential when it comes to creating robots – but with enough dedication, you’ll soon have a working prototype ready to share with everyone! Good luck!
References
- https://xperimentor.science/2022/08/26/how-to-make-a-robot-for-a-school-project-%EF%BF%BC%EF%BF%BC/