Are you wondering how to design a circuit for your electronics project? It’s an important skill that all engineers and hobbyists should know and can be quite rewarding if approached step by step. Doing it right requires much preparation, knowledge, experience and even practice. Fortunately, with the resources available today, designing a circuit isn’t as intimidating or time-consuming as one might think! In this blog post we will explore different aspects of designing circuits such as material selection, safety concerns, schematic drawing, part sourcing and testing. By reading this article you’ll learn how to create a successful electronic circuit in no time!
What Is A Circuit?
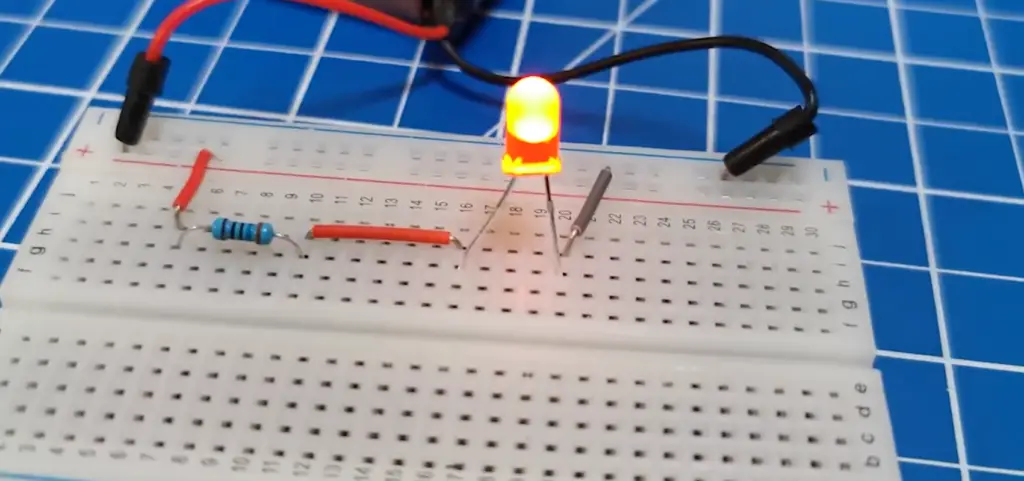
The current flows through this loop in a specific direction determined by the design of the circuit.
Why Do We Need To Build A Circuit?
Circuit design is essential for many applications, ranging from consumer products to large-scale industrial systems. Building a circuit allows you to control and distribute the flow of electricity in order to power and control devices. This makes it possible to create complex systems that use signals, lights, motors, and other components to accomplish a desired task or goal.
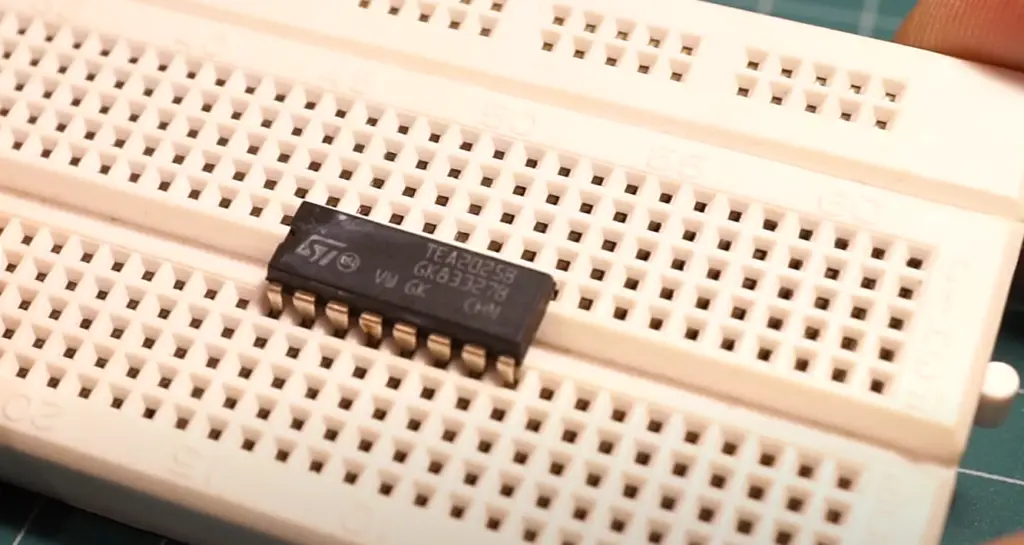
Creating circuits involves understanding basic electrical principles such as voltage, current, resistance, and wattage; connecting wires together; choosing appropriate components; and troubleshooting any issues that may arise during construction. Through careful planning and execution, you can build a reliable system that delivers functionality while also being cost-effective. With the right tools and knowledge base at hand, anyone can learn how to design a circuit. [1]
Circuit Board Design Building Steps
Schematic Capture
The first step in designing a circuit board is to the schematic. This involves selecting components and connecting them logically to form a working circuit.
Layout Design
Next, the layout design of the circuit board is completed using computer software such as AutoCAD or Eagle CAD. During this process, electrical connections are made between components, traces are routed to connect signals between pins on boards, and vias (or holes) are placed where necessary.
PCB Manufacturing
After the layout design is finalized and verified for correctness, it is sent off to a PCB manufacturer who will fabricate the board according to your specifications. Depending on the complexity of the board and turnaround time requirements dictated by you, multiple techniques including photo-lithography, etching, and soldering can be used to produce the printed circuit board.
Defining Design Rules
Once the board is back in-house, a series of design rules can be defined to ensure that only appropriate circuits and patterns are routed into your board. These rules help to prevent collisions between traces and other components.
Testing & Troubleshooting
Once the board is complete, it can be tested for any potential issues or errors that may be present in its design. If necessary, troubleshooting techniques can also be used to diagnose and identify problems within the circuit. By using these methods, you can make sure that your PCB meets all industry standards and requirements before it goes into production.
Place Components
Finally, the components are placed into the board one by one. This is done with a soldering iron to make sure that each component is properly attached and securely connected to their corresponding contact points. Once all of the components have been placed in the circuit board, it can then be tested for functionality and reliability.
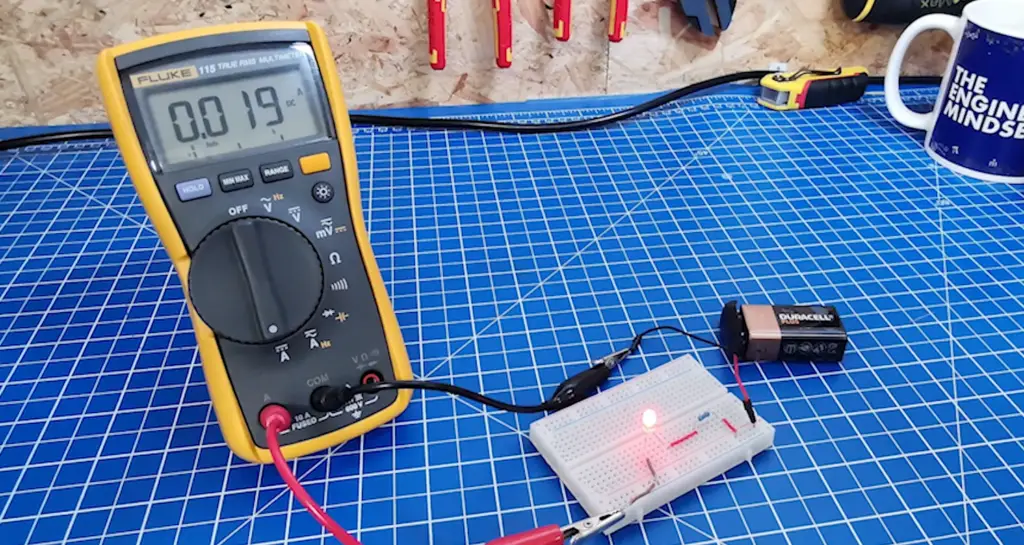
Insert Drill Holes
One more step in the circuit board design process is to insert drill holes into the board. This allows for additional components such as switches and other connectors to be added directly to the PCB. After all of the necessary drilling has been completed, the circuit board can then be mounted onto a frame or other structure that will provide support and protection during its use.
Route Traces
Once the components and techniques have been chosen, the board layout can begin. This is where traces are routed between all of the components to form a complete circuit. Traces are simply thin strips of metal (usually copper) that carry current from one part of the circuit to another.
The two main methods for routing traces are manually laying out tracks or using computer-aided design software. When manually laying out tracks, it is important to pay close attention to spacing and trace widths. Insufficient spacing can lead to shorts and incorrect voltages due to crosstalk between adjacent lines.
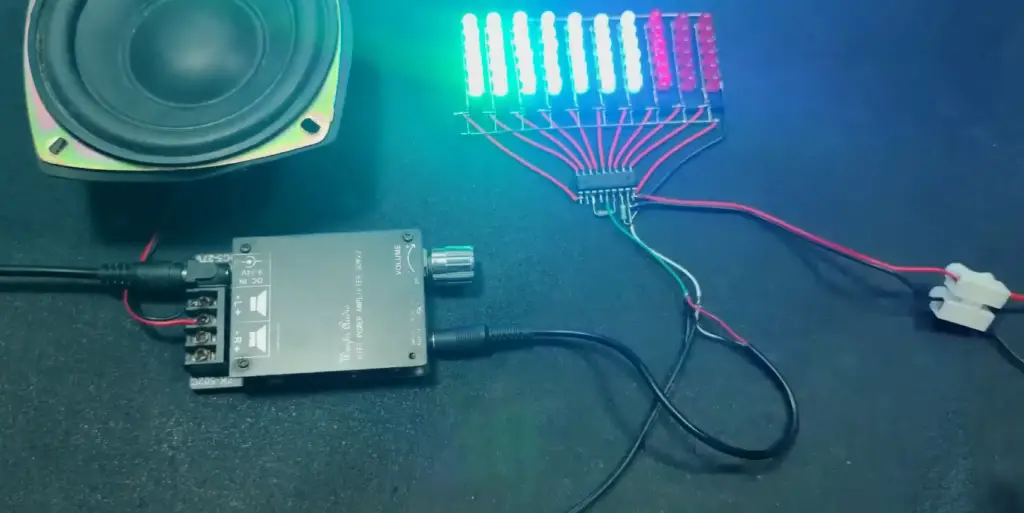
When using CAD software, tracks are automatically routed according to criteria set by the user. This is a much easier and faster method of routing, but still requires attention to detail. [2]
Add Labels and Identifiers
After the tracks are routed, it is important to label them appropriately. This will make it easier for future troubleshooting and a reference for others who may have to work on the board. For example, labels can be used to indicate power and ground connections as well as identify specific components or groups of components that are part of the same circuit. Finally, symbols can be added to further clarify which component each track connects to. Symbols resemble their corresponding physical component and help others quickly understand how the circuit works without having to refer back to the schematic diagram.
Generate Design Files
Once the design is complete and all components and tracks are correctly identified, it is time to generate the necessary files for manufacturing the board. This includes Gerber files, which contain info about each layer of the circuit board, as well as drill files which specify all the holes that need to be made in order to mount components. These files will then be sent to a PCB fabrication house who will make the board according to these instructions.
It’s important to remember that designing a circuit requires attention to both detail and safety. Poorly designed boards can cause damage due to incorrect voltages or shorts, so great care should always be taken when creating any kind of electrical system. With patience and knowledge, however, almost anyone can create a functional and reliable circuit.
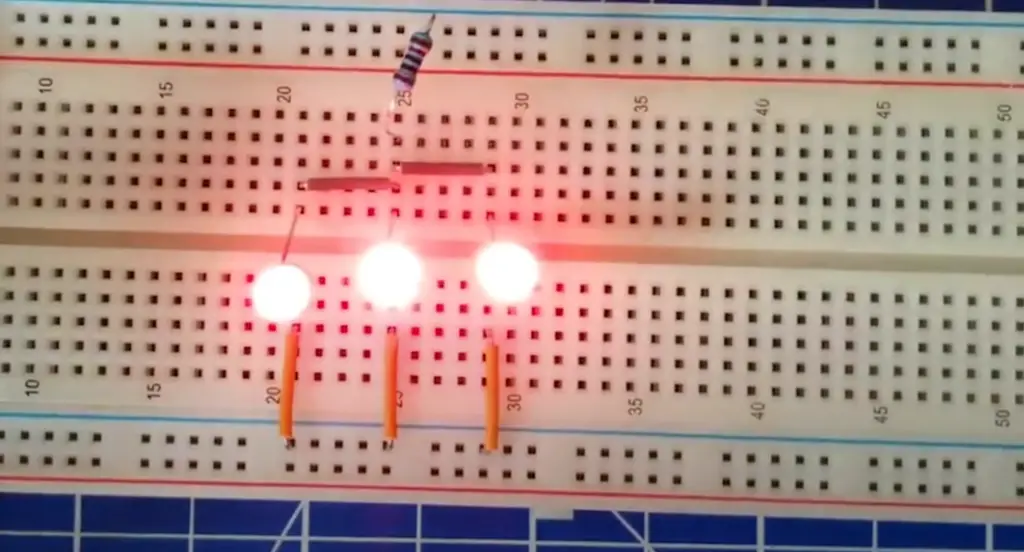
Circuit Design Tips
Use Of Title Block And Block Diagram
One of the most important tips for designing a circuit is to make sure that the title block and block diagram are up-to-date. The title block should include information such as project name, revision number, author’s name, etc., while the block diagram should show how different components will be connected in the final design.
Placements of I/O signals
The placements of the I/O signals should be planned carefully. It is important to avoid potential shorts and crosstalk between different signals. All I/O points should be in close proximity, with just enough space for proper connections. This will ensure that the final circuit performs as expected.
Study The Schematic And Error Check
It is important to thoroughly study a schematic before starting the design process. All the components, connections, and parameters should be checked in order to identify any errors or inconsistencies in the design. Errors can lead to unexpected results, so it is better to catch them before proceeding further with the design process. [3]
Use Of Ground Planes
Ground planes are very important for reducing noise levels and improving signal integrity. The ground planes should be properly placed and connected in order to ensure that the signals do not suffer from any interference or crosstalk. This will help reduce signal losses and increase the overall efficiency of the circuit.
Verification Of Final Design
The final design should be thoroughly verified before fabrication in order to make sure that it meets all the requirements and performs as expected. It is important to simulate the entire design on a simulator or an emulator, and then run tests to check for any errors or inconsistencies in the design. This step can save a lot of time and money by avoiding costly revisions after fabrication.
Make Clear Connections
All the connections should be clearly labeled and easy to distinguish. This will help ensure that all the components are connected properly, and there are no misconnections or shorts in the final design. It is important to give each component a unique identifier so that it can be easily identified during testing and troubleshooting.
Utilize Nets Labels
It is important to assign each signal with a unique net label in order to avoid any confusion when troubleshooting or verifying the final circuit. Properly labeling nets will also make it easier to document the design and update existing circuits. [4]
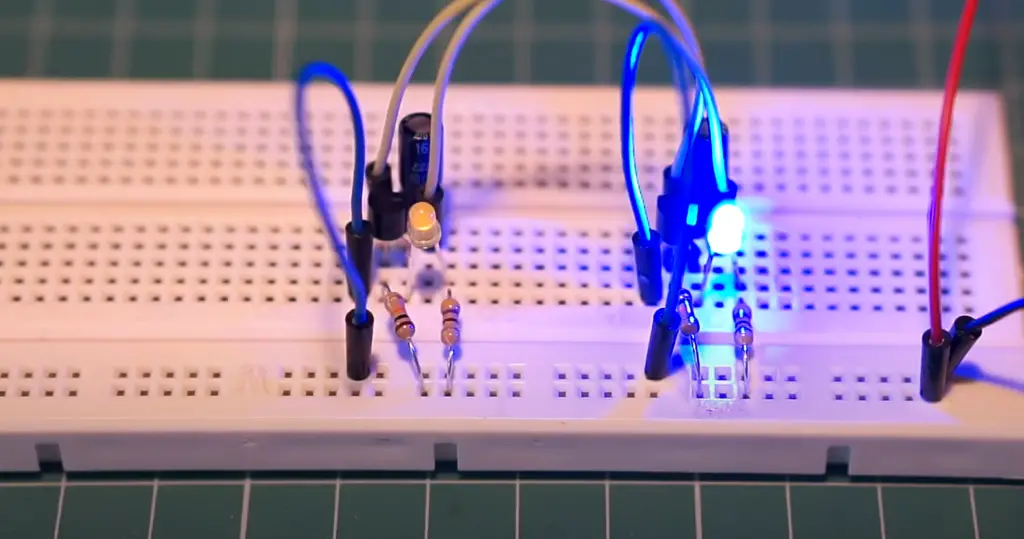
Design Documentation
It is important to document the design thoroughly in order to ensure that it can be easily maintained and updated. This includes creating parts, schematic diagrams, and simulation results. It is also important to include notes about any modifications or changes made during the design process. This will not only help make the design easier to understand but also aid in debugging any potential issues later on.
Use Of Coupling/Decoupling Capacitors
Coupling/decoupling capacitors are essential for improving the power delivery of a circuit. They help reduce noise and ripple in the system, which can cause unexpected behaviors or reliability issues. Proper placement and selection of these components will ensure that the final design has optimal performance and is free from any unwanted disturbances.
Use Of Appropriate Testing Tools
Testing tools such as oscilloscopes, logic analyzers, etc., should be employed to verify that the designed circuit behaves as expected. It is important to use appropriate testing tools in order to accurately measure different signals and parameters during troubleshooting. This will ensure that any potential problems are identified before the design gets fabricated.
Make Use Of Pull-Down/Pull Up Resistors
Pull down and pull up resistors are important for providing proper logic levels in a circuit. They should be chosen with care, as improper selection can lead to incorrect operation of the system. It is important to check the datasheet or other reference materials before selecting the appropriate values for these resistors.
Use of PWM Signals
Pulse Width Modulation (PWM) is often used to control the speed or intensity of motors, lights and other devices. It is important to choose the correct value for the PWM frequency in order to ensure that the desired performance is achieved. The outputs should be thoroughly tested to make sure that they work as expected. [5]
Safety Concerns
When designing a circuit, it is important to take safety precautions into consideration. A properly designed circuit should prevent any risk of electric shock or fire hazard.
Additionally, it is important that all electrical connections are securely fastened and protected from damage in order to reduce the chance of an accident or fire occurring.
Finally, make sure that any exposed wires or terminals on the circuit board itself are insulated with shrink tubing or other heat-resistant material.
Taking these steps will help ensure that your circuit design remains safe and functional for years to come.
Is It Hard to Build a Circuit?
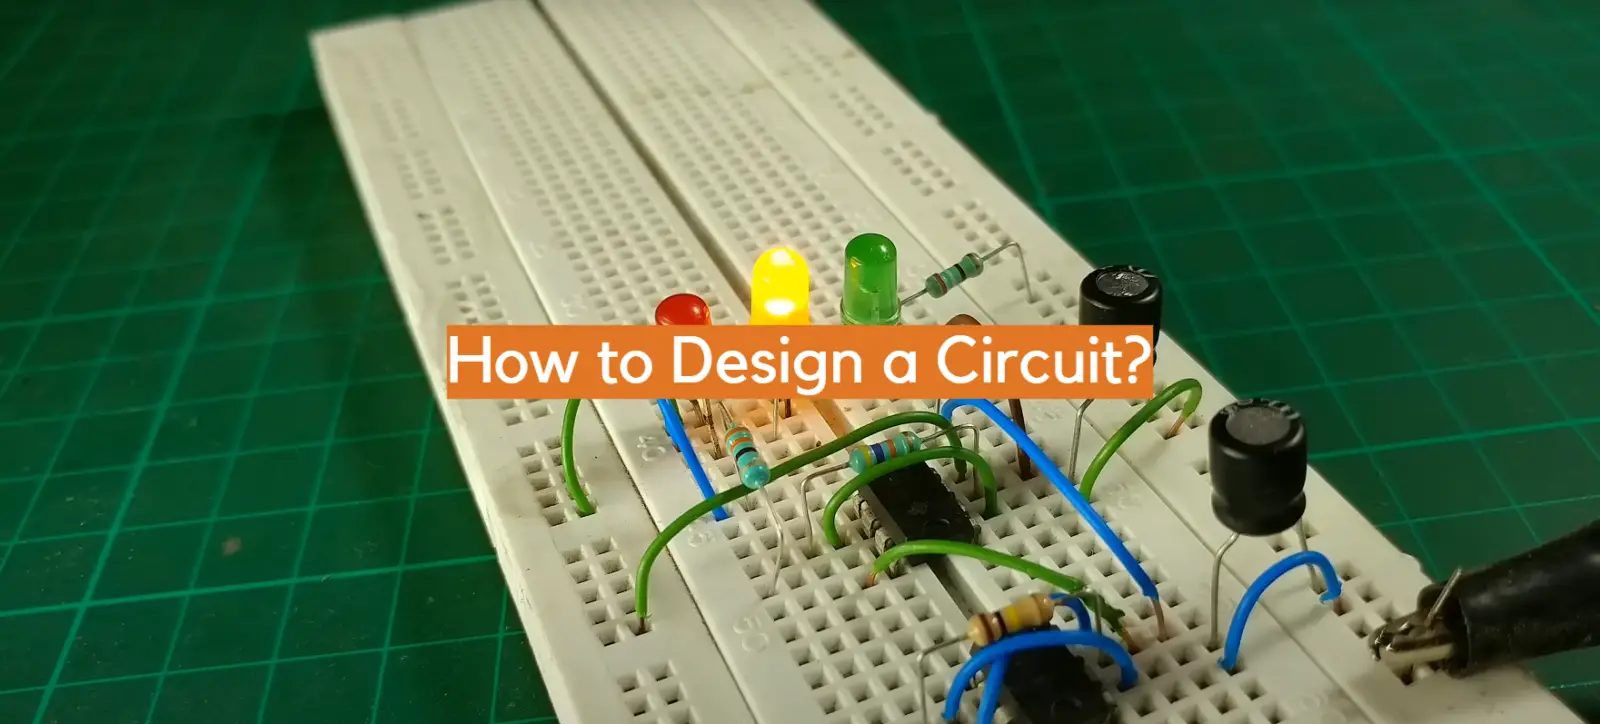
The complexity of your circuit will determine how difficult it is to build. Beginner circuits are relatively simple and can be easily constructed with a few basic components and a soldering iron. More advanced circuits, such as those used for electronic devices or robotics can require more expertise in order to construct.
However, with the right resources and instructions, even the most complex circuits can be built by anyone who has a basic understanding of electronics.
Taking the time to research the correct components, understand their functions, and read up on any related safety precautions is key when building any type of circuit. With patience and dedication, you can create almost anything! [6]
Which Circuits Are Easier to Design?
There are a few types of circuits that are easier to design than others. Relatively simple circuits, such as those used in basic electronics applications like amplifiers, can often be designed with a few components and relatively little effort. Other simpler designs might include voltage regulators, opto-couplers, or other small integrated circuit devices.
For more complex systems, using programmable logic devices (PLDs) may provide the easiest way to implement digital logic without having to build custom circuitry and connections from individual components. These PLDs allow the designer to create digital functions and operations quickly by programming their desired logic rather than wiring components together manually.
The most complicated circuits often require careful analysis and planning before jumping straight into a design. This is especially true for high-speed or analog circuitry, which may require multiple stages of amplifiers, filters, and other components in order to achieve the desired results. In these cases, it is important to understand the fundamentals of circuit analysis and design before starting work on the project.
Finally, experienced circuit designers may have a preference for using simulation software to help visualize what is happening in their circuits over time. By simulating designs to check performance and troubleshoot problems without having to build physical prototypes, they are able to save time while ensuring that the final product will function properly when built. [7]
FAQ
How do I start designing a circuit?
Before you can start designing a circuit, it is important to understand the components that make up a circuit. A basic understanding of electrical fundamentals like voltage, current and resistance will help you design more efficient circuits. Once you have grasped these concepts, you’ll then need to decide what type of circuit you want to build. This can range from an audio amplifier to a digital logic system. After deciding your project needs, you must then select which components will be used in the circuit and how they should be connected together. Finally, draw out your schematic diagram and verify it against known standards or schematics of completed projects before building the actual circuit on a soldering board.
What software tools are available for creating circuit designs?
There are numerous software tools available for creating circuit designs. The most popular of these is EAGLE, which is a free and feature-rich program that allows users to quickly design complex circuits with intuitive drag-and-drop controls. Other options include the industry leader, OrCAD, as well as KiCad and gEDA. All of these programs allow users to create detailed schematics and layouts in order to accurately construct their desired circuits.
What safety measures should I take when building a circuit?
When working with electronics, it is important to remember these few safety tips: always turn power off before changing components on your circuit; double check that you have connected all components correctly; wear protective eyewear if necessary; and take all necessary precautions to avoid electrostatic discharge. Additionally, it is important to stay grounded when handling any components that use electricity. By taking these safety measures, you can help ensure your project runs smoothly and safely.
What materials will I need to build a circuit?
There are a variety of different materials that can be used when building a circuit. Depending on the complexity of the project, some of the most common items needed include soldering tools, electrical wire, switches, resistors, capacitors and transistors. For more complex projects you may also need integrated circuits or microprocessors in order to complete your design. Lastly, don’t forget about prototyping boards which make it easier to quickly assemble your circuits without having to solder everything together.
What should I do if my circuit isn’t working?
If your circuit isn’t working, the first step is to double check your schematic and make sure that all components have been connected correctly. If you find any discrepancies, correct them and then test the circuit again. If it still doesn’t work, it could be that one of your components is defective or not functioning properly. In this case, replace the faulty component with a new one and try again.
What are the 3 rules for creating a circuit?
- Always ensure the circuit is complete by connecting all components to each other and to a power source.
- Make sure that all connections are secure, as loose wires can cause short circuits or even fires.
- Use the correct values for resistors and other components, as incorrect values can prevent the circuit from working properly. Additionally, use the right type of components for your particular project; for example, some projects may require specialty transistors in order to function correctly.
Is it hard to design a circuit?
Designing a circuit is not necessarily hard, but it can be a challenging task. It requires knowledge of basic electrical principles and components, as well as some understanding of the function of the circuit itself and what it will do. In order to design a successful circuit, you must understand how each component interacts with others in the system and how to properly combine them into one complete design. Additionally, you must be familiar with various testing methods that are used to ensure the safety and reliability of circuits before they are put into use.
Is circuit design a skill?
Yes, circuit design is a skill that can be learned and mastered over time. It is important to understand the principles of electrical engineering and have an in-depth understanding of components and their functions. This knowledge will allow you to create circuits that are reliable, efficient, and safe for use. Additionally, it’s also important to have experience in testing different designs so that any potential problems can be identified and addressed before they become issues. With enough practice and patience, anyone can become a proficient circuit designer!
How can I be a good circuit designer?
The key to being a good circuit designer is having an understanding of how circuits work and the principles behind them. It’s important to understand Ohm’s law, Kirchhoff’s laws, the basics of AC and DC theory, electronics components, design rules and practices, troubleshooting techniques, safety precautions, etc. Additionally, having knowledge in related fields such as automation control engineering and software programming can be helpful when designing more complex systems.
Useful Video: Design and Build a PCB – SMD LED Learn electronics engineering
Conclusion
Once you have completed the design of your circuit, it is important to test it. This can be done in a variety of ways, such as by an oscilloscope or multimeter to measure voltage and levels. Test equipment should be available at most electronics stores for reasonable prices. Additionally, you may want to consider simulating your circuit on a computer before building it in real life. Computer simulations are often more accurate and save time and money by helping you identify any problems before they become costly mistakes. With the proper tools and knowledge, designing circuits can be a fun and rewarding experience!
References
- https://www.elprocus.com/step-step-guide-build-electronic-circuit/
- https://www.tronicszone.com/blog/successful-circuit-design-tips/
- https://www.cirexx.com/pcb-design-steps/
- https://www.build-electronic-circuits.com/circuit-design-from-scratch/
- https://www.instructables.com/10-Tips-to-Design-Better-Electronic-Circuits/
- https://resources.altium.com/p/10-easy-steps-comprehensively-designing-circuit-board-altium-designer
- https://hackernoon.com/circuit-design-ways-to-do-it-correctly-dg983yyi






Leave a Reply