
If you’re looking for a guide on Arduino car projects, look no further! In this article, we’ll discuss everything from the basics of what you need to get started, to more advanced tips and tricks. We’ll answer some common questions that people have about Arduino car projects, and provide some useful resources to help you out. So whether you’re a beginner just getting started, or an experienced hobbyist looking for some new ideas, read on for all the information you need to create awesome Arduino-powered cars!
What is Arduino, and Why Is It Used?
Other types of microcontroller boards include the Raspberry Pi, BeagleBone Black, Teensy, and many others. These all have their own advantages and disadvantages over each other depending on the project or application at hand. For example, some require more complex programming skills than others while some may provide better performance in certain tasks than others. However, all of them will provide basic features such as input/output pins, timers, interrupts and communication protocols.
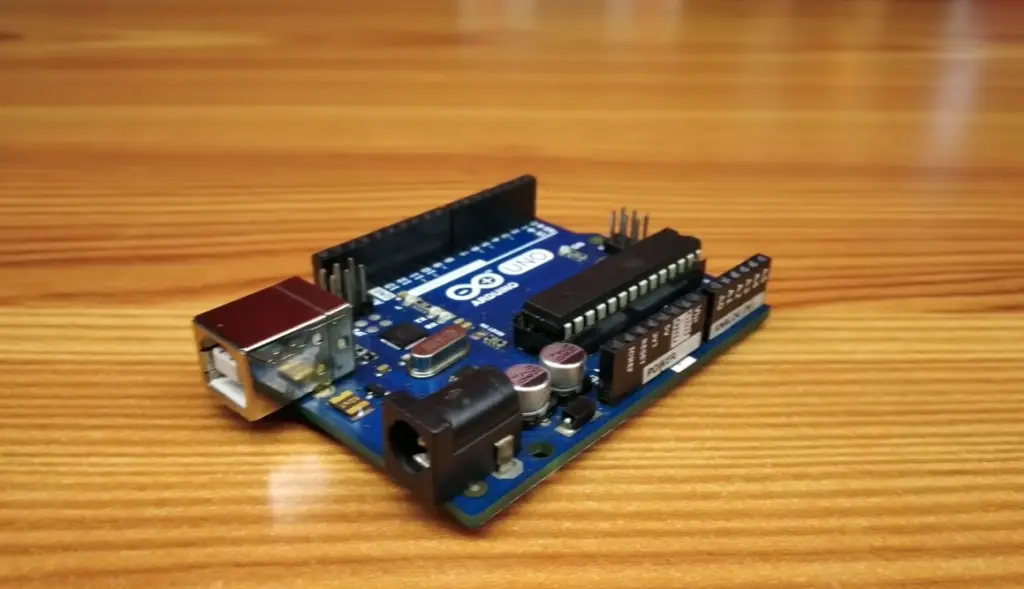
Arduino is another open-source, microcontroller-based platform that enables users to build interactive electronic objects. It has both hardware and software components. The Arduino board consists of a microcontroller chip, along with connectors for power, input/output (I/O) pins, USB ports, and other devices or peripherals. The software component consists of the Arduino programming language and the Arduino Integrated Development Environment (IDE).
The main reason why people use Arduino is its versatility. You can use it to create projects from simple home automation systems to complex robots. Another advantage of using Arduino is that you don’t need any prior knowledge about electronics as the platform offers plenty of tutorials and guides to get you started with your project. It’s also relatively cheap and widely available, making it an attractive option for hobbyists and professionals alike. Moreover, the Arduino platform is constantly being updated with newer features that make it even easier to use.
Overall, Arduino is a great choice for anyone looking to start building custom projects or enhance their existing skillset. With its wide range of capabilities and affordability, it can be used to create some amazing projects without breaking the bank! [1], [2]
Best Arduino Car Projects
Now that you know what Arduino is and why it’s used, let’s look at some of the most popular Arduino car projects. In this section, we’ll be discussing some of the best Arduino car projects from various categories such as remote control, autonomous navigation and more.
Anti-Theft Mechanism with Arduino
Arduino car projects can be used to create a sophisticated anti-theft mechanism for your vehicle. This type of system typically uses a GPS module and an Arduino board to detect suspicious activities. This security system will be installed in parallel to the horn switch on the steering wheel.
The GPS module can be used to track the vehicle’s location and alert you if it moves without your permission. The Arduino board then processes this information, allowing you to take appropriate action if necessary.
Here’s all you will need for your project:
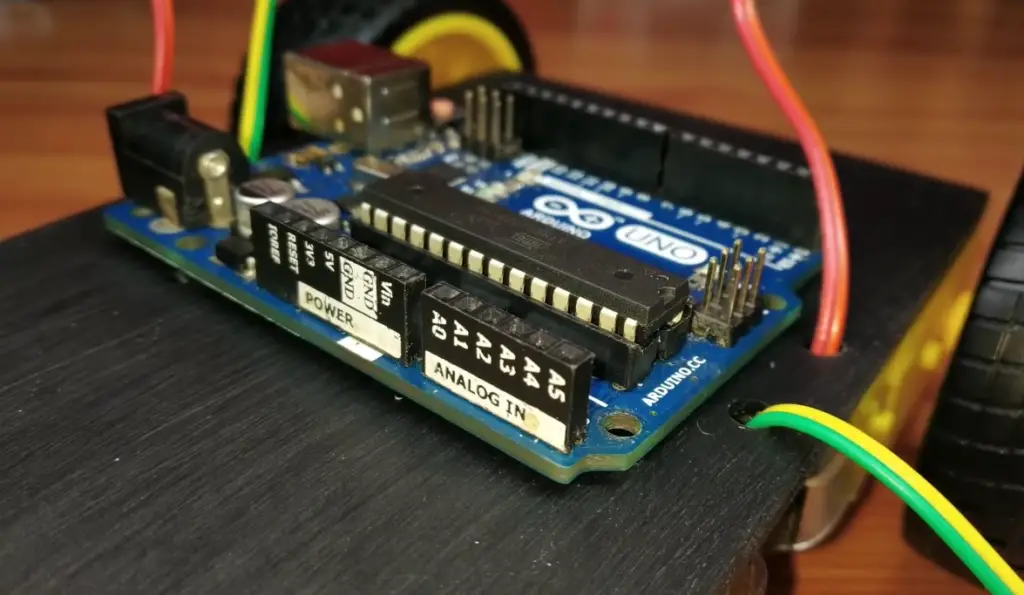
- Arduino board (Uno)
- GPS module
- GPS breakout (optional)
- Battrery snap connector
- Jumper wires
- Terminal wire connectors
- 9V battery and power adapter
- 5V relay
- Switch
- Relay and electrical tape
- Enclosure
First, it’s worth noting that this project is only suitable if you have an older car model without an existing anti-theft system. The reason for this is fairly simple, newer models may have advanced security systems that could interfere with the Arduino project.
To begin, you’ll need to open your car’s horn and find a wire that is connected right to the steering wheel (usually brown). This will be the wire that you will use to connect the Arduino board and GPS module. Divide it in two, remove the covering, and attach a third cable to it, this will be the ground of the horn that will make it sound. Run that cable all the way up to the glove box, where you will place your Arduino.
Next, it’s time to connect the Arduino board to the GPS module. To do this, use a jumper wire and connect it between the yellow lines of the board and module – this will enable communication between them.
After that, it’s time to attach the relay and switch to the Arduino board. Begin by soldering the pins onto the GPS Breakout Board, cut the negative wire in your battery snap connector in half and solder it as well. One side should be soldered to one pin of the switch and the second should be soldered to another switch pin.
Slice two jumper wires into four pieces. Use a soldering iron to connect three of the parts together, then firmly wrap them with electrical tape for maximum security.
Finally, it’s time to connect everything together! Start by attaching the relay VCC & pin 2 of GPS breakoutand switch to the 5V of Arduino. Then connect the ground of Arduino to the ground of relay as well as pin 1 or 5 of the GPS breakout.
Next, connect the IN of relay to pin 10 of the board, and finally attach 4 and 3 pins of GPS breakout to the Arduino Pin 0 (RX) and Arduino Pin 1 (TX) pins respectively.
Once everything is connected, it’s time to write a code that will detect suspicious movements. You can find many tutorials online that teach you how to write code for this type of project.
#include <TinyGPS++.h> //add the Tiny GPS++ library
const int RXPin = 0;
const int TXPin = 1;
const int RELAY = 11;
TinyGPSPlus gps; //create the gps object, so we can use the TinyGPS++ functions
void setup()
{
pinMode(RELAY, OUTPUT);
digitalWrite(RELAY, HIGH); //turn relay off (for some reason it’s inversed – don’t worry though, this works)
delay(60 000); //make sure the GPS has enough time to get a solid signal
Serial.begin(4800); //start the serial (information) connection between GPS and Arduino
}
void loop() {
while (Serial.available() > 0){ //while the GPS has information
gps.encode(Serial.read() ); //encode it with the TinyGPS library (so we can read it)
if ((gps.speed.mph()) > 2){ //if the speed of the car exceeds 2mph,
digitalWrite(RELAY, LOW); //turn relay on
}
}
}
Now, when the GPS module detects any suspicious activity, it will alert the Arduino board which in turn triggers the relay. This makes the horn sound, immediately scaring away potential thieves.
Arduino GPS Data Logger
The next project that you can try with your Arduino is to build a GPS data logger. With this project, you’ll be able to store the location of your car in real time and view it on a computer or mobile device.
To get started, you’ll need an Arduino board, a Neo 6M GPS Module, SD Card Module, Breadboard, Led and 220 ohm Resistor and finally a few jumper wires.
Once you have all the components, you’ll need to start by wiring everything up. Connect your GPS module’s VCC and Gnd pins to the to +5V and Gnd pin of the Arduino. Next, connect Tx pin of the GPS to digital pin 4 and Rx pin to digital pin 5.
Now we are moving to the GPS module’s SD card. Connect Vcc and Gnd pins of the SD card to +5V and Gnd pin of the Arduino, MOSI to digital pin 11, MISO to digital pin 12 and SCK to digital pin 13. Next, attach a CS pin to digital pin 7. Lastly, connect a led through a 220 ohm resistor to digital pin 8.
Finally, it’s time to write a code. We start by downloading the GPS library and adding it to your Arduino IDE.
#include “GPS.h”
#include
#include
GPS gps(4, 5); //tx,rx
File myFile;
int pinCS = 7;
const int led = 8;
void setup()
{
Serial.begin(9600);
pinMode(pinCS, OUTPUT);
pinMode(led, OUTPUT);
while (!gps.begin());
// SD Card Initialization
if (SD.begin())
{
Serial.println(“SD card is ready to use.”);
} else
{
Serial.println(“SD card initialization failed”);
return;
}
}
void loop()
{
myFile = SD.open(“test.txt”, FILE_WRITE);
if (myFile)
{
Serial.println(gps.getGeolocation());
myFile.println(gps.getGeolocation());
myFile.close(); // close the file
digitalWrite(led,HIGH);
delay(200);
digitalWrite(led,LOW);
}
else
{
Serial.println(“error opening test.txt”);
}
delay(3000);
}
In this code, we start by loading the GPS and SD card libraries. Next, we call the GPS constructor to set up a serial connection on digital pins 4 (Tx) and 5 (Rx) for communication with the GPS module. Then, we set up pin 7 as CS pin for communicating with the SD card. And lastly,we initialize an output led pin which will give us a visual indication when data is logged. Finally, in our loop function, we open a file called “test.txt” to log our GPS coordinates in it.
Garage Stop Light Arduino Project
This Arduino project will work with a photocell and an LED light to create a stoplight in your garage. This is an easy way to ensure safety when moving cars in your garage space.
Materials:
- Ultrasonic Sensor – HC-SR04 (Generic)
- Rotary Encoder with Push-Button
- OLED Display, Blue on Black
- Arduino Nano R3
First off, take the LED strip and connect the white, ground wire to the ground of the power source, red power wire to the 5V of the power source and attach a green data wire to the pin 3 of Arduino.
Next, attach an ultrasonic device, a rotary encoder and an OLED display to the Arduino. Mount the ultrasonic distance sensor to your breadboard, and then link it to the Arduino board. Connect Trig on the sensor to Digital 10 on Arduino, Echo on Sensor with Digital 11 of Arduino, GND of both with each other while Vcc pin should be related with 5V supply from Arduino itself.
Finally, it’s time to code! Start by powering up the Arduino board, then open a coding editor and begin programming. In the code, you need to set the stoplight’s threshold distance for when it should light up. We also need to install a FastLED library, which will allow you to control the LED strip. Now we can assign different colors to respective states of the stoplight. We need green when it’s safe to drive, red when it’s not and yellow when its transitioning between states.
#include
#define trigPin 10 // ultrasonic sensro trig ping
#define echoPin 11 // ultrasonic sensro echo ping
#define NUM_LEDS 60 // How many leds in your strip?
#define DATA_PIN 3 // data pin for LED strip
#define ZONE 30 // default zone distance is 30 cms / a foot
#define MAXRR 30 // default distance for Flashing Red is 30 cms / a foot
#define MAXR MAXRR+ZONE // distance for Red
#define MAXY MAXR+ZONE // distance for Yellow/Amber
#define MAXG MAXY+ZONE // distance for Green
#define MAXFLASHCOUNT 30 // max times to flash
CRGB leds[NUM_LEDS]; // Define the array of leds
float duration, distance;
int flashcount, LEDpercm;
void setup()
{
// initialize the LED strip
FastLED.addLeds<WS2812B, DATA_PIN, GRB>(leds, NUM_LEDS); // GRB ordering is typical
FastLED.clear(); // clear all pixel data
FastLED.show();
// set the trig and echo pin modes
pinMode(trigPin, OUTPUT);
pinMode(echoPin, INPUT);
LEDpercm = NUM_LEDS / ZONE ; // number of LEDs to glow per cm of distance measured
}
void loop()
{
CallSensor();
}
void CallSensor()
{
// initiate ultrasonic sensor to fire
digitalWrite(trigPin, HIGH);
delayMicroseconds(10);
digitalWrite(trigPin, LOW);
duration = pulseIn(echoPin, HIGH);
distance = (duration / 2) * 0.0344; // use speed of sound to calc rountrip distance and divide by 2 to get one way distance
delay(200); // give a delay between successive firings of ultrasonic sensor
if (distance > MAXG) // if distance is greater than MAXG clear all LEDs
{
fill_solid( leds, NUM_LEDS, CRGB::Black);
FastLED.show();
return;
}
else if (distance > MAXY && distance < MAXG) ChangePixelColors(MAXG, distance, 0, 255, 0); // green color else if (distance > MAXR && distance < MAXY) ChangePixelColors(MAXY, distance, 255, 126, 0); //Amber color else if (distance > MAXRR && distance < MAXR)
ChangePixelColors (MAXR, distance, 255, 0, 0); //red color
else if (distance <= MAXRR) // we are in SOS zone, show flashing red ShowFlashingRed(); } void ShowFlashingRed() { if (flashcount >= MAXFLASHCOUNT) //stop flashing after MAX times
{
fill_solid( leds, NUM_LEDS, CRGB::Black);
FastLED.show();
return;
}
flashcount++; // increment the times we have flashed red
fill_solid( leds, NUM_LEDS, CRGB(255, 0, 0)); //fill full LED strip with red color
FastLED.show();
delay (250);
fill_solid( leds, NUM_LEDS, CRGB::Black);
FastLED.show();
delay (250);
}
void ChangePixelColors(int zonemax, float distance, int R, int G, int B)
{
int countLED;
fill_solid(leds, NUM_LEDS, CRGB::Black); // reset the LED strip to black (or blank)
// calculate the difference of distance between zone max and object distance. This is the distance
// the object is at within the zone. E.g if zonemax is 120cm and object is at 100cm, we get 20cm
// Use this 20cm and LEDpercm to calculate how many LEDs to show
countLED = round((zonemax – distance)* LEDpercm) ;
for (int n = 0; n <= countLED; n++) // fill the LEDs with right color and until countLED
leds[n] = CRGB (R, G, B);
FastLED.show();
flashcount = 0; // we are no longer flashing red so reset this to zero
}
FAQ
Can an Arduino drive a motor?
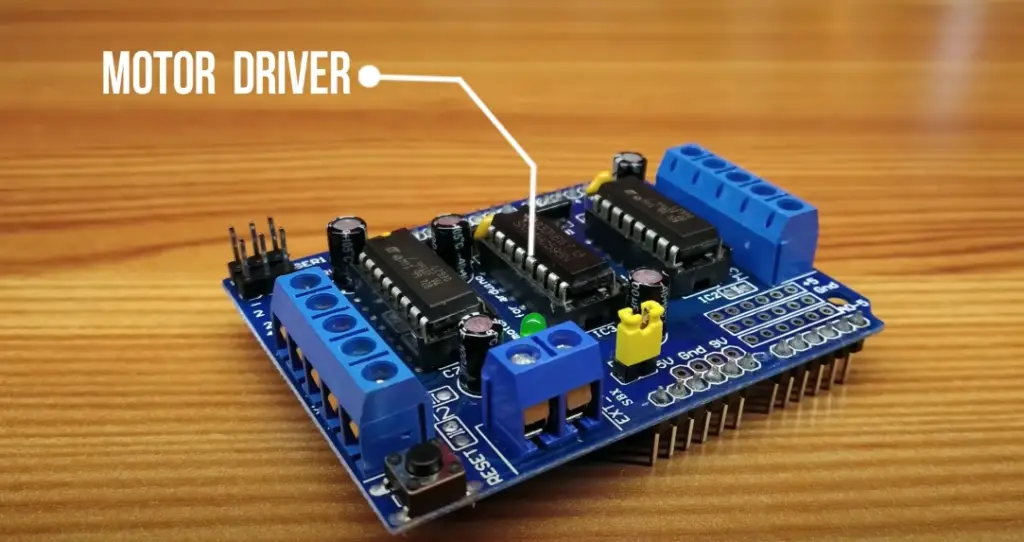
Yes, an Arduino can drive a motor. An Arduino board is equipped with digital and analog pins that are used to control motors. By connecting the appropriate circuitry to these pins, you can achieve full control over your motor’s speed and direction. An L298 bridge driver module is commonly used to drive DC motors, while a servo motor control circuit can be used to operate servo motors. Depending on the type of motor you are using, additional components may be required to ensure proper operation.
Why is Arduino so popular?
Arduino is a popular platform for embedded electronics projects because it is open-source, affordable, and relatively easy to learn. Arduino boards are also widely available in most electronic stores, making it an accessible platform for hobbyists and professionals alike. Additionally, the Arduino programming language (based on Wiring) is intuitive even for those with limited experience in coding. This allows experienced users to quickly come up with prototype solutions for their project ideas.
Can an Arduino be used in a car?
Yes, an Arduino can be used in a car. An Arduino is a programmable microcontroller board that can be used to control and automate electronics projects. This makes it perfectly suited for use in cars, as it enables you to connect various components such as sensors, lights, motors, solenoids and more. It also allows you to write custom code which gives you the ability to create your own automated functions within your car project.
Just keep in mind that to ensure safety and reliability, it is important to plan your project carefully and use components that are designed for automotive use. This will ensure that the components can handle the harsh environment of a car engine bay, as well as deliver reliable results over long periods of time.
How to make a smart car with Arduino?
Making a smart car with Arduino is no easy task, but it can be done with the right knowledge and resources. The first step is to identify the type of project you want to create – whether it’s for a robot or an autonomous vehicle. Depending on your desired outcome, you may need different components and sensors.
You will also need to decide what microcontroller board to use in order to control your device. We recommend the Arduino Uno because of its widespread availability and ease of use. You will also have to select various electronic components such as motors, servos, motor drivers, DC-DC converters, batteries, solar cells etc. depending on your design requirements. Once you have identified all the necessary parts, you can either build the car from scratch or use pre-made kits.
If you are building it from scratch, then thankfully there are tons and tons of online tutorials and guides available to show you the different steps. These include wiring diagrams, code libraries, software tutorials and more. Once you have all the parts ready, it is important to program your board with custom codes in order to make your car run properly. This involves setting up the motor speed control parameters, sensing objects for autonomous navigation and more.
Can you make an RC car with Arduino?
Yes, it is possible to make an RC car with Arduino. With a few components such as a motor driver, DC motors, and an Arduino board, you can build your own remote-controlled vehicle. The main challenge lies in programming the Arduino board so that it can receive signals from a radio control unit and translate those into instructions for the controller. To help simplify this process, many makers have designed libraries and tutorials for building RC cars using the Arduino platform.
Useful Video: How To Make A DIY Arduino Obstacle Avoiding Car At Home
Conclusion
Arduino car projects provide an excellent way to explore the world of robotics and learn the basics of coding. With only a few components, you can create amazing projects that can be used for competitions or just for fun.
Not only are Arduino car projects fun, but they also give you hands-on experience in building a simple robot. By understanding the concepts of robotics and coding, you can use your creations to explore real-world applications such as autonomous navigation and obstacle avoidance.
In this article we have covered some of the popular Arduino car projects and provided tutorials to get you started. We hope that this article has given you some ideas to inspire your own project. From a garage stoplight to GPS storer and anti-theft security system, the possibilities are endless.
If you are looking for an exciting and educational hobby, then an Arduino car project is a great place to start. No matter what kind of project you decide on, remember that the most important thing is to have fun and experiment with different methods. With a little bit of research and creativity, you can create amazing cars to show off your skills in robotics and coding! Good luck!
References
- https://www.elprocus.com/different-types-of-microcontroller-boards/
- https://learn.sparkfun.com/tutorials/what-is-an-arduino/all
- https://www.instructables.com/Protect-Your-Car-With-Arduino/
- https://www.instructables.com/Arduino-GPS-Data-Logger/
- https://makezine.com/projects/arduino-powered-garage-parking-sensor/