Raspberry Pi is a credit card-sized single board computer that can be used for a variety of tasks. Some people use it as a low-cost way to learn about computing, while others use it for more advanced projects. In this guide, we will answer some common questions and provide tips on how to get started with Raspberry Pi 400 projects!
What is Raspberry Pi 400?
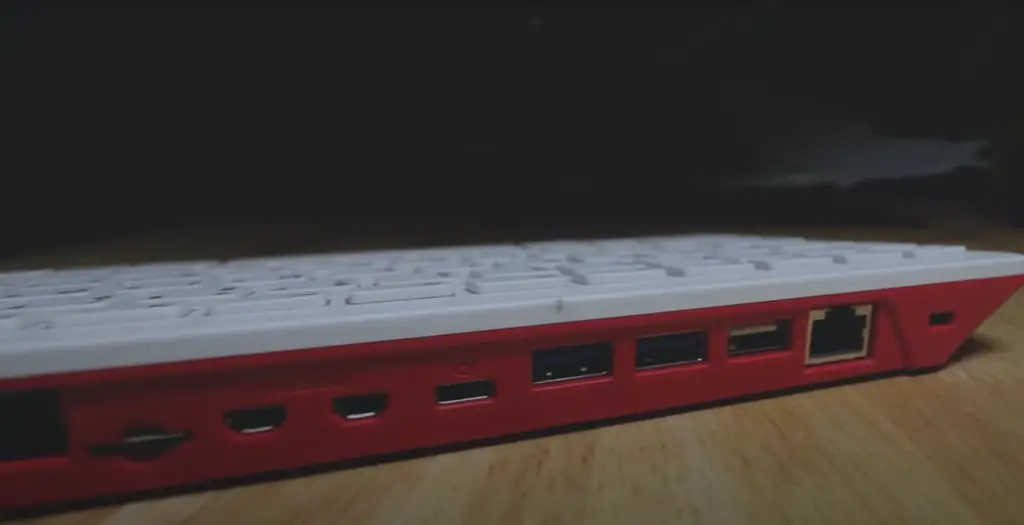
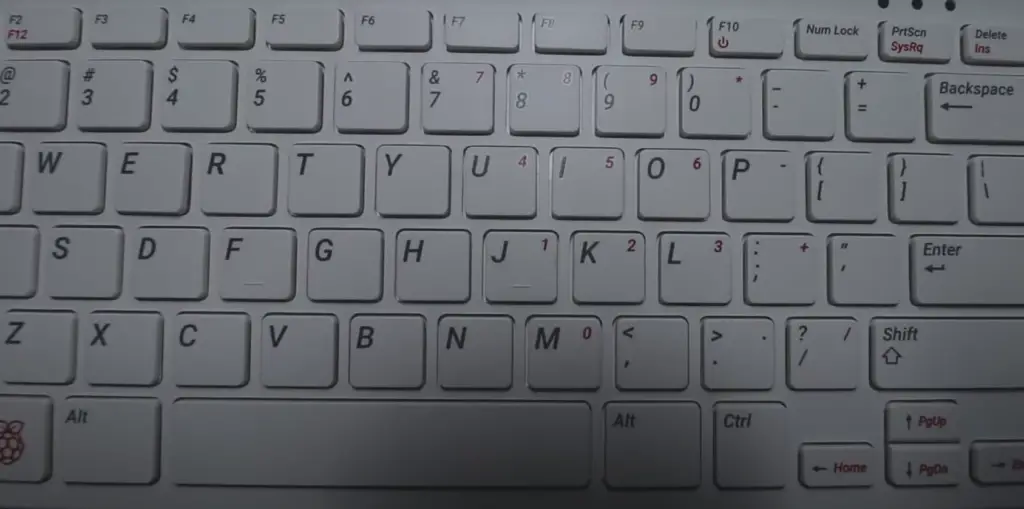
It includes an internal processor, memory, storage, WiFi connectivity and three USB ports for connecting external devices. The Raspberry Pi 400 looks like a regular keyboard with the added benefit of being able to run operating systems such as Linux or Windows 10 out of the box.
It comes preloaded with several applications to help you get started right away including LibreOffice Suite (for word processing and spreadsheets), Chromium web browser, VLC media player and many more. With its built-in 4GB RAM and Bluetooth 5.0 support, it can provide ample power for everyday computing tasks like browsing the internet, streaming media, editing documents and spreadsheets. The Raspberry Pi 400 is an all-in-one compact computer that’s perfect for anyone looking to save space in their home or office, or just wanting a reliable machine for everyday use. It’s an excellent choice for students who need something light and portable for taking to class.
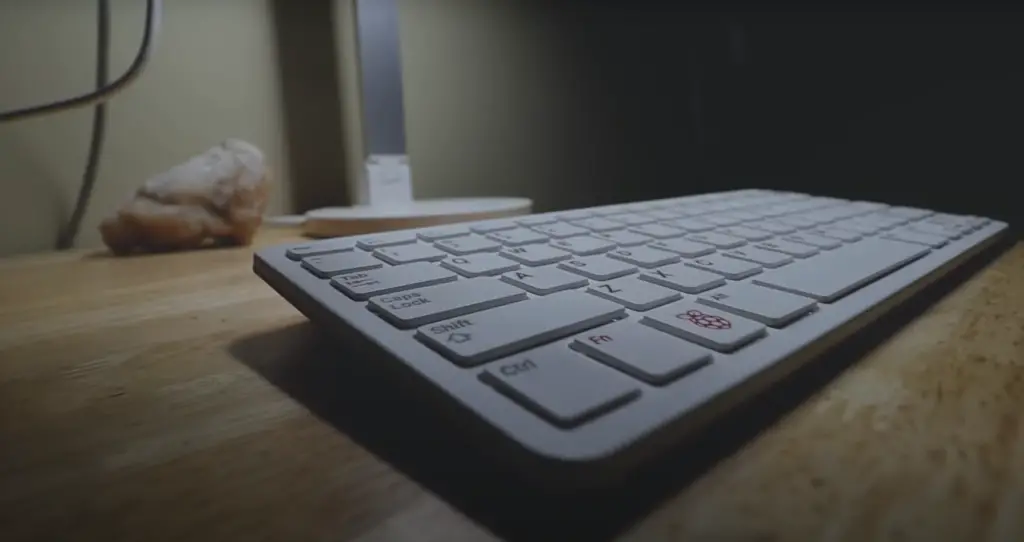
Additionally, it can be used as a powerful media center with the ability to access streaming services like Netflix, Hulu and more. With its easy set up process and wide range of compatible hardware accessories, the Raspberry Pi 400 is ideal for anyone regardless of technical expertise. [1]
What Can You Do With a Raspberry Pi 400?
The Raspberry Pi 400 is a remarkably versatile device. It’s powerful enough to be used for various projects, such as building robots, creative projects, programming and more. Here are a few of the many things you can do with your Raspberry Pi 400:
- Home Automation – With the Raspberry Pi 400, you can create a home automation system that will allow you to control lights, temperature and other household appliances from one central hub. You can even add sensors that will detect motion or changes in light levels.
- Programming – The Raspberry Pi 400 is perfect for learning how to code and program. It has an extensive library of resources available to help beginners get started with coding in Python and other languages. Plus, it’s easy enough for experienced coders to develop powerful applications on the platform.
- Robotics – With the Raspberry Pi 400, you can build an autonomous robot that can move and respond to its environment. This is a great way to learn how sensors, motors, and other components work together. Plus, it’s a fun way to explore the world of robotics.
- Internet of Things (IoT) – The Raspberry Pi 400 can be used to create IoT applications. For example, you could build a system that sends data from sensors around your home over the internet, or use it to control appliances remotely.
- Gaming – Believe it or not, with the right hardware and software setup, you can even game on your Raspberry Pi 400. It may not have the power for demanding 3D games, you can emulate a variety of titles and use it as a retro game console!
Best Raspberry Pi 400 Projects
Now that you have your Raspberry Pi 400 and you’re ready to get started with some projects, what should you do? The Raspberry Pi 400 is a powerful device that can be used for a variety of tasks. Here are some of the best Raspberry Pi 400 projects that you should consider.
Raspberry Pi 400 Mini Display
We begin with the Raspberry Pi 400 Mini Display, the perfect tool for any creative project on the Raspberry Pi! This mini display allows users to connect their Raspberry Pi 400 to a monitor without having to buy additional cables.
The Raspberry Pi 400 is a great piece of technology, but the mess of cables needed to connect it to a monitor can be cumbersome and reduce its portability. This project offers an elegant solution that eliminates those cords with the incorporation of a custom screen. HyperPixel touchscreens are one of the more popular options, as they offer a vibrant image with great response times.
The Raspberry Pi 400 Mini Display project is fairly straightforward and doesn’t require any special tools or knowledge to complete. It’s also easy to add more screens further down the line for additional projects, as the main components are already in place. All that’s needed is to connect another HyperPixel touch screen.
The entire process for setting up this project should take about an hour from start to finish and offers users a convenient way of connecting their Raspberry Pi 400 to a monitor with virtually no fuss. With the setup complete, users can enjoy their projects on a large display without having to purchase additional cables!
To ensure optimal use of the HyperPixel, you must only deploy the headers included. Furthermore, make sure to double-check that there is a correct alignment between the pins on both components – without a guiding connector! Lastly, for best results we recommend printing with supports.
Raspberry Pi 400 Daily Driver
When it comes to getting the most out of your Raspberry Pi 400, one of the best ways is to use it as a daily driver. This means that you’re using the device on a regular basis with various tasks such as web browsing, office productivity, and more. While Pi won’t provide you as much power as a desktop would, it’s still a great way to work on projects, learn programming basics, or even use some of the latest Pi software like Raspberry Digital Signage.
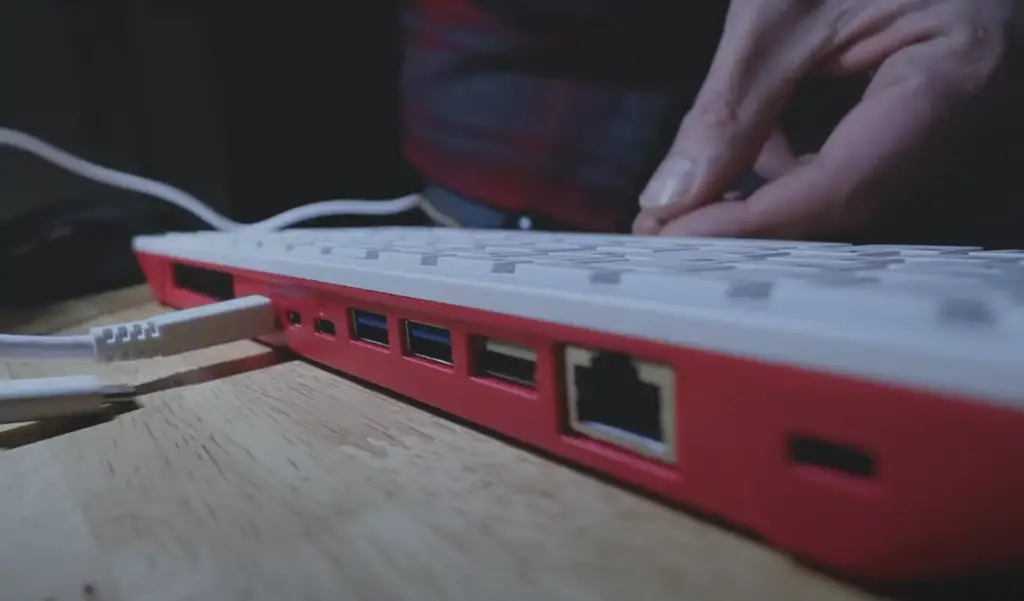
To get started with using your Raspberry Pi 400 as a daily driver, you’ll need to begin by collecting these components:
- 1× Raspberry Pi 400
- 1× Vilros Pidock 400
- 1× 1/4 Inch Rubber Bumpers
- 1× 32GB Samsung Bar flash drive
- 1× 256 GB Samsung Fit Flash Drive
- 1× 32GB SanDisk Extreme Micro SD Card
This ambitious project involves a Raspberry Pi 400 revision 1.0, running Pop!_OS 20.10 from an antique 256GB SSD connected to USB 3.0 and fixed in the Vilros Pidock 400 dock station. Whenever you require extra storage, the SD card slot is available. This system works on 12 volts DC and has no battery within it. Not to mention, this device will be upgraded with a dazzling 1080p IPS display with a large HDMI input for maximum entertainment experience. Audio is seamlessly extracted from HDMI and sent out to the 3.5mm headphone jack – with no need for internal speakers! Moreover, the Pi 400 has been overclocked to a blazing 2.2GHz without any active cooling required; alongside that comes a standard Raspberry Pi mouse as part of its comprehensive desktop kit.
Ultimately, our mission is to discover the true potential of a Pi 400 as an ordinary desktop computer for the majority. With its keyboard form factor making it more convenient and accessible than ever before, no one can deny that Raspberry Pi has already had a huge influence on millions of people!
Once you connect everything up, comes the hardest and most time consuming part- the configuration. This includes setting up Pop!_OS, partitioning disks, overclocking the CPU and GPU, installing drivers, configuring Wi-Fi connectivity. You will also need to test the keyboard and install additional drivers if necessary.
Now, once the configuration is complete, you can start using the Pi 400 as your daily driver. Whether it’s for web browsing, streaming content, gaming or creating applications and programming – there are no limits to what you can do with a Raspberry Pi 400! We hope this article has given you enough information on how to make the most of your own personal daily driver. Good luck and have fun!
Bootless Pi 400 Cyberdeck
Another way to use the Raspberry Pi 400 is as a ‘Bootless’ Pi 400 cyberdeck. This approach allows you to turn your Raspberry Pi into a virtual terminal for engaging with text-based applications and services over secure shell (SSH) or telnet connections, protected by strong encryption. Ideal for R & D, tinkering and exploration, the bootless cyberdeck setup is quickly becoming a popular option for Raspberry Pi 400 users.
To get started with building your own bootless cyberdeck all you need is:
- 1× Raspberry Pi 400
- 1× Ortho Pi PCB
- 1× VS DISPLAY 12.6″ NV126B5M-N41 12.6inch 1920X515 LCD Screen
- 1× uxcell Rotary Encoder Push Button Switch Key Switch Components, 6 Mm
- 1× whiteeeen DS1302 RTC Module Real Time Clock
- 1×HDMI type C male to HDMI type D male cable
- Ribbon Flat Cable 0.5mm Pitch 20 Pin for HDMI8
- 4×Cherry MX style PCB Mount Lubed Switches
- 84× XDA keycaps for Cherry MX keyboard
- 1× 30 AWG wire
- 3× 3mm LEDs for keyboard e.g capslock, numlock, power
- 1× T cobbler 40 pin GPIO breakout for Raspberry Pi
- 1× Breadboards (optional)
- 1× Arduino UNO R3 (optional)
- 4× Cherry PCB snap-in stabilizers (2U)
- 1× 12V portable power bank with USB-C ports (optional)
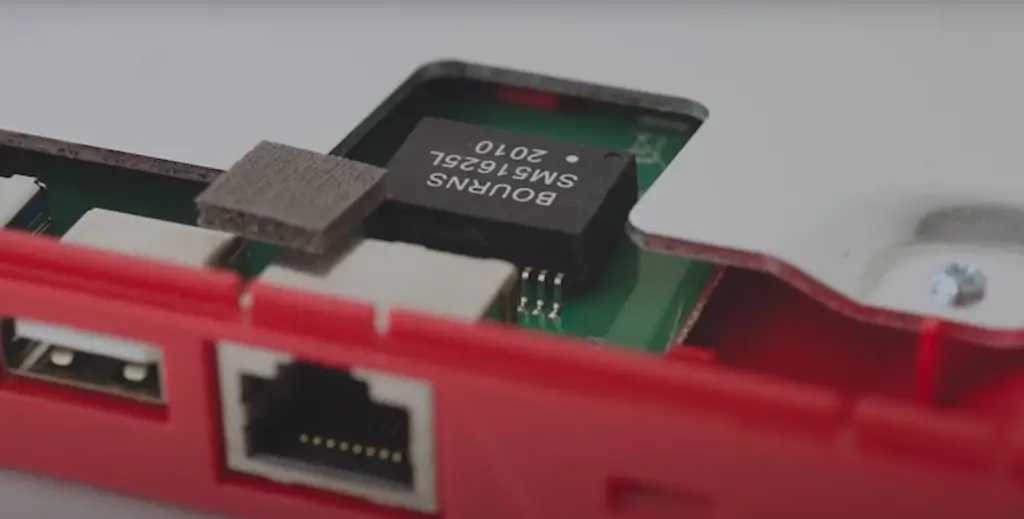
- Power Management ICs / Switching Regulators and Controllers
- 1× M.2 drive and USB-C adapter PCB (optional)
You’ll also need a few extra tools and accessories to assemble your bootless cyberdeck such as a soldering iron, screwdriver set, wire stripper/cutter, and heat shrink tubing. With all the components on hand you’re then ready to start assembling your own custom cyberdeck.
Before getting started it’s important to remember that the Raspberry Pi 400 must remain powered for the bootless setup to work and so you’ll need an external power source such as a desktop PC or laptop USB C port. You may also wish to consider investing in some additional shielding materials like aluminum foil (for better RF insulation) and ferrite beads (for better EMI/RFI noise reduction).
After you build everything, programming your bootless cyberdeck is easy. You can use SSH to access the machine, and then install whatever applications you want. To make things easier, you can also set up a Raspberry Pi 400 headless server so that it will always be accessible from anywhere on the network – even when not connected to a monitor or keyboard.
You can prime and sand the case for a more aesthetically pleasing finish and use some hot glue to secure the components in place. It’s also worth noting that if you’re using an M2 drive, it needs to be installed on the Ortho Pi PCB before being connected to your Raspberry Pi 400.
Once you’re finished building and powering up your bootless cyberdeck, you can start exploring new text-based applications, services and protocols with your virtual terminal setup. With a little bit of time and effort, you’ll soon have a unique Raspberry Pi 400 project that will be sure to turn heads! [2], [3], [4]
FAQ
Is Raspberry Pi 400 same as Raspberry Pi 4?
While similar in many ways, the Raspberry Pi 400 is distinct from the Raspberry Pi 4. The Raspberry Pi 400 differs in form factor as it is a complete computer built into a keyboard that requires no other components to use. It also has an upgraded processor, offering more performance than the Pi 4. On top of this, the Raspberry Pi 400 lacks a 3.5mm audio jack and the 40-pin GPIO is located at the rear of the computer. It also features an inbuilt heat sink and fewer USB ports than the Pi 4.
What can I do with my Raspberry Pi 400?
Your Raspberry Pi 400 can be used for a wide range of projects, from basic computing tasks to complex robotics and automation. Depending on your knowledge level, you can explore some of the beginner-friendly options such as connecting a keyboard and mouse to create a desktop computer or using it with Scratch to learn computer programming.
Popular game emulators are easy to set up on the Raspberry Pi 400, making it an ideal platform for retro gaming fans. You can even install media center software like Kodi so that your Raspberry Pi 400 operates as a home entertainment system.
The possibilities don’t end there! With the right tools and accessories, you can take on more advanced projects such as using your Raspberry Pi 400 to build a home security system or an internet radio station. You could even turn your Raspberry Pi 400 into a mobile phone with the addition of a 3G/4G USB modem.
Can you use a Raspberry Pi 400 as a computer?
Yes, you can use a Raspberry Pi 400 as a computer. It has the same components as a desktop PC, including an ARM-based processor, 4GB of RAM, 64 GB eMMC storage, and dual micro HDMI ports for connecting multiple displays. Additionally, the Raspberry Pi 400 includes built-in Bluetooth and WiFi capabilities to make it even more suitable for use as a powerful desktop replacement.
Using the Raspberry Pi 400 is easy thanks to its intuitive user interface which runs the open source Raspbian OS. This operating system allows you to access a vast library of programs and applications available through the Raspberry Pi’s official app store or download additional software from third parties.
The Raspberry Pi 400 can also be used for more than just desktop computing. It can also be used for a variety of projects alongside the official Raspberry Pi 4, such as building a media center, creating an arcade machine, or using it as part of an IoT project. Additionally, you can add additional hardware and software to the Raspberry Pi 400 to expand its capabilities even further.
Can Raspberry Pi 400 replace desktop?
While it cannot completely replace a traditional desktop PC in every situation, there are many scenarios where using the Raspberry Pi 400 could be beneficial over using an actual desktop.
For example, if you’re looking for a low-cost alternative to a traditional desktop that’s still capable of running certain applications or doing basic tasks like web browsing, then the Raspberry Pi 400 may be worth considering. The small form factor of the Raspberry Pi 400 also makes it ideal for projects that require a lot of space-saving, such as home automation or robotics.
The Raspberry Pi 400 is also perfect for students who are just starting out in programming and need an easy to use platform for learning the basics. With its low cost and easy to set up nature, the Raspberry Pi 400 can be used by both novice and experienced users alike.
Can you install Windows 10 on a Raspberry Pi 400?
Yes, you can install Windows 10 on a Raspberry Pi 400 with the help of a microSD card. You will need to download a version of Windows 10 specifically designed for ARM systems (such as the Raspberry Pi). Once you have downloaded the image, use software such as Etcher or Rufus to write it to the microSD card. After that, insert your microSD card into your Raspberry Pi 400 and boot it. You will be taken through a series of steps including setting up Windows devices, configuring languages and settings, agreeing to terms and conditions etc. Once these are completed, Windows 10 should be running on your device!
Useful Video: Top 5 Raspberry Pi 4 / 400 Projects
Conclusion
Raspberry Pi is an incredibly powerful and versatile device. It can be used for a wide range of projects, from creating basic websites to complex robotics systems. With the right knowledge and resources, you can turn your Raspberry Pi into anything you desire.
In this article we have discussed some of the most popular Raspberry Pi 400 projects. We have also covered a few tips and tricks on how to get the most out of your Raspberry Pi, such as updating its software and programs regularly.
The Raspberry Pi 400 Projects Epic Guide has provided helpful tips and advice on getting started on your Raspberry Pi project and detailed information on some great project ideas. Use this guide as inspiration to create something amazing with the help of your Raspberry Pi! Good luck!
Happy building!
References
- https://www.raspberrypi.com/products/raspberry-pi-400-unit/
- https://www.thingiverse.com/thing:4679860/
- https://hackaday.io/project/182630-raspberry-pi-400-daily-driver
- https://hackaday.io/project/187475-bootless-pi-400-cyberdeck






Leave a Reply