Arduino is an open-source platform that has taken the world by storm. It allows you to create interactive objects and devices with relative ease. In this article, we will discuss how to upload code to Arduino – a process that can seem daunting for beginners. We will provide useful tips and walk you through the process step-by-step so that you can upload your code with confidence!
What is Arduino
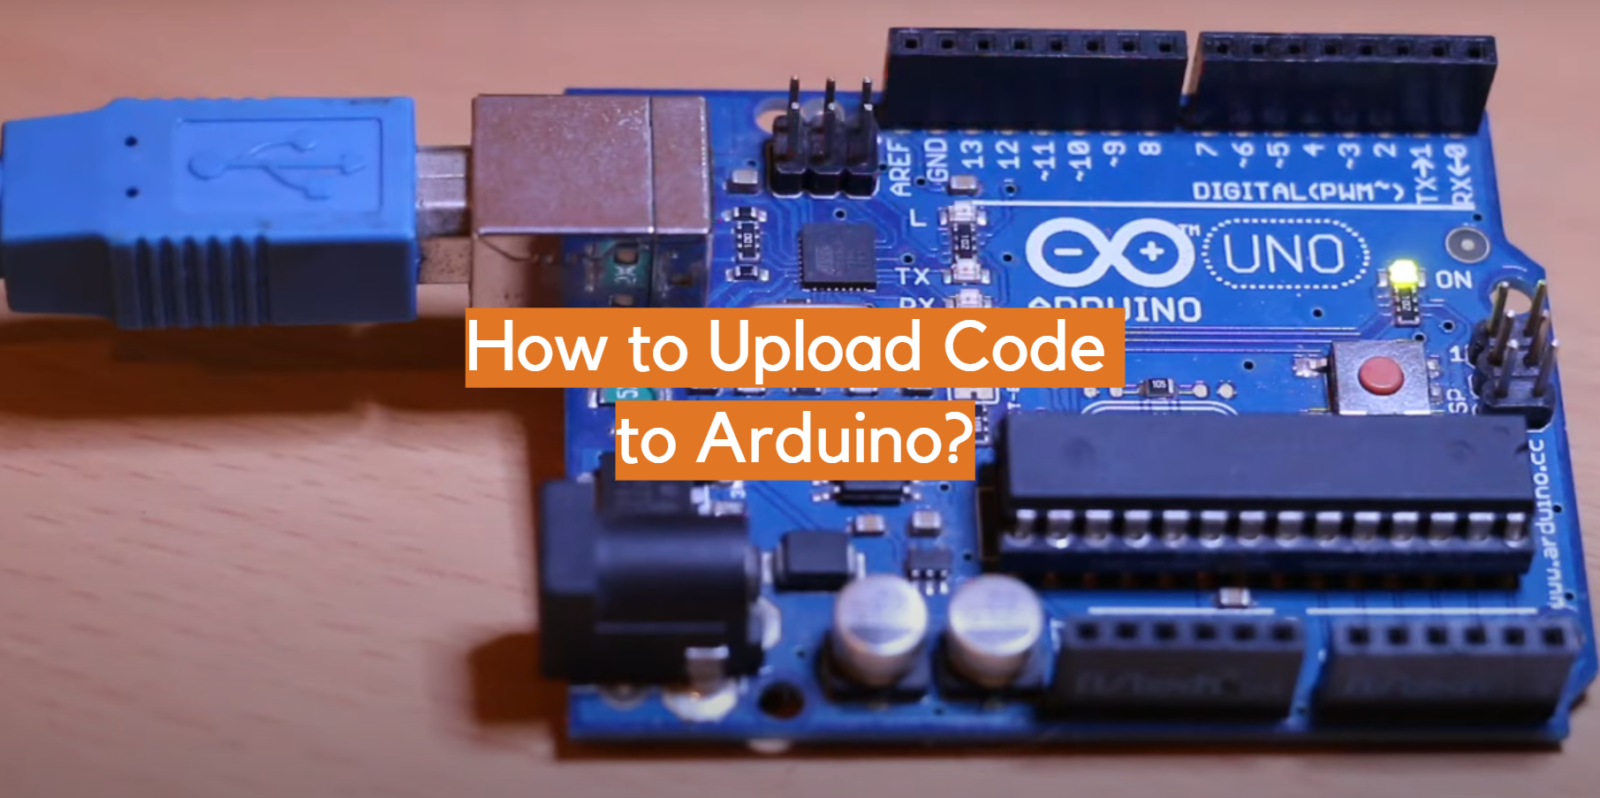
It is used for making interactive projects and building electronic gadgets, such as robots, home automation systems and automated lights. Arduino boards come with a USB port and a bootloader, which enable users to program the boards using the Arduino IDE (Integrated Development Environment).
With Arduino, you can build a variety of projects ranging from simple LED lights to more advanced robotic arms and 3D printers. You can also program the Arduino board to interact with other devices, such as smartphones and computers. Additionally, Arduino is an excellent platform for learning coding and electronics. [1]
What is Code Uploading?
Code uploading means transferring a compiled version of your code onto your Arduino board’s memory. This process allows any device connected to the board to interact with it by sending data through its digital pins. The uploaded code will then be executed every time power is applied to the board or when it receives an instruction from another device.
How to Upload Code to Arduino
Uploading code to your Arduino board is simple and straightforward. All you need is an Arduino IDE installed on your computer, a USB cable, and of course an Arduino board. In this section, we will guide you through the process of successfully uploading code to your Arduino board.
Download and Open the Arduino IDE
The first step in uploading code to your Arduino board is downloading and opening the Arduino IDE.
The Arduino IDE has many features, but one of its core functions is to upload code to the board. To upload code, you must first write it in the form of a sketch—a text file that contains instructions written in the programming language called C++. Once you have written your sketch, you can compile it in the IDE and then send it to your board.
To download the Arduino IDE for free, simply go to https://www.arduino.cc/en/software/. After downloading the appropriate version of the IDE for your computer’s operating system (Windows, Mac or Linux), open it up.
Connect the Arduino board to your computer
Once you have the Arduino IDE downloaded and opened, connect your board to your computer using a USB cable. This connection allows the board to receive code from the computer.
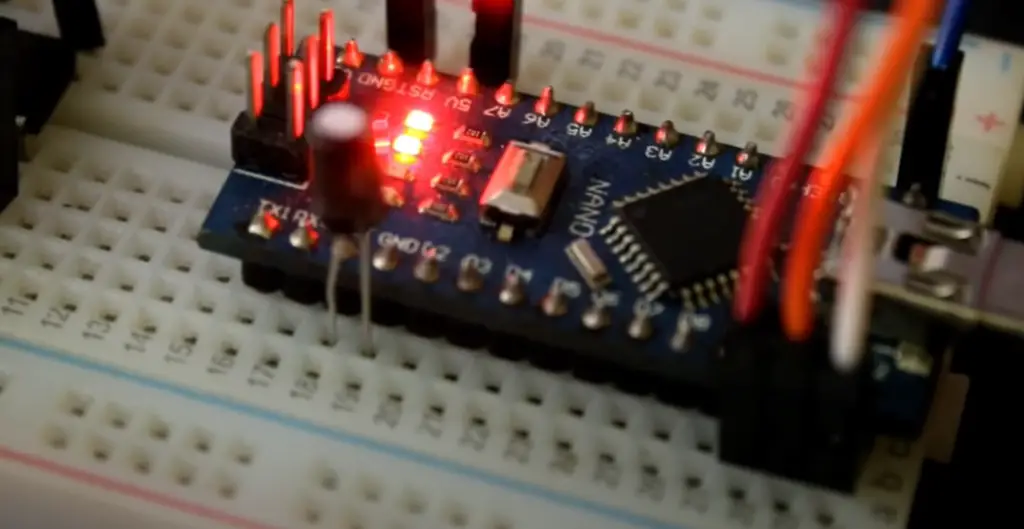
Depending on your board, it may require a special type of USB cable for this connection. Make sure to check which type is needed for your specific model before connecting. Usually, you should be fine with an USB Type C cable, which is the most common type nowadays.
Select your board
Once your board is connected to the computer, select it in the Arduino IDE. But before that, you will be asked to install a board package. Board packages are a set of files that allow the IDE to recognize, compile and upload code for different boards.
To select your board you can use one of the two methods described below.
Board selector
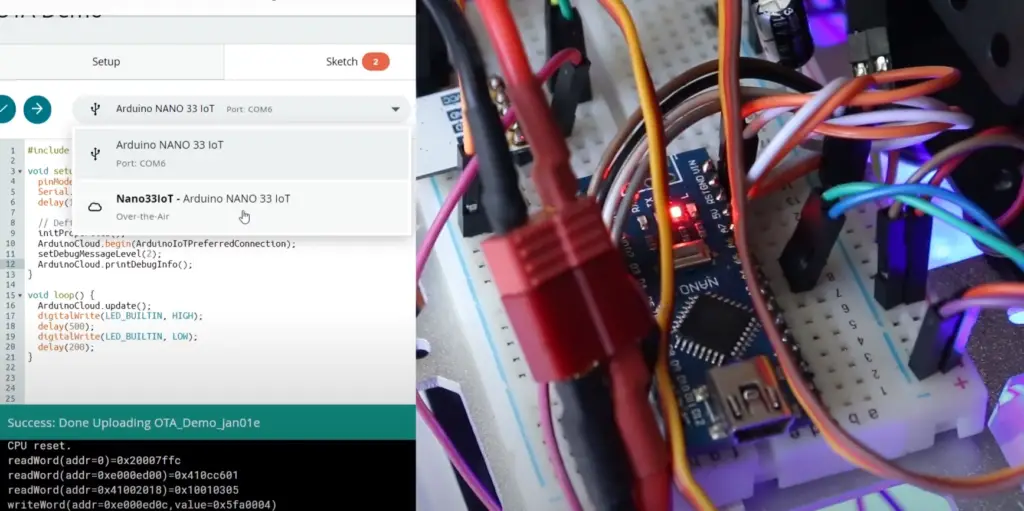
First option is to go to the board selector and select your board from the list. Once you open a board selector, you will be presented with a list of ports.
Select the port associated with your board and then choose the appropriate board model from the list. Make sure you select the right one, as selecting an incorrect model may result in errors when uploading code.
You may be asked to install the board platform. If so, follow the instructions on the screen.
Tools menu
Another option is to go to the Tools menu and select your board from there. To do this, click on the Tools menu and find the Board submenu. Select your board from the list of models and then click on it. You also will need to select an appropriate package for your board.
Now you will need to select a port. Hover the cursor over the port menu to see the list of ports and select the one associated with your board.
Uploading the Code
Now it’s finally time to upload your code to the board. To do this, you will need to either write the sketch yourself or use one of the example sketches provided with the IDE.
If you did everything by yourself, it’s worth clicking on the verify button first to make sure your code is correct. If it is, the IDE will compile it and you are ready to upload it.
To upload the code, click on the upload button and wait for a few seconds. The Arduino IDE will then send the compiled sketch to the board via the USB connection. Once finished, your board should be running the code you uploaded. [2], [3], [4], [5]
Troubleshooting
If you are running into issues while trying to upload code or set-up the board, there are a few things that might be causing it.
Fixing ‘Unknown board’ issue
One of the most common issues is that the Arduino IDE does not recognize your board. To get around this, you need to open the Device Manager and head to the Other Devices section. There, you should find an Unknown Device listed.
Fixing ‘Port not found’ issue
Another common problem is that the Arduino IDE does not detect any ports when trying to connect. This usually happens when your board has issues connecting to the computer. To get around this, you can try disconnecting and reconnecting your board.
Another thing you can try is using a different USB cable. If the cable is not compatible or faulty, it could be causing the connection issues.
If the issue persists, try resetting your board by pressing the Reset button on it. This will force the board to reconnect to the computer and you should then be able to select a port in the Arduino IDE.
Fixing Exit Status 1 error
If you are getting an Exit Status 1 error, it means there was a problem during the upload process. The code message will usually point out what’s wrong.
The most common errors are: Software problems, such as wrong drivers or outdated versions; hardware problems, such as bad cables, loose connections, etc.; and syntax errors in the code itself.
If you get a compilation error, you should verify the code and make sure that all the parts are working properly. If you can’t find a solution, it might be necessary to go through the code line-by-line and figure out which part is causing the issue.
It could also be caused by damaged boards or components. Try using other cables or replacing them with new ones for troubleshooting purposes. You should also try connecting the board directly to your computer instead of going through another device (like an external drive). [1], [4], [6]
Uploading a Code Using a Smartphone
While using a personal computer is the most common way to upload code to an Arduino board, it is also possible to do it with a smartphone. To do this, you will need to install a special app on your phone.
The first step is to find the right app for your phone and board. There are several apps available depending on the model of Arduino you have. Once you’ve chosen an app, download it onto your smartphone and open it.
This is essentially an IDE but for smartphones. It functions similarly to the desktop IDE, with a few differences.
When you open it, click on the three dots in the upper right corner of the app. This will open a menu. Go to Sketch>Examples> and choose a sketch from the list of basic examples. This will open the example sketch in the app.
Next, connect your phone to the Arduino board through an OTG connector cable. This cable will plug into your phone and the other end has female headers that plug into the Arduino. Once it is connected, you should see “Connected” in the app on your phone.
Once connected, press the Compile button. This is located in the upper right corner of the app. It may take a while for the code to compile due to the limited processing power of smartphones. Once it is done, press the Upload button. This will upload your sketch to the Arduino board.
It is important to note that you should disconnect your OTG cable once you are done uploading. Leaving it connected for an extended period of time could cause problems with your phone or board. Now you can move on to other projects and start tinkering! [5]
FAQ
How do I upload code to Arduino?
Uploading code to an Arduino microcontroller is a simple and straightforward process. The first step is to connect your Arduino board to your computer using a USB cable. Once the connection is established, you can use the Arduino IDE (Integrated Development Environment) software to write and upload your code.
Once in, select both your board and the port from the Tools menu. If asked, you should also install necessary packages and drivers. After that, you can open your sketch, click the Upload button and watch as the code compiles and is uploaded to your board.
Can you upload code to Arduino without IDE?
While it’s technically possible to use a third-party tool like AVRDUDE to upload code directly to your Arduino, it’s highly recommended that you use the official Arduino IDE. The IDE provides a handful of features and tools that makes uploading code much easier and streamlined.
Arduino IDE can verify your code and allows you to adjust settings such as board type and programmer. It’s also connected to the official Arduino website, which provides access to plenty of example code that you can learn from and try out yourself.
Why can I upload code in my Arduino board?
Uploading code to your Arduino board is the only way for you to realize your project. Once you have written and tested a program, you need to upload it to the microcontroller in order for it to actually do something. This is possible because the Arduino board contains a special program known as bootloader that allows you to transfer your program from your computer onto the microcontroller.
Can you upload code to Arduino wirelessly?
Yes, you can upload code to your Arduino wirelessly. What’s more, it’s incredibly simple and fast to do! All you need is an Arduino IDE and a Bluetooth Module, and you can upload code directly to your Arduino device without having to use a physical connection. To set up your wireless connection, simply plug the Bluetooth module into your Arduino board, install the necessary drivers, and then connect it with your computer. Once the connection has been established, you can open up your IDE and start uploading code!
Can Arduino be programmed in Android?
Yes, Arduino can be programmed in Android. There are several apps available on Google Play Store which allow users to program their Arduinos from an Android device. To actually connect to the Arduino device, you will need an OTG (On-The-Go) cable or a Bluetooth module. Once your Android device is connected to your Arduino board, you can start writing codes and uploading them to the board.
Useful Video: Arduino OTA Code Upload Complete Tutorial – How to upload code Wirelessly to Arduino Board?
Conclusion
Arduino is a popular platform for getting started with electronics and programming. It’s powerful, versatile, and easy to use — but if you don’t know how to upload code to Arduino, it can be frustrating!
This article has covered all the basics of uploading code to an Arduino board: understanding the Arduino IDE, setting up a serial connection between your device and computer, uploading sketches or libraries via USB or Wi-Fi connections, and troubleshooting when issues arise. With this complete guide in hand, you should now be able to get your code running on an Arduino board quickly and easily. Happy coding!
Good luck as you continue your journey into the world of electronics engineering with Arduino! With patience and practice, mastering how to upload code to Arduino will become second nature.
References
- https://learn.sparkfun.com/tutorials/what-is-an-arduino/all
- https://support.arduino.cc/hc/en-us/articles/4733418441116-Upload-a-sketch-in-Arduino-IDE
- https://linuxhint.com/upload-code-arduino-3-methods/
- https://www.electronicsforu.com/technology-trends/learn-electronics/how-to-upload-source-code-on-arduino-board
- https://linuxhint.com/upload-code-arduino-3-methods/
- https://support.arduino.cc/hc/en-us/articles/4412955149586-If-your-board-does-not-appear-in-the-port-menu




Leave a Reply