A voltage regulator is an important component in any electronic device. It helps to ensure that the correct voltage is supplied to the electronic components, and it also protects them from damage due to voltage spikes. A multimeter can be used to test a voltage regulator to see if it is working properly. Here’s how you can do it.
What Is a Voltage Regulator?
Voltage regulators are typically used to regulate voltage from batteries, alternators or other sources of DC power. [1]
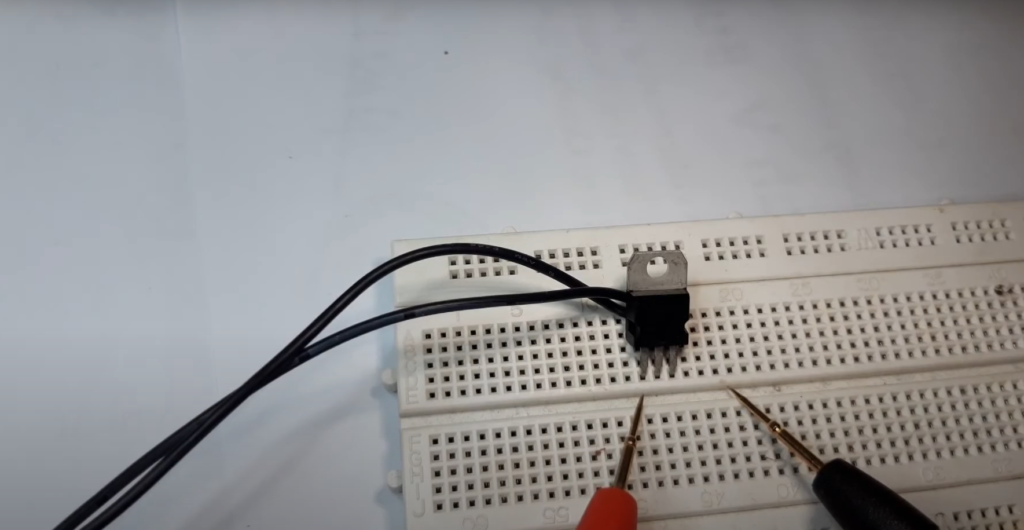
What Is a Multimeter?
It has two probes that are connected to the test points. The readings on a multimeter are displayed on a digital display or an analog gauge. Most multimeters have three ranges in which they measure these readings: AC (alternating current), DC (direct current) and Ohm (resistance).
How to Test a Voltage Regulator With a Multimeter?
Testing a voltage regulator with a multimeter is an important part of regular maintenance, as it helps identify any potential problems that may be present. The process is relatively straightforward and involves measuring the input and output voltages at various points in the circuit.
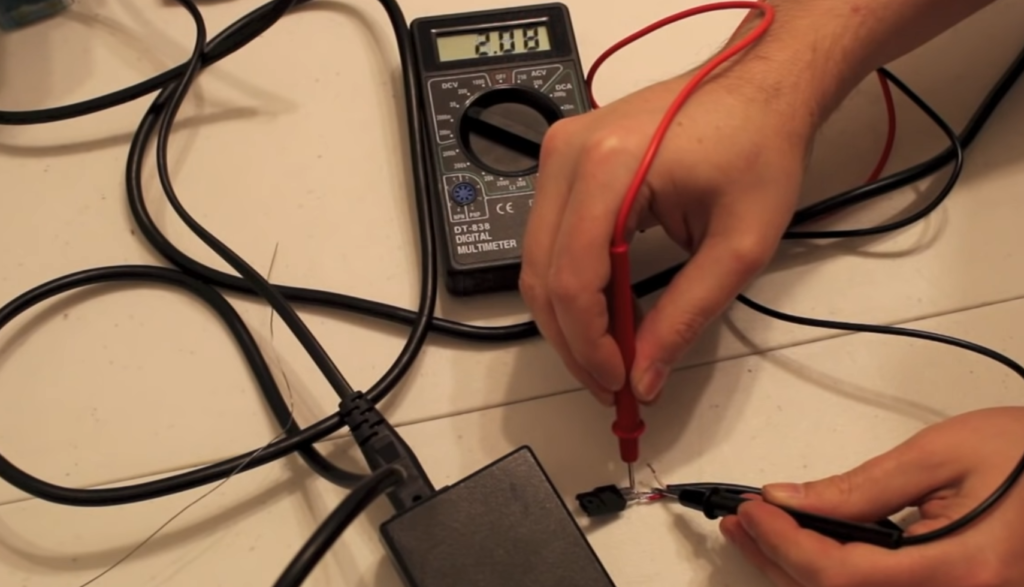
Start by adjusting your multimeter to the proper DC voltage range, making sure it’s set at 20V or higher. This should reflect what you expect in terms of input voltage. Subsequently, attach one lead to ground (black) and then touch the other probe on every terminal of the regulator circuit. Be sure to document and examine these readings to ensure they meet the standard requirements of your device.
Once you have obtained all of your input measurements, switch off power from the regulator circuit and disconnect all connections – excluding ground connection. Switch the multimeter to the DC voltage setting and set the range to 5V or higher (it should match the expected output voltage). Connect one of its leads to ground (black) and then touch the other probe to each terminal on the regulator circuit. This will give you a reading for the output voltage. Compare these readings with those obtained before and make sure they are within specification for your device.
Once you have completed all of these steps, you can rest assured that your voltage regulator is functioning properly. Remember, if any measurement is outside what it should be, it’s time to consider replacing your voltage regulator as it may no longer be providing adequate protection from dangerous electrical spikes or surges. [2]
Primary Symptoms Of Bad Voltage Regulators
One of the indicators that your voltage regulator is failing is if it produces an output voltage that isn’t consistent. This can be seen as a fluctuation in the current readings when you use a multimeter to measure the output volts. If there are any sudden drops in voltage, then this is often indicative of a bad regulator.
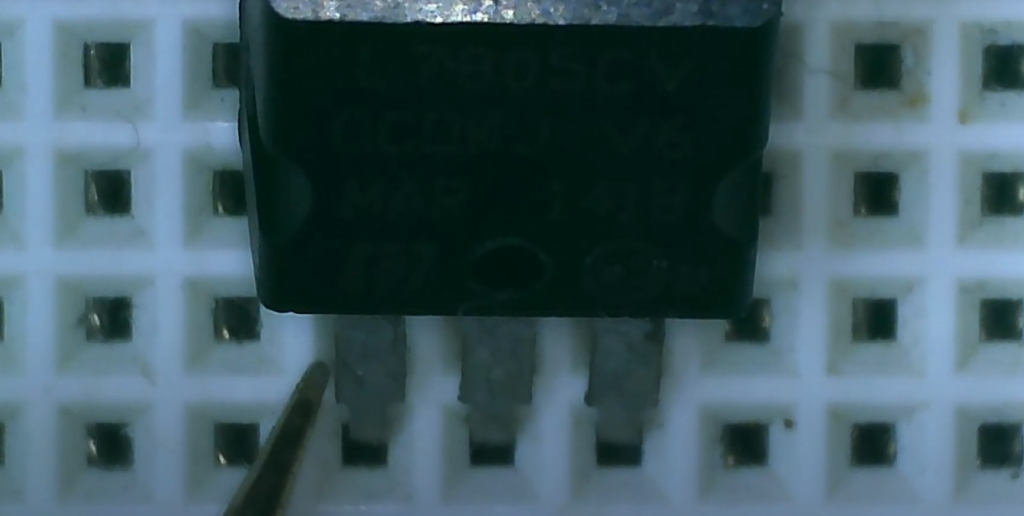
Another symptom of a bad voltage regulator is excessive heat generation. If a component runs too hot, it can reduce its lifespan and eventually lead to failure altogether. The heat generated from faulty regulators can build up over time and cause permanent damage if left unchecked.
A third clue that your voltage regulator may be malfunctioning is if it has low current output or is completely inactive at times. Voltage regulators that don’t produce enough current for the device they are installed in can cause a variety of problems. This includes an unstable output voltage, or even no output at all.
Finally, if your regulator produces too much current then it can also be an indicator of a faulty component. Too much current can lead to damage to other components and even an overload on the circuit itself.
By testing your voltage regulator with a multimeter and being aware of these common symptoms, you can prevent further damage to your system and extend its lifespan. Knowing how to identify a bad voltage regulator is essential for anyone working with electronics.
Testing a 3-terminal Voltage Regulator
First, make sure the power supply to the regulator is off. You will need to connect your multimeter leads to the output and ground terminals of the voltage regulator. The polarity of your meter should be set for DC volts if you are using an analog multimeter.
Next, turn on the power and measure the voltage between the output terminal and ground terminal. This should read close to the rated value found in a datasheet or printed onto your part. If it reads anything other than that, then you may have a bad regulator and could potentially damage components connected to it if left unattended.
You can also use a digital multimeter with a dual trace feature which allows you to monitor both the output and input at once. This will give you a better indication of whether or not the regulator is working correctly.
Finally, if your voltage regulator has an additional terminal for the adjustment pin, then it can be tested using a resistor in series with the ground lead. The resistor should be adjusted until you get a reading that is within tolerance from the regulated output. If this does not work, then it could indicate that your voltage regulator is defective and needs to be replaced.
Once you have finished testing your voltage regulator, make sure to turn off the power supply and disconnect any components connected to it if necessary. This will help ensure that no other damage is done by continuing to use the device with a faulty component inside. [3]
How Does A Car Voltage Regulator Work?
The regulator works by comparing the incoming voltage with a reference voltage, usually around 14.4V – 15V (depending on the make/model), then adjusts its output as needed by controlling how much current goes through the field windings in the alternator to produce more or less power. This process keeps your car’s electronics running smoothly while also protecting them from damage caused by too much or too little voltage.
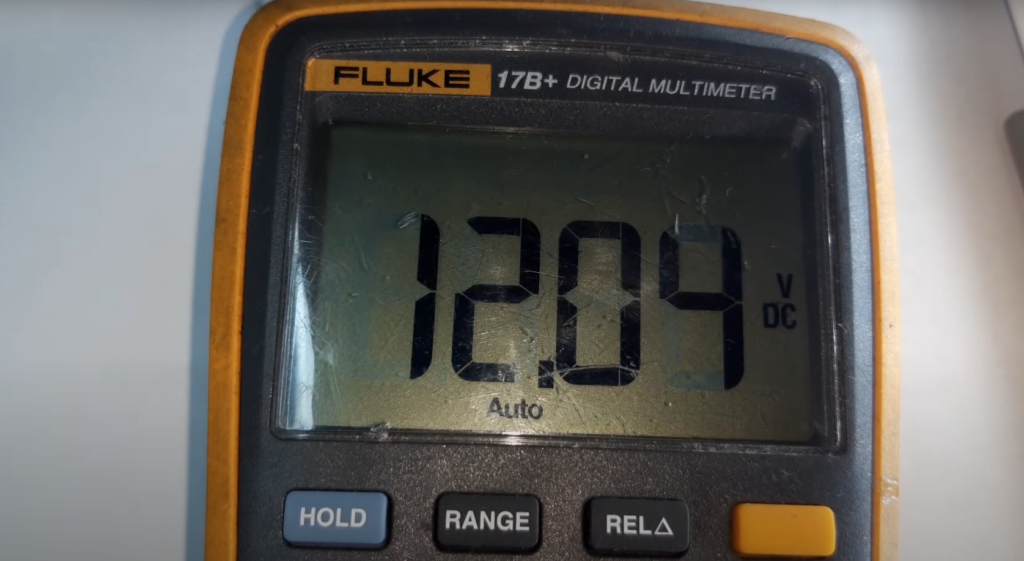
The regulator can be tested with a multimeter to check if it’s working properly: first, set the multimeter to measure DC voltage and attach the leads to the battery terminals. The reading should be around 12V or slightly higher; if it’s lower than that or fluctuates significantly, then the regulator may need replacing. You should also check for any visible signs of damage on the unit itself, such as melted wires or burnt connections. If all else fails, have a professional inspect and replace the part as needed.
Overall, keeping your car’s voltage regulator in good condition is essential for ensuring your engine runs smoothly and all electronics are protected from power surges or drops. With a little bit of testing and maintenance, you can be sure your car is running optimally for years to come. [4]
Can A Bad Voltage Regulator Ruin A Battery?
Yes, a bad voltage regulator can ruin a battery. A bad voltage regulator can overcharge the battery, leading to its destruction. Too much charging can cause the electrolyte fluid in the battery to evaporate and no longer work properly. This will not only reduce the life of your battery, but it could also result in dangerous conditions such as leaking acid or even explosions.
In order to prevent this from happening, it is important to test your voltage regulator regularly with a multimeter to ensure that it is working correctly. If you suspect that your voltage regulator may be faulty, have it inspected by an experienced technician for proper diagnosis and repair.
Can You Drive With A Faulty Voltage Regulator?
No, you should not drive with a faulty voltage regulator. A faulty voltage regulator can cause problems such as the battery draining faster than normal or even engine stalling if it is unable to maintain the electrical system at the correct level. It can also lead to some more serious issues such as short-circuiting of other vehicle components and causing further damage down the line.
If your voltage regulator isn’t functioning properly, it’s best to have it inspected by a professional mechanic and replaced if necessary before attempting to drive your vehicle again. This will ensure that your car operates smoothly and safely for many miles on end.
How Much Does A Voltage Regulator Cost To Replace?
The cost of replacing a voltage regulator will depend on the type and complexity of the device. A standard three-terminal linear regulator can range from $2 to $30, while a sophisticated integrated circuit with built-in features may cost up to hundreds of dollars. It is important to consider your budget before committing to any purchase. Additionally, if you are testing a large number of regulators, it may be cheaper to buy in bulk for a discounted rate.
Once you have purchased the appropriate voltage regulator for your needs, installation costs should be taken into consideration as well. Depending on the type and complexity of the project, professional assistance may need to be enlisted which could increase overall costs. Do not forget about shipping costs either; these can add up quickly depending on the size and weight of the device.
If you are comfortable with soldering, installing a voltage regulator yourself can save time and money. This is especially true if you plan on using multiple regulators for larger projects. Consider researching local online tutorials to learn how to do this properly before attempting any repairs or replacements on your own.
Overall, the cost to replace a voltage regulator can vary greatly depending on your needs. Researching prices ahead of time will help you make an educated decision when it comes to replacing or repairing your voltage regulator. Additionally, when in doubt consult with a professional technician who can offer assistance and advice specific to your project. [5]
FAQ
How do you bench test a voltage regulator with a multimeter?
To bench test a voltage regulator with a multimeter, you will need to set your multimeter to the ACV or DCV setting depending on the type of voltage you are testing. After connecting the positive and negative leads of the multimeter to the corresponding terminals of the voltage regulator, switch it on. Once powered up, check that there is no short-circuiting between any two pins by measuring their voltages. If everything checks out okay, then measure the output voltage across the desired output terminals. This should match what was stated in the datasheet for that particular voltage regulator. Lastly, make sure to check if there is adequate current flow when connected to a load as this can affect its performance significantly.
How do you diagnose a bad voltage regulator?
If you suspect that a voltage regulator is defective, the first step to take is to measure the input and output voltages with a multimeter. If the input voltage is correct but the output voltage is incorrect or erratic then this could indicate a faulty component. It can also be helpful to inspect the physical condition of the regulator for any signs of damage such as cracked insulation or scorch marks which might lead you towards further diagnostics. Another way to diagnose a bad voltage regulator is by using an oscilloscope to measure its waveform and compare it against what was stated in its datasheet. This can give you more insight into the underlying issue.
How do you troubleshoot a failed voltage regulator?
Once it has been determined that the voltage regulator has failed, it is important to try and determine the root cause of failure. This can be done by inspecting the physical condition of the device for any signs of damage or by using a multimeter to check if there are any shorts between its pins. It can also be helpful to check if there was sufficient input power, as this could have caused an overload situation which led to the regulator failing. Finally, performing further diagnostics with an oscilloscope or logic probe can help pinpoint any malfunctioning components that may have caused the failure.
What preventive measures can I take when dealing with a voltage regulator?
Additionally, it is important to make sure that all the connections are secure and that there is no short-circuiting between any two pins. Lastly, it is also recommended to inspect the physical condition of the regulator regularly for any signs of wear or damage which may compromise its performance. These preventive measures should help ensure a reliable and safe operation when dealing with voltage regulators.
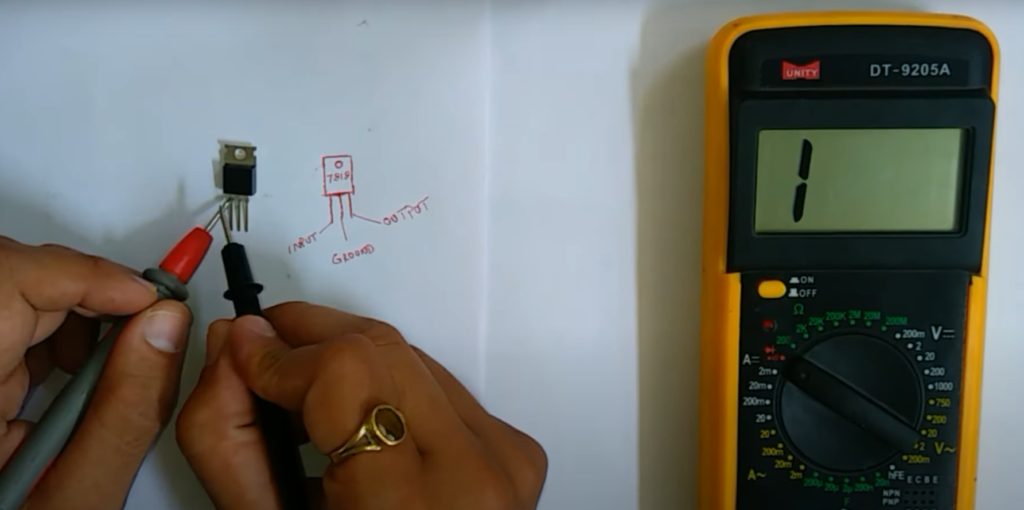
Useful Video: HOW TO CHECK 7818,7812,7809,7805 VOLTAGE REGULATOR WITH MULTIMETER || INSIDE ALL || HINDI
Conclusion
Testing a voltage regulator with a multimeter is not difficult and can be performed in just a few steps. Make sure to double-check your connections and readings before concluding that the voltage regulator is operating correctly. If you are still unsure, consult a professional or contact the manufacturer of the device for further assistance. It’s important to remember that testing the voltage regulator requires power to be supplied to the device, so make sure you disconnect any wires from it before beginning testing. With proper care, following these steps should help ensure accurate results and safe operation of your electronic components.
References
- http://www.learningaboutelectronics.com/Articles/How-to-test-a-voltage-regulator
- https://mystolenhome.com/how-to-test-a-voltage-regulator-with-a-multimeter/
- https://www.wikihow.com/Test-a-Voltage-Regulator
- https://www.electronicmultimeter.com/test-a-voltage-regulator/
- https://axleaddict.com/auto-repair/Alternator-Voltage-Regulator-Test




Leave a Reply