Multimeters are very handy tools to have in any electronics workshop. They can be used for a wide variety of measurements and tests, including testing the health of a motherboard.
In this guide, we will show you how to test a motherboard with a multimeter. We will answer some common questions about motherboard testing, and provide some tips that will help you get the most accurate results. Let’s get started!
Symptoms Of A Bad Motherboard
There are several signs that can indicate that your motherboard is going bad. These include:
- The computer won’t power on
- Frequent blue screens of death or other errors
- Spontaneous reboots
- Physical damage to the motherboard
If you think your motherboard might be failing, it’s important to test it as soon as possible. A bad motherboard can cause a lot of problems and can even lead to data loss if it’s not fixed. [1]
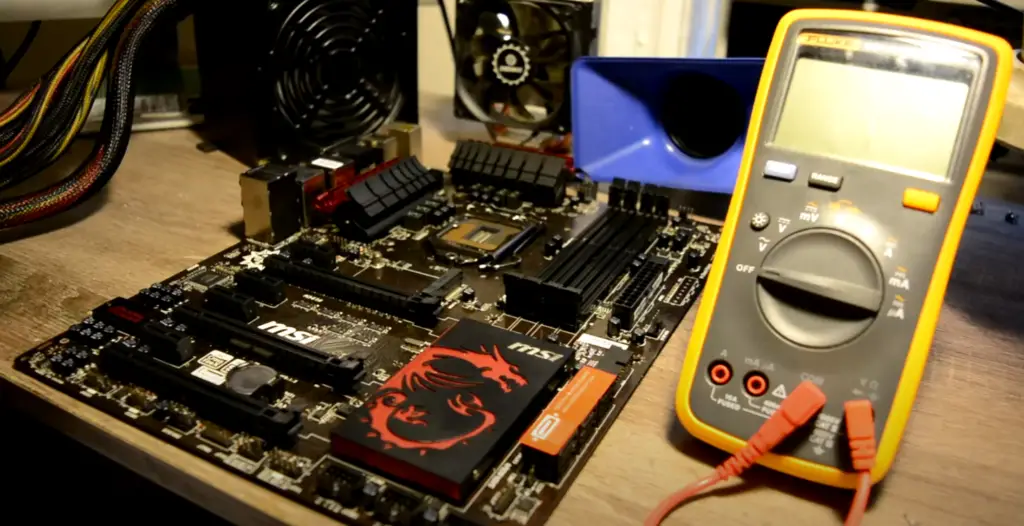
How To Test A Motherboard With A Multimeter?
One way to test your motherboard is with a multimeter. This is a simple and effective way to check for shorts, voltage issues, and other problems.
To use a multimeter to test your motherboard, you’ll need to:
- Set the multimeter to the correct setting. For most motherboards, you’ll want to set it to the “diode test” or “continuity” setting.
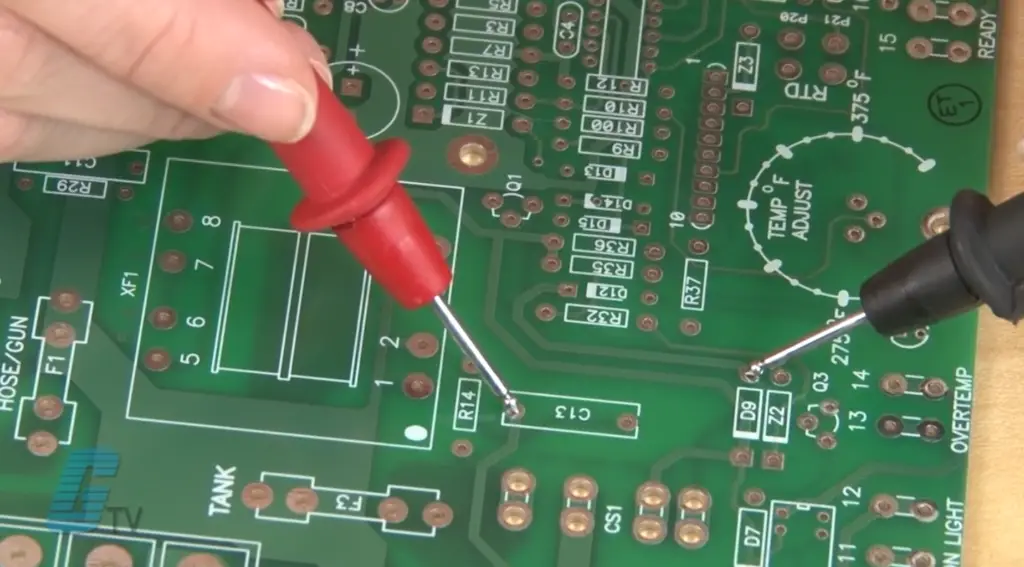
- Touch one probe to the ground point on the motherboard and the other to the point you want to test.
- If the multimeter beeps or shows a reading, then there’s continuity and the point is good. If not, then there may be an issue with that point on the motherboard.
Tools Required To Test A Motherboard
In order to test a motherboard, you will need a few tools. The most important tool is a multimeter. This will be used to test the various voltage levels that are present on the motherboard.
In order to remove the cover from the computer, you will need a screwdriver. It is also helpful to have a flashlight so that you can see inside the computer case when the cover is removed.
What Is A Multimeter?
It is a very useful tool for testing various electrical components, including motherboards.
The multimeter has two probes. The black probe is for testing ground, or 0 volts. The red probe is for testing positive voltage.
When using the multimeter, you need to set it to the right setting. For example, if you want to test voltage, you will need to set it to the “DC Voltage” setting. If you want to test continuity, you will need to set it to the “Continuity” setting.”
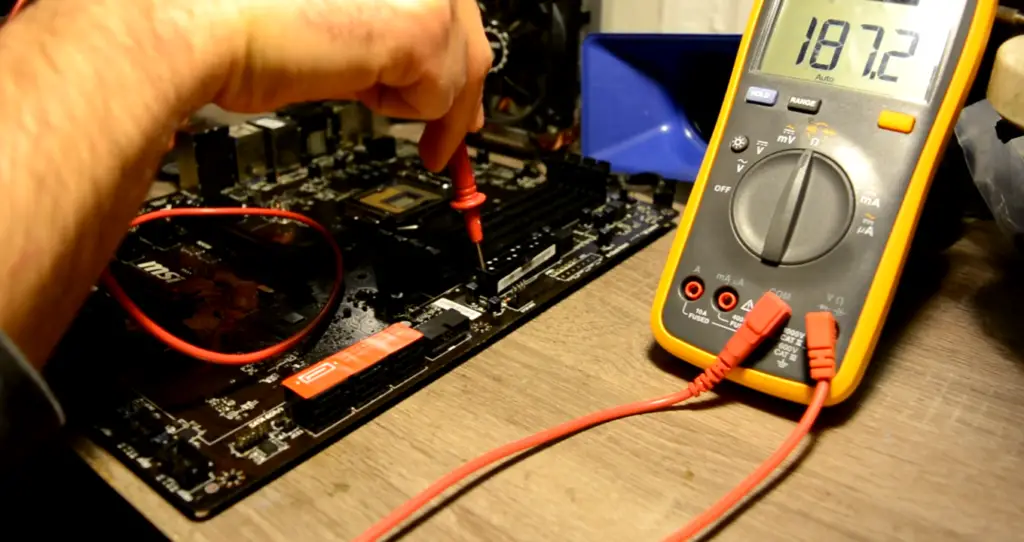
How To Test A Motherboard With A Multimeter?
In order to test a motherboard with a multimeter, you need to first find the right spot to test. This can be done by referring to the motherboard manual.
Once you have found the right spot, connect the black probe to ground and the red probe to the positive voltage. If everything is working properly, you should see a reading on the multimeter.
If you want to test for continuity, you need to connect the probes to both sides of the component that you want to test. If there is continuity, the multimeter will beep.
Testing a motherboard with a multimeter is a great way to troubleshoot problems. It can also be used to test other electrical components, such as power supplies and cables.
Voltage Test
This will ensure that your motherboard is providing the correct level of power to all of the components on your system.
To do this, you’ll need a multimeter. You can find one at most hardware stores for around $20.
First, locate the 24-pin power connector on your motherboard. This is the connector that provides power to the majority of the components on your board.
Next, set your multimeter to the DC voltage setting and touch the black probe to one of the ground pins on the connector. Then, touch the red probe to each of the other pins in turn. You should see a reading of around +12V on most of the pins.
There are a few pins on the connector that will have a different voltage. These are typically +3.3V, +5V, and +12V. Make a note of these readings so you can compare them to the manufacturer’s specifications later.
If you see a reading that is significantly different from what is specified, then you may have a problem with your power supply or your motherboard. [2]
Short Circuit Test
The first step to test a motherboard is to do a short circuit test. This involves testing the continuity of the traces on the motherboard with a multimeter.
To do this, you’ll need to set your multimeter to the continuity setting and touch the probes to two different points on the motherboard. If the multimeter beeps, then the trace is good. If not, then there may be a problem with the trace.
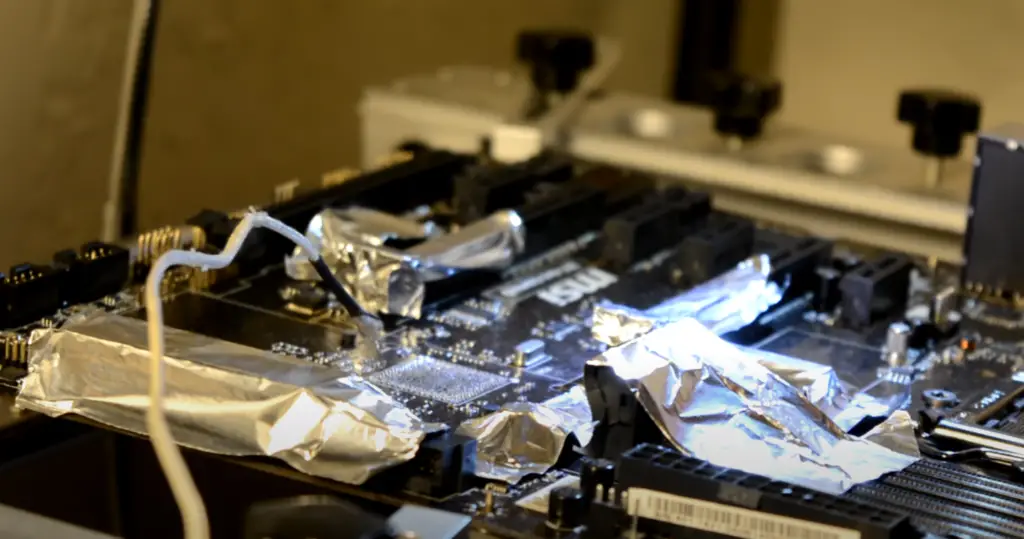
You can also use this method to test for shorts between different traces on the motherboard. To do this, you’ll need to touch one probe to one trace and the other probe to a different trace. If the multimeter beeps, then there is a short between the two traces. [2]
Ground Test
Another way to test a motherboard is to test the ground connection. This can be done by setting your multimeter to the resistance setting and touching one probe to a ground point on the motherboard and the other probe to a different point on the motherboard.
Things to Remember
There are a few things to remember when testing your motherboard with a multimeter.
- Make sure the multimeter is set to the right setting, test the ground first, and make sure to test for voltage using the black lead on the multimeter.
- The black lead should be touching the negative (black) voltage test point, and the red lead should be touching the positive (red) voltage test point.
- To test the motherboard, you will need to test the power supply, voltage regulators, capacitors, and other components. Make sure to read the multimeter manual before using it so you know how to use it properly.
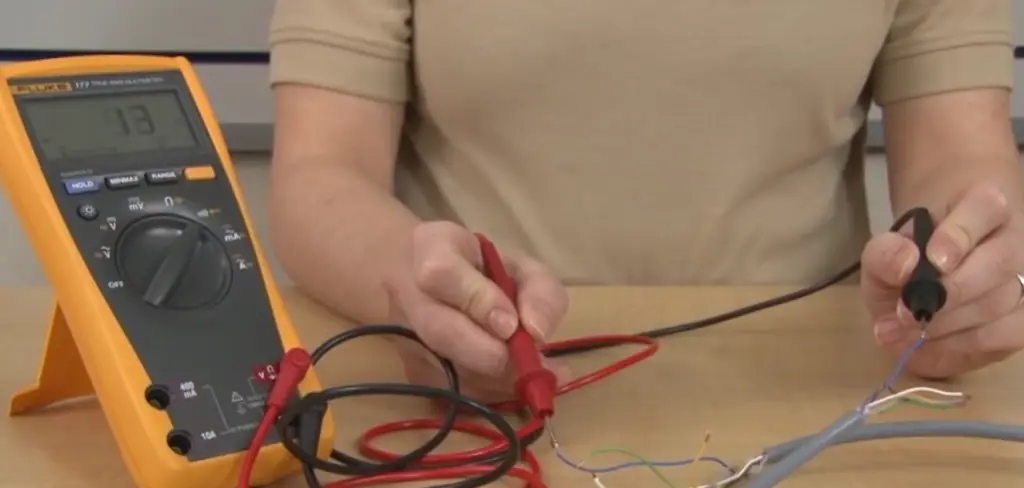
What You Will Need
- A multimeter
- The motherboard manual
Step 1: Set the Multimeter to the Right Setting
The first thing you need to do is set the multimeter to the right setting. You will need to set it to measure DC voltage. To do this, find the V with a straight line above it or an omega symbol (Ω). This means volts in direct current.
Step 2: Test the Ground First
To test the ground, set the multimeter to DC voltage. Touch the black lead of the multimeter to any black wire on the motherboard. Then, touch the red lead of the multimeter to any green wire on the motherboard.
Step 3: Test for Voltage Using the Black Lead
Now you will test the voltage using the black lead on the multimeter. Touch the black lead of the multimeter to the negative (black) voltage test point on the motherboard. Then, touch the red lead of the multimeter to the positive (red) voltage test point on the motherboard.
FAQ
How can I test to see if my motherboard is bad?
There are a few ways to test if your motherboard is bad. One way is to use a multimeter to see if the connectors on the motherboard are connected properly. Another way is to use a POSTcard to see if your motherboard is working correctly.
POST cards are available for purchase online or at your local electronics store.
To use a multimeter to test your motherboard, follow these steps:
Set the multimeter to the Ohm setting.
Touch one lead of the multimeter to each of the following points on the motherboard:
- The ground point on the motherboard (this is usually a black or green wire)
- The positive voltage point on the motherboard (this is usually a red wire)
- The negative voltage point on the motherboard (this is usually a white or blue wire)
If the multimeter displays a reading of 0 ohms, then the connection is good. If the multimeter displays a reading of infinity, then the connection is bad.
You can also use a POSTcard to test your motherboard. To do this, follow these steps:
- Turn off the computer and unplug all of the cables from the motherboard.
- Insert the POST card into one of the expansion slots on the motherboard.
- Plug in the power cable and turn on the computer.
- If the POST card displays any error codes, then your motherboard is likely defective.
How do you find a short in a motherboard using a multimeter?
If you are troubleshooting a short on your motherboard, the best way to find it is with a multimeter.
It can be used to test circuits and components. It can also be used to find shorts on your motherboard.
To test for a short on your motherboard, you will need to set your multimeter to the continuity setting. Once it is set, touch one probe to one end of the component or trace that you think may be shorted. Then touch the other probe to the ground. If the multimeter beeps or lights up, then there is a short between those two points.
You can also use the multimeter to test for voltage. This can be useful for testing whether a component is receiving power. To do this, set the multimeter to the voltage setting and touch the probes to the positive and negative terminals of the component. If the multimeter reads a voltage other than 0, then the component is receiving power.
You can use these two methods to test for shorts and voltage on your motherboard. By doing so, you can narrow down the problem and find the cause of the issue.
How do I test if my motherboard is working?
One way to test if your motherboard is working is to use a multimeter. A multimeter is an electronic device that can measure electrical voltage, current and resistance.
By using a multimeter, you can test whether your motherboard is receiving power and sending power to the other components in your computer.
To test your motherboard with a multimeter, you will need:
- A digital multimeter
- A set of jumper wires
Instructions:
- Set the multimeter to the “DC Voltage” setting.
- Locate the power supply connectors on the motherboard. These are typically labelled as “PWR_LED”, “+12V”, “-12V” and so on.
- Connect the positive lead of the multimeter to the “PWR_LED” connector.
- Connect the negative lead of the multimeter to the “ground” or “GND” connector on the motherboard.
- Check the reading on the multimeter. If it reads 0 volts, then this indicates that there is no power being supplied to the motherboard. This could be due to a faulty power supply or a problem with the motherboard itself.
- If the multimeter reads 12 volts or more, then this indicates that power is being supplied to the motherboard.
- Next, you will need to test whether the motherboard is sending power to the other components in your computer. To do this, connect the positive lead of the multimeter to the “+12V” connector on the motherboard.
- Connect the negative lead of the multimeter to one of the “ground” or “GND” connectors on the motherboard.
- Check the reading on the multimeter. If it reads 0 volts, then this indicates that there is no power being sent to the component. This could be due to a faulty component or a problem with the motherboard itself.
- If the multimeter reads 12 volts or more, then this indicates that power is being sent to the component. Repeat this process for each of the other components in your computer.
How do you test a motherboard for a short circuit?
The first step is to remove all of the cables from the motherboard. This includes the power cable, any data cables, and any other cables that may be attached.
Once all of the cables have been removed, you will need to find a grounding point on the motherboard. The grounding point is usually a metal pad or prong that is labelled “GND” or “Ground.”
Once you have located the ground point, you will need to attach the black lead from the multimeter to the ground point. Next, you will need to touch the red lead from the multimeter to each of the exposed copper pads on the motherboard.
If there is no continuity between the lead and the pad, then the motherboard is most likely shorted and will need to be replaced.
How do you test a motherboard for bad capacitors?
Start by testing the power supply. You can do this by using a multimeter to test the DC voltage output of the power supply. If the power supply is not outputting the correct voltage, then it will need to be replaced.
Next, you will need to remove the motherboard from the computer case. Once the motherboard is removed, you will need to visually inspect it for any swollen or leaky capacitors. If you notice any bad capacitors, then the motherboard will need to be replaced.
If you are not sure how to test the power supply or remove the motherboard, then you can find instructions online or in your computer’s manual.
How do you check your motherboard?
If your computer is having issues, you may want to know how to test a motherboard with a multimeter. This can help you diagnose the problem and potentially fix it.
There are several ways that you can test your motherboard:
- Checking the capacitors
- Checking the power supply
- Checking the BIOS
- Checking the CPU
- Checking the memory
- Checking the graphics card
- Checking the hard drive
Why is my motherboard not getting power?
One of the most common reasons why a motherboard doesn’t get power is because of loose connections. Make sure that all of your cables are properly plugged into the correct ports. If you’re still having trouble, try resetting the BIOS.
This will fix many problems people have with their motherboard not getting power.
If your motherboard is not getting power, it might be because of a faulty power supply. Try plugging your power supply into a different outlet or switch to see if that fixes the problem. If it doesn’t, you may need to replace your power supply.
If your motherboard isn’t getting power at all, then it’s most likely defective and will need to be replaced.
How do I test my motherboard with a multimeter?
There are a few ways to test your motherboard with a multimeter. You can check for shorts, measure the voltage of the power rails, and test the continuity of the ground.
To check for shorts, set your multimeter to the ohm setting and touch one of the probes to each of the pins on the connector. If the multimeter beeps, that means there is a short.
To measure the voltage of the power rails, set your multimeter to the DC volts setting and touch one of the probes to each of the pins on the connector. The multimeter will display the voltage that it reads.
To test the continuity of the ground, set your multimeter to the continuity setting and touch one of the probes to each of the pins on the connector. The multimeter will beep if there is continuity.
Useful Video: What is Continuity and How to Test for it With a Multimeter
Conclusion
Multimeters are essential tools for electricians, but they can also be used to test the motherboard in a computer. In order to test a motherboard with a multimeter, you will need to find the voltage and current pins on the board.
Once you have located these pins, you can use the multimeter to check if the motherboard is providing power to the computer. If there is no power getting to the motherboard, you may need to replace the power supply unit.
If you want to test your computer’s motherboard, you can use a multimeter. This will help you figure out if the motherboard needs replaced or not.
You will need to find the voltage and current pins on the motherboard in order to test it. If you don’t see any power getting to the motherboard, then you may need to replace the power source.
Knowing how to test a motherboard with a multimeter can help save you time and money. Thanks for reading!
References
- https://electrouniversity.com/how-to-test-a-motherboard-with-a-multimeter/
- https://toolsweek.com/how-to-test-a-motherboard-with-a-multimeter/






Leave a Reply