Testing a blower motor with a multimeter is a process that can seem daunting to some. However, it’s really not as difficult as it seems. In this article, we will walk you through the entire process step-by-step. We’ll provide you with some tips to make the process easier, and we’ll also answer some common questions about testing blower motors. So whether you’re a beginner or an experienced DIYer, this guide has everything you need to test your blower motor like a pro!
What is a Blower Motor?
You can also find them in other HVAC systems such as AC units and heat pumps. Blower motor works by blowing air through a series of ducts and vents. The blower motor is powered by electricity and is controlled by a switch or knob inside the vehicle. When you turn on the switch, electricity flows to the motor and the blades begin to spin. This action creates an airflow that moves through the ducts and into the cabin of the vehicle.
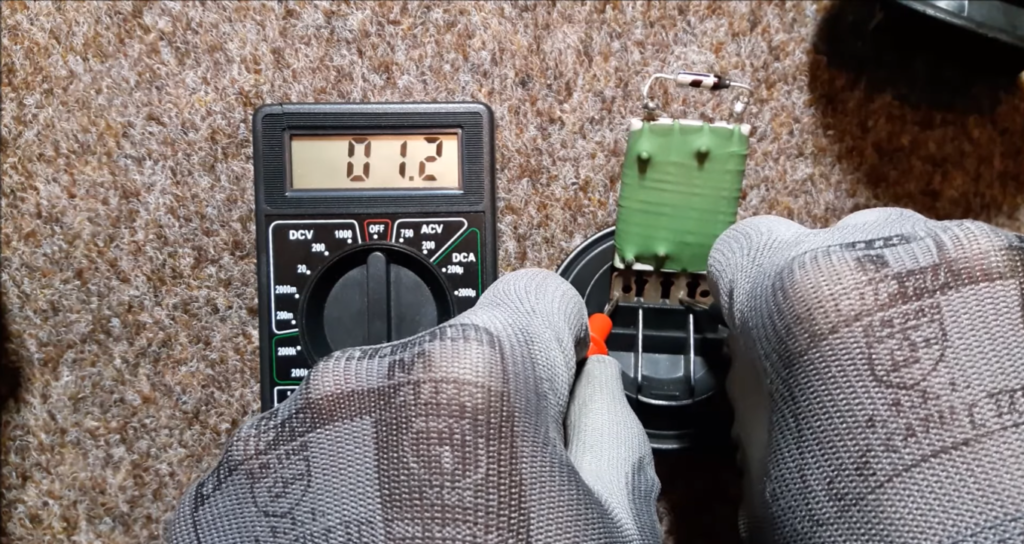
The blower motor consists of several parts, including:
- The housing (which encloses the other parts of the motor)
- The rotor (which turns inside the housing)
- The stator (a stationary set of coils that surrounds the rotor)
- The bearings (which allow the rotor to turn smoothly inside the housing)
- The capacitor (which provides power to the motor) [1], [2], [3]
Types of Blower Motors
Now that you know what a blower motor is, let’s talk about the different types. Blower motors can be either single-speed or variable-speed. Single-speed motors have one speed setting, while variable-speed motors have multiple speed settings.
Single-speed motors are the most common type of blower motor. They are found in older models of furnaces and HVAC systems. These motors are turned on and off by a switch, and they run at a constant speed.
Variable-speed motors are newer and more energy-efficient than single-speed motors. They can operate at different speeds, which helps to regulate the airflow in your home. Variable-speed motors are controlled by a computer board, and they typically run at a lower speed when the system is first turned on. [1], [2]
How To Know If A Blower Motor Is Bad
Still, before you start testing the blower motor, it is important to first understand how to know if a blower motor is bad. There are several signs that indicate a failing blower motor, including:
Overheating
One of the most common signs of a bad blower motor is overheating. The motor will feel hot to the touch, and it may even smell like it is burning. If you notice that the motor is overheating, turn off the power to the furnace and call a qualified technician to replace the motor.
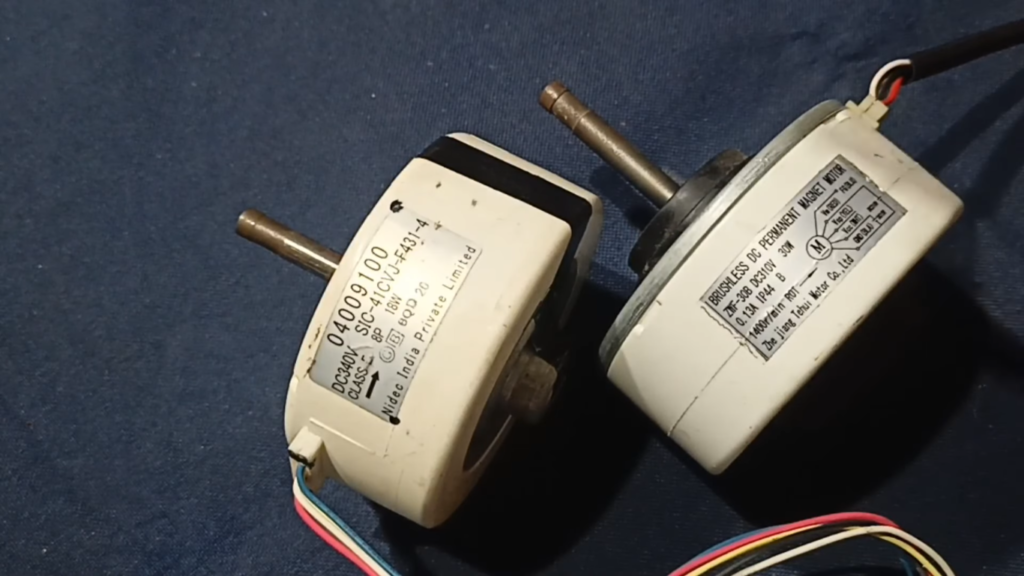
Strange sounds coming from the motor
The blower motor is encased in a housing, and this housing helps to muffle the sound of the motor. If you start to hear strange sounds coming from the motor, it is an indication that something is wrong. The sound may be a humming noise, or it may be a grinding noise. Either way, it is important to have the motor checked out by a professional.
The airflow from the vents is weak
If you notice that the airflow from your vents is weaker than usual, this could be a sign of a failing blower motor. The blades of the fan may not be spinning as fast as they should, which would reduce the amount of air that is being moved through the system.
No airflow coming from vents
Or worse, you may notice that there is no airflow coming from the vents at all. This could be due to a number of different issues, but a bad blower motor is one of the most common causes.
Another possibility is that the ducts are clogged and need to be cleaned. However, if you’ve checked the ducts and they are clear, then a weak airflow is likely due to a problem with the blower motor.
Faulty power supply could also be the culprit. If there is not enough power going to the motor, it will not be able to spin at full speed. This would also result in reduced airflow from the vents. So before testing the motor, make sure that the power supply to the furnace is working properly.
If you notice any of these signs, then it’s time to test the blower motor. Testing the blower motor can help you determine if it is truly failed or if there is another issue with the HVAC system. [1], [2]
How To Test Blower Motor With Multimeter
Testing the blower motor is a relatively simple process that can be done with a multimeter.
We suggest you use a digital multimeter for this test as it is more accurate than an analog multimeter.
Testing Resistance Between Terminals
Resistance is the measure of how much a material opposes the flow of electric current. The higher the resistance, the more difficult it is for current to flow. The resistance test is important because it helps to identify if there are any issues with the blower motor itself. If the resistance is too high, it could indicate a problem with the windings or other internal components of the motor. A lower than normal resistance could also indicate a problem, although this is not as common.
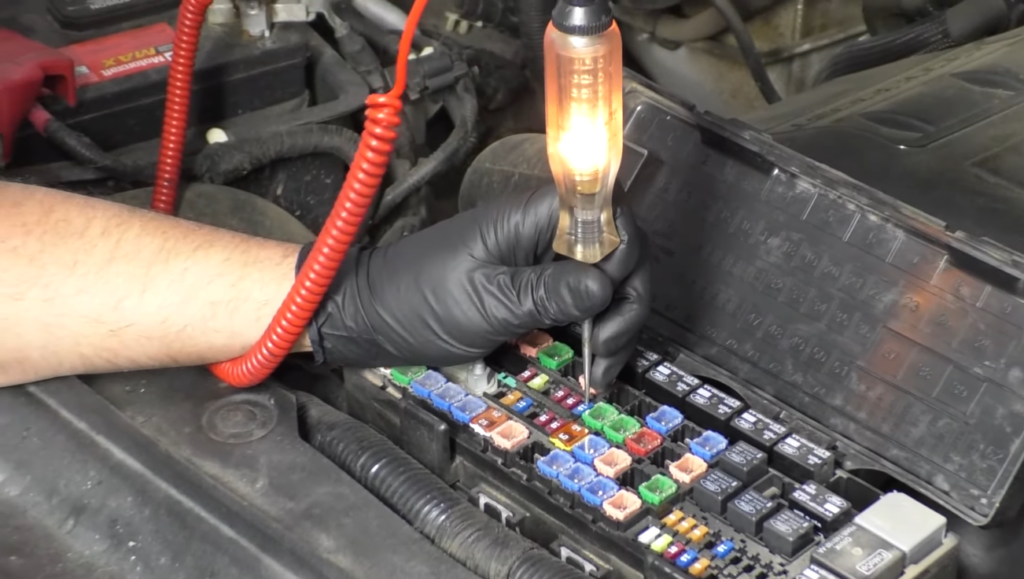
Turn off your vehicle
The first thing you need to do is turn off your vehicle. You will be working with electricity, so it is important to make sure that there is no power running through the system.
If you are testing the blower motor on a car, truck, or SUV, disconnect the battery before beginning. This can be done by removing the negative terminal from the battery. If you are testing the blower motor on a boat or RV, find the main power switch and turn it off.
Set your multimeter to Ohms
The next step is to set your multimeter to the Ohms setting. This can be done by turning the dial on the multimeter to the “Ω” symbol.
Check for resistance between the terminals
Once you have set your multimeter to Ohms, you will need to check for resistance between the terminals. Resistance is measured in ohms and is represented by the symbol “Ω”.
Next, touch the negative terminal of the multimeter to the negative terminal of the blower motor. Then touch the positive terminal of the multimeter to the positive terminal of the blower motor. If everything works fine, the multimeter should read 0Ω. If the multimeter does not read 0Ω, then there is a problem with the blower motor and it will need to be replaced.
Testing the Voltage of Blower Motor Wires
Another test you can do with a multimeter is to test the voltage of the blower motor wires. This test will tell you if there is power going to the blower motor.
Power your engine
First, you will need to power your engine. You can do this by either starting the engine or by using a battery charger.
You also need to turn your conditioner to maximum capacity. Doing this will make sure that the blower motor is working at its highest potential.
Set your multimeter to DC voltage
Next, you will need to set your multimeter to DC voltage. After that, you will need to locate the blower motor wires. These are usually located near the blower motor itself. Look for a purple wire that you will read for current.
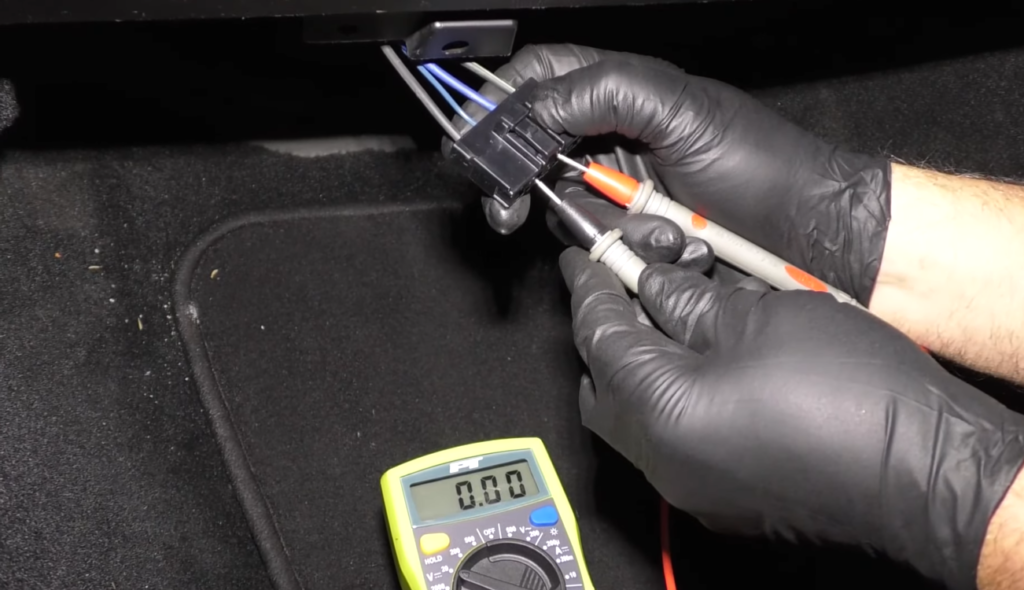
Once you have located the wire, you will need to touch it with the multimeter probes. If you get no reading, this means that there is no power going to the blower motor.
If you do get a reading, this means that there is power going to the blower motor and you can proceed to the next test. Reading current is just a first step in testing a blower motor with a multimeter. [4], [5]
Check the relay for grounding
Next step is to check the relay for grounding. The relay is what controls the power going to the blower motor.
To access the replay, you will need to remove the fuse panel cover. Once you have done that, locate the relay that is labeled as the blower motor relay.
Once you have located the relay, remove it from its socket and check to see if there is any corrosion on the bottom of it. If everything is in order, it’s time to test it.
To test the relay, you will need to set your multimeter to ohms. After that, touch one probe of the multimeter to the terminals on the relay.
Next, switch your multimeter to DC voltage and check the current pin without grounding it. If there is no power going to the relay, this means that it is not working and will need to be replaced. [4], [5]
Test the connector
Lastly, you will need to check the functionality of a fuse. Fuses are designed to protect the blower motor from drawing too much power and burning out.
To check if the fuse is working, you will need to turn your car ignition on. After that, locate the fuse panel and remove the cover. Once you have done that, locate the fuse that is labeled as the blower motor fuse. After you have identified the fuse, use a multimeter to check for continuity. [4], [5]
FAQ
How do you test a blower motor?
To test a blower motor, first make sure the power is off to the unit. Then, using a multimeter, check for continuity between the two wires coming from the blower motor. If there is continuity, then the blower motor is good. If there is no continuity, then the blower motor needs to be replaced.
Another way to test a blower motor is to check the voltage, for this you will need to turn the engine on and set the multimeter to DC volts. With the engine on, check the voltage of the purple wire coming from the blower motor.
How do you check blower motor voltage?
The first step is to check the voltage at the blower motor connector. This can be done with a multimeter set to the “DC volts” setting. The voltage should be between 4 and 6 volts for slow speeds and up to 12 for higher speeds. If it is outside of this range, there may be a problem with the power supply to the blower motor.
How many volts should a blower motor receive?
A blower motor should ideally receive around 12 volts at high speed. However, anything between 4 and 6 volts is generally considered to be within the acceptable range for slower speeds. If your multimeter shows a reading of less than that, this could be an indication that there is an issue with the electrical system.
How do you know if your blower motor is bad?
There are a few telltale signs that your blower motor might be going bad. If you notice that your car’s heater or air conditioner is blowing less air than usual, or if the air flow seems weak, then your blower motor could be to blame. Another sign that your blower motor might be going bad is if you hear a squealing noise coming from the engine compartment when you turn on the heater or air conditioner. If you notice any of these Symptoms, then it’s time to test your blower motor with a multimeter.
Useful Video: Blower motor test
Conclusion
Ensuring your blower motor is in working order is crucial to the comfort of your home, and can save you a lot of money in repairs down the road. With this guide, testing your blower motor with a multimeter should be a breeze! We have covered how to test a blower motor with a multimeter for DC voltage, as well as how to test the resistance of the motor. We also briefly touched on how to diagnose other issues that may be affecting your blower motor.
Now that you know how to test a blower motor with a multimeter, you can easily troubleshoot any issues you may have with your vehicle’s heating or cooling system. Don’t forget to check other components in the system, such as the fuse, relay, and switch, to ensure that they are also working properly. Thanks for reading!
References
- https://www.laheatingairconditioning.com/post/what-is-a-blower-motor
- https://electrouniversity.com/how-to-test-blower-motor-with-multimeter/
- https://www.samarins.com/glossary/blower-motor-resistor.html
- https://toolsweek.com/how-to-test-blower-motor-with-multimeter/
- https://handtoolsforfun.com/how-to-test-a-blower-motor-with-a-multimeter/


Leave a Reply