Zabbix is an open-source monitoring software that is widely popular for its ability to monitor the performance and availability of various components within an IT infrastructure. It offers real-time monitoring, alerting, and data visualization capabilities, making it a versatile tool for network, server, application, and service monitoring. In this comprehensive guide, we will walk you through the step-by-step process of installing Zabbix on a Raspberry Pi, ensuring a seamless and efficient setup for your monitoring needs. Let’s get started!
Step 1: Install Raspberry Pi OS (Raspbian) on Raspberry Pi
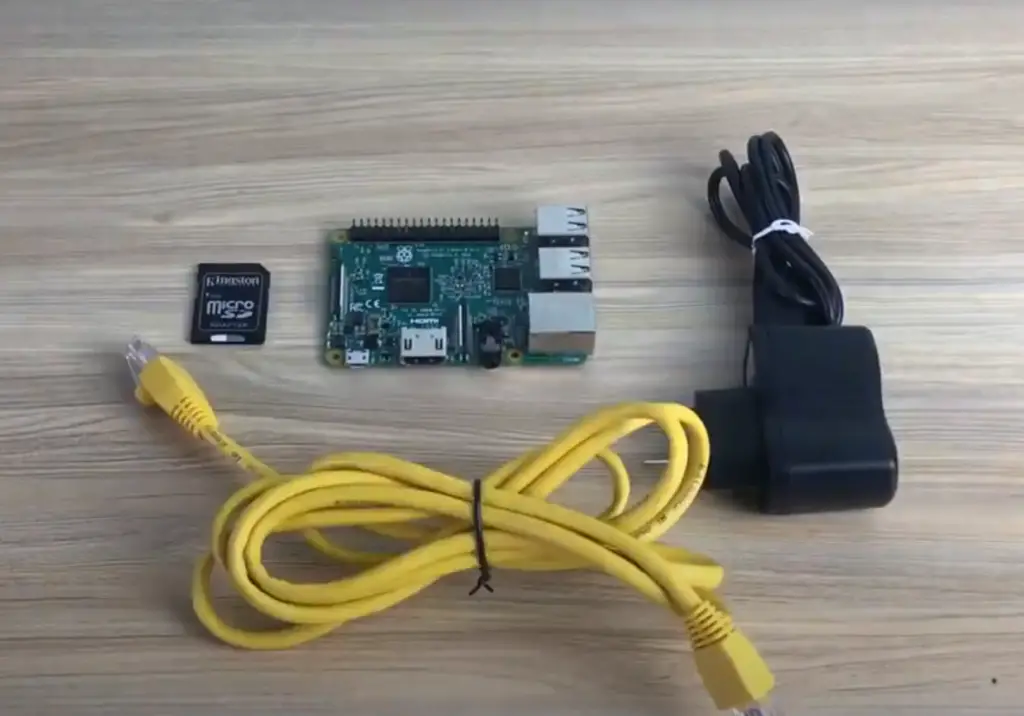
Before we begin with the installation of Zabbix, it is necessary to have a working Raspberry Pi running Raspberry Pi OS (formerly known as Raspbian). If you already have this setup, you can skip to the next step. However, if you are setting up your Raspberry Pi for the first time, here’s how you can install Raspberry Pi OS:
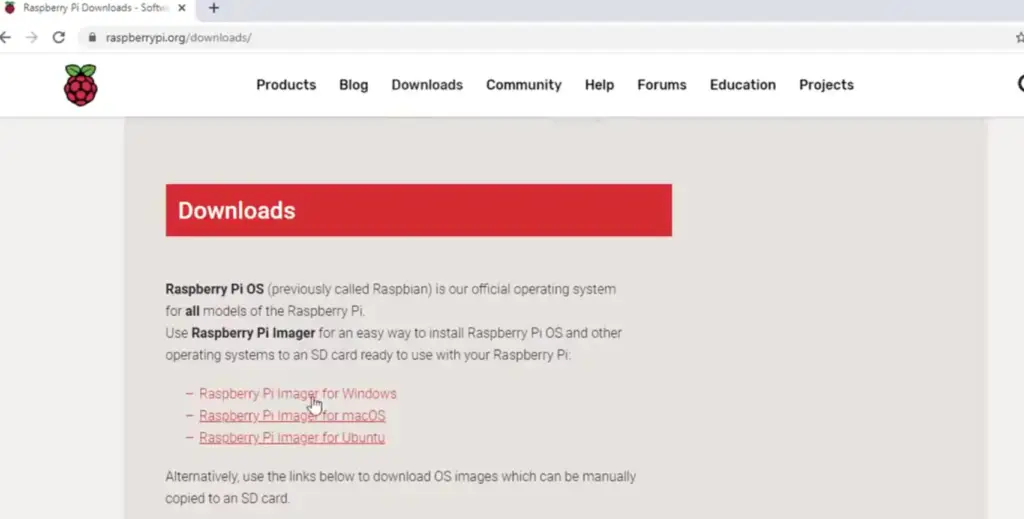
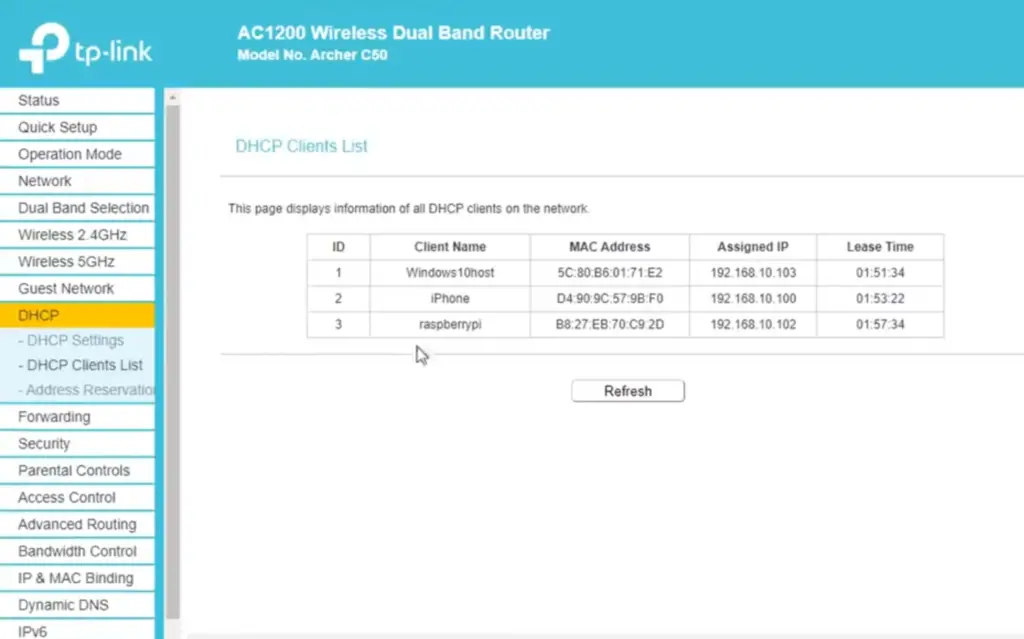
- Start by downloading the Raspberry Pi Imager, a powerful tool available on the official Raspberry Pi website. Visit the website at https://www.raspberrypi.org/downloads/ and find the Raspberry Pi Imager download link.
- To prepare your SD card for the Raspberry Pi, insert it into your computer. It is recommended to use an SD card with a minimum capacity of 16GB or higher to ensure sufficient storage space. Once inserted, open the Raspberry Pi Imager application.
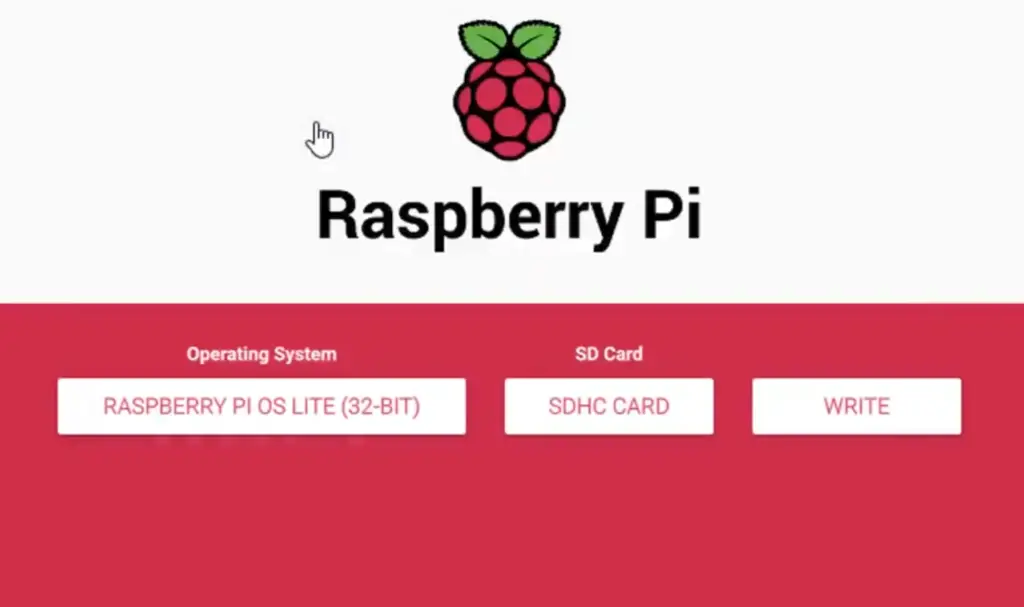
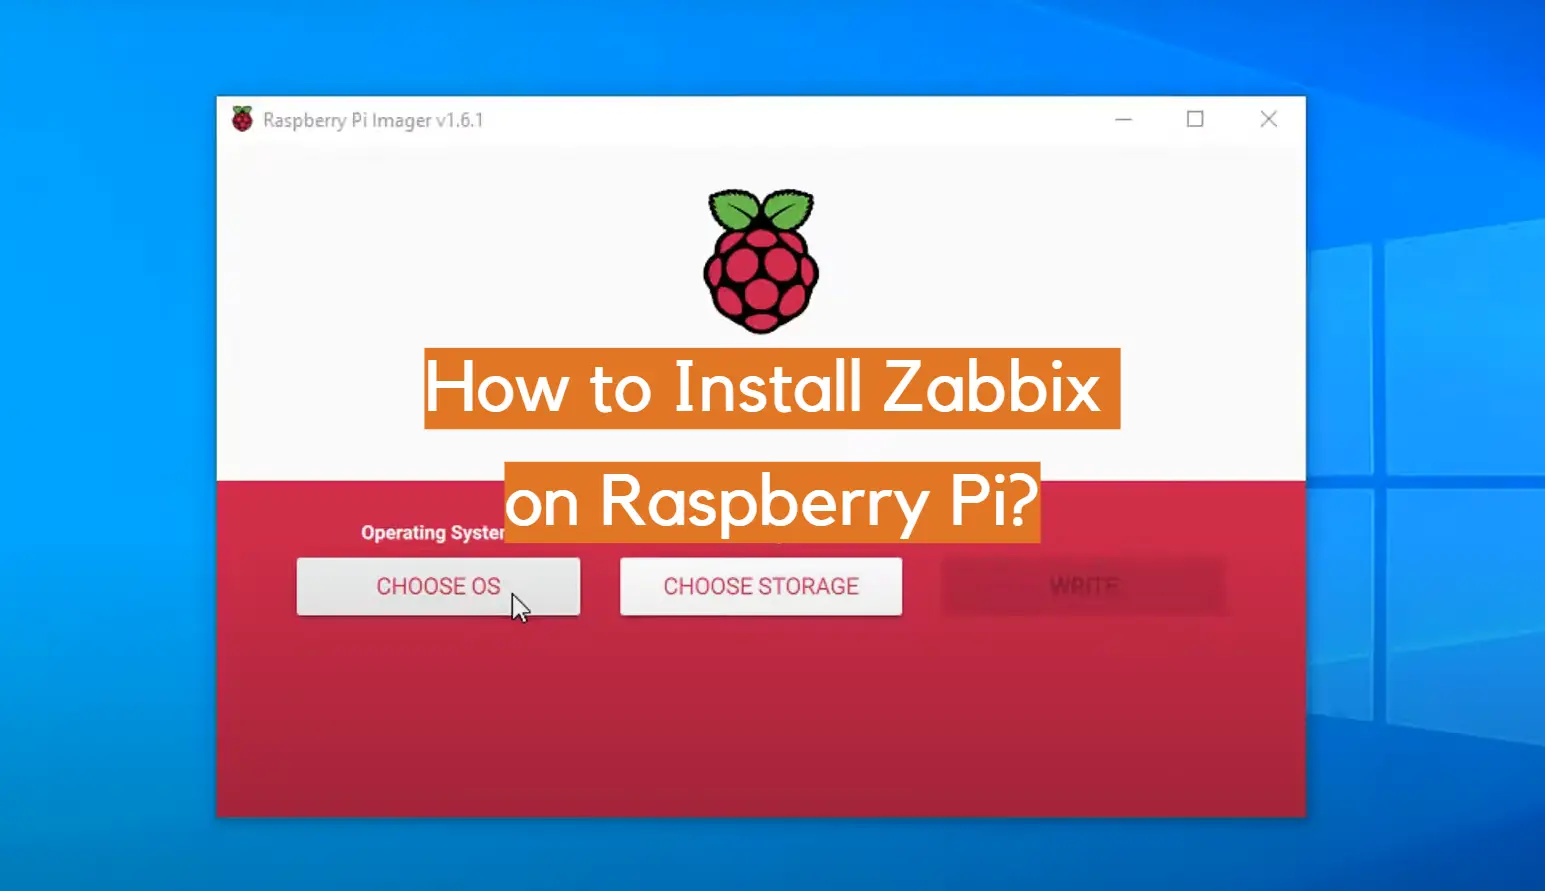
- Within the Raspberry Pi Imager, select the ‘Choose OS’ option to browse through the available operating systems. For optimal compatibility and performance, choose the ‘Raspberry Pi OS (32-bit)’ option.
- Now, it’s time to specify the target drive for the Raspberry Pi OS installation. Choose the inserted SD card as the target drive within the Raspberry Pi Imager. Once selected, click on the ‘Write’ button to begin the writing process.
- After the writing process is complete, safely eject the SD card from your computer and insert it into your Raspberry Pi device. Ensure a stable power source and power up your Raspberry Pi.
- Follow the intuitive on-screen instructions that appear on your Raspberry Pi’s display to complete the setup of Raspberry Pi OS. This will include language selection, network configuration, and other essential setup steps. [3]
By following these detailed steps, you will successfully set up your Raspberry Pi with the Raspberry Pi OS, ready to unleash its full potential!
Step 2: Connect to Raspberry via SSH
To install and configure Zabbix on your Raspberry Pi, you will need to connect to it via SSH (Secure Shell). This will allow you to remotely access and control your Raspberry Pi from another device. To connect via SSH:
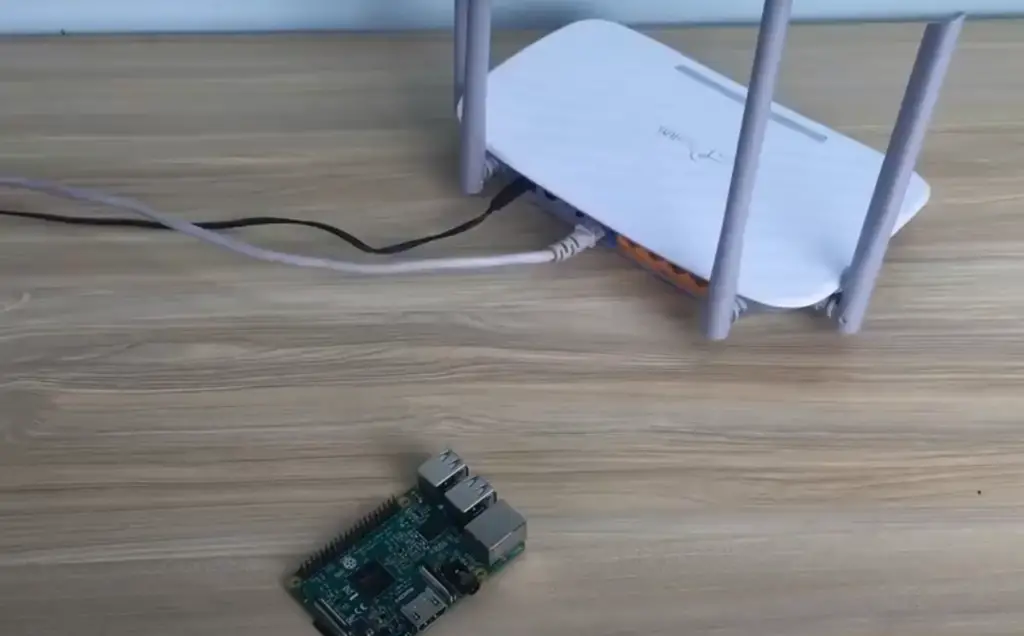
- Ensure that both your Raspberry Pi and the device you are connecting from are connected to the same network.
- Find out the IP address of your Raspberry Pi by entering ‘hostname -I’ in the terminal on your Raspberry Pi device.
- On your remote device, use an SSH client application such as PuTTY (for Windows) or Terminal (for Mac). Enter the IP address of your Raspberry Pi and connect using port 22.
- You will be prompted for a username and password. The default username for Raspberry Pi OS is ‘pi’ and the default password is ‘raspberry’. It is recommended to change these credentials for security reasons. [3]
Step 3: Install Zabbix server, frontend, and agent
Now that you have successfully connected to your Raspberry Pi via SSH, you can proceed with the installation of Zabbix server, frontend, and agent. Here’s how:
- Start by updating the package lists on your Raspberry Pi using the command ‘sudo apt update’
- Next, install the required packages for Zabbix by entering ‘sudo apt install zabbix-server-mysql zabbix-frontend-php zabbix-agent’.
- During the installation, you will be prompted to configure the database for Zabbix server. Choose ‘Yes’ when asked if you want to create a new database and enter a password for the MySQL database user.
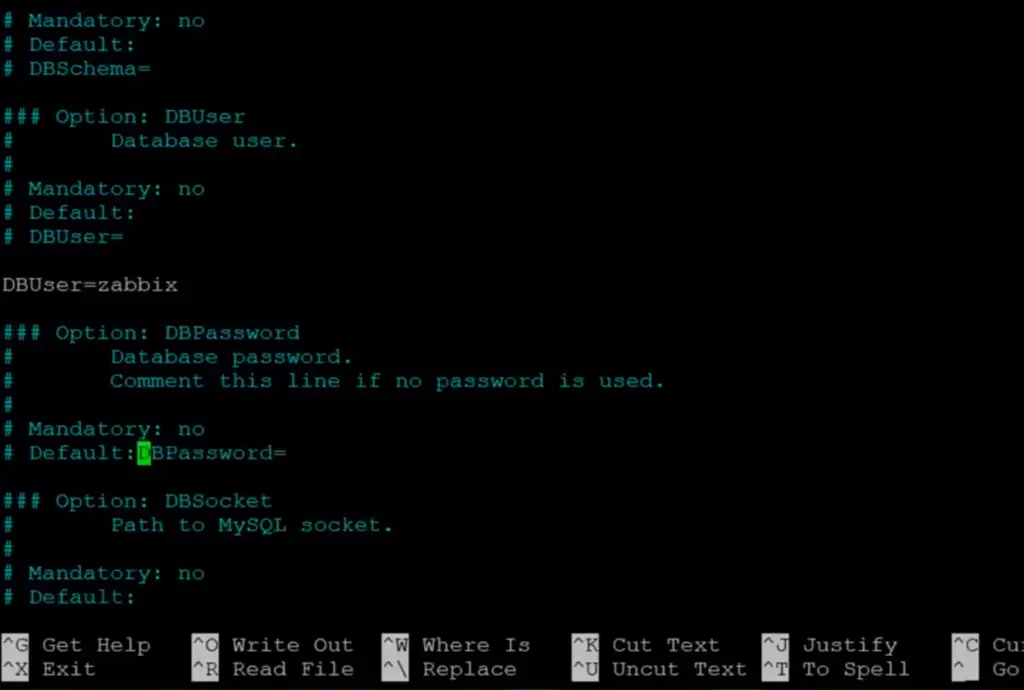
- Once the installation is complete, edit the Zabbix server configuration file using the command ‘sudo nano /etc/zabbix/zabbix_server.conf’. Here, you can specify the database name, user, and password that you have set up in the previous step.
- Save the changes and exit the editor. Then restart Zabbix server using ‘sudo systemctl restart zabbix-server’.
- Next, configure Apache web server for Zabbix frontend by editing its configuration file using ‘sudo nano /etc/apache2/conf-enabled/zabbix.conf’. Here, you can specify the timezone for your Zabbix server and other necessary configurations.
- Save the changes and restart Apache web server using ‘sudo systemctl restart apache2’.
- Finally, start the Zabbix agent by entering ‘sudo systemctl start zabbix-agent’ in the terminal. [3]
Step 4: Configure database on Raspberry Pi
To ensure Zabbix can communicate with the database on your Raspberry Pi, you will need to configure it properly. Here’s how:
- Start by logging into MySQL as root using ‘sudo mysql -u root’.
- Create a new database for Zabbix by entering ‘CREATE DATABASE zabbix CHARACTER SET UTF8 COLLATE utf8_bin;’.
- Next, create a new user for the database by entering ‘CREATE USER ‘zabbix’ IDENTIFIED BY ”;’. Be sure to replace with your desired password.
- Grant all necessary permissions to the database user by entering ‘GRANT ALL PRIVILEGES ON zabbix.* TO ‘zabbix’;’.
- Finally, flush privileges and exit MySQL using ‘FLUSH PRIVILEGES; EXIT;’. [3]
Step 5: Start Zabbix server and agent processes
After completing the database configuration, you can begin the process of starting the Zabbix server and agent. To do this, follow the steps below:
- Start the Zabbix server by using the command ‘sudo systemctl start zabbix-server’. This will initiate the server process and allow it to start handling monitoring tasks.
- Once the server is up and running, proceed to start the Zabbix agent by executing the command ‘sudo systemctl start zabbix-agent’. This will activate the agent process, enabling it to collect and send monitoring data to the Zabbix server.
- To ensure that both processes are functioning correctly, you can check their status by using the commands ‘sudo systemctl status zabbix-server’ and ‘sudo systemctl status zabbix-agent’. This will provide you with detailed information about the running status of each process, allowing you to verify their proper operation. [3]
By following these steps, you will be able to successfully start the Zabbix server and agent, ensuring the smooth functioning of your monitoring system.
Step 6: Configure Zabbix frontend
To access and utilize Zabbix on your Raspberry Pi, you will need to configure the frontend. Here’s a step-by-step guide:
- Open a web browser on your remote device and enter the IP address of your Raspberry Pi followed by ‘/zabbix’ in the address bar. This will direct you to the Zabbix interface.
- On the Zabbix login page, you will be prompted to enter your credentials. For the username, use ‘admin’ and for the password, enter ‘zabbix’. This will grant you access to the system.
- Once logged in, you will be prompted to change your password. It is recommended to follow the instructions provided and set a new password for enhanced security.
- After changing your password, you will be directed to the Zabbix dashboard. This is where you can customize your monitoring tasks and tailor the system to meet your specific requirements. [1]
With these steps, you will be able to successfully configure Zabbix on your Raspberry Pi and begin leveraging its monitoring capabilities. Enjoy the power and flexibility of this versatile tool!
Step 7: Login to frontend using Zabbix default login credentials
After successfully configuring the frontend, you can access Zabbix by logging in using the default credentials provided above. However, for enhanced security measures, it is highly recommended to change these default credentials to a unique and strong password of your own choosing. By doing so, you can ensure a higher level of protection for your Zabbix installation and safeguard your system from potential security risks. [1]
Step 8: Optimizing Raspberry Pi (optional)
If you want to optimize your Raspberry Pi for better performance, here are a few tips that can help you achieve that:
- Disable unnecessary services and applications that are not essential for Zabbix. By doing this, you can free up system resources and ensure that your Raspberry Pi is focused on running Zabbix efficiently.
- Regularly monitor and free up disk space to avoid any potential storage issues. This can be done by removing unnecessary files, cleaning up temporary files, and running disk cleanup utilities. By keeping your disk space in check, you can prevent any performance degradation caused by low storage.
- Adjust the system’s swap file size if needed to improve memory management. The swap file acts as virtual memory and can greatly impact the performance of your Raspberry Pi. By adjusting the swap file size according to your needs, you can optimize memory management and improve overall system responsiveness.
- Keep the system updated by regularly running ‘sudo apt update’ and ‘sudo apt upgrade’ commands. This ensures that you have the latest software updates and security patches for your Raspberry Pi. By staying updated, you can benefit from performance improvements and bug fixes that can enhance the overall functionality of your system. [1]
By following these steps, you can optimize your Raspberry Pi for Zabbix and ensure that it runs smoothly and efficiently. So go ahead, install Zabbix on your Raspberry Pi and take control of your monitoring needs today!
Step 9: Optimizing Zabbix Server (optional)
To further optimize your Zabbix installation, here are a few tips that can help you get the most out of it:
- Regularly purge old data from the database to free up space and improve performance. This can be done by configuring retention periods for each data type through the Zabbix frontend.
- Configure monitoring intervals according to your needs. By adjusting how often Zabbix collects data, you can optimize performance and reduce the load on your system.
- Use templates to monitor multiple devices or services instead of individual items. This reduces the number of monitoring checks needed and improves overall system efficiency.
- Regularly review and fine-tune triggers to prevent unnecessary alerts and ensure that critical issues are promptly reported. By properly configuring triggers, you can avoid unnecessary system load and maintain an effective monitoring system. [1]
By implementing these optimizations, you can ensure that your Zabbix installation is running at its best and providing efficient and accurate monitoring for all your devices and services. Take advantage of the power and flexibility of this open-source tool to keep your systems in check and stay on top of any potential issues.
Step 10: Optimizing MySQL database (optional)
If you are using a MySQL database to store Zabbix data, here are some tips to optimize its performance:
- Use the InnoDB storage engine instead of MyISAM for better reliability and scalability. InnoDB provides support for transactions, row-level locking, and foreign keys, making it a more suitable choice for ensuring data integrity and handling high-concurrency scenarios.
- Regularly back up your database to prevent data loss and maintain system consistency. Implementing automated backup procedures, including full and incremental backups, can safeguard your data and enable quick recovery in case of any unforeseen events or disasters.
- Adjust the buffer pool size according to your needs, as this can greatly impact the performance of database queries. The buffer pool is a key component of MySQL’s memory management, and allocating the right amount of memory to it can enhance query execution speed and reduce disk I/O operations.
- Monitor and optimize slow queries to improve overall system responsiveness. Identifying and addressing slow-performing queries can significantly enhance the efficiency of your database. Techniques such as query optimization, index tuning, and database schema design improvements can help optimize query execution and reduce response times. [2]
Step 11: Partition MySQL tables (optional)
To further improve the performance of your MySQL database, you can partition large tables to distribute data storage and optimize query processing. This can be done through the Zabbix frontend by modifying the ‘Partitioning’ settings for each table.
By partitioning tables, you can ensure that database queries are processed more efficiently and reduce the overall system load. This is especially useful for larger installations with a high volume of data being collected and stored by Zabbix. [2]
Step 12: How to manage Zabbix / MySQL / Apache server
To manage Zabbix, MySQL, and Apache servers, you can use a variety of tools such as the command-line interface (CLI), a web-based control panel, or third-party applications. Here are some examples of commonly used tools for server management:
- For Zabbix: The Zabbix frontend provides an intuitive web interface for managing your monitoring system. It allows you to configure hosts, add templates, create triggers, and more.
- For MySQL: You can use the MySQL command-line client or a web-based control panel such as phpMyAdmin to manage your database. These tools allow you to perform tasks such as creating databases, executing queries, and managing user accounts.
- For Apache: The Apache HTTP server comes with its own command-line interface, but you can also use a web-based control panel such as Webmin to manage your server. This allows you to configure virtual hosts, manage modules, and monitor server performance. [2]
By using the right tools for each component of your Zabbix installation, you can easily manage and maintain your monitoring system without any hassle.
Step 13: Upgrade between minor versions of Zabbix
To upgrade your Zabbix server to a newer minor version, follow these steps:
- Backup your database and configuration files.
- Download the latest minor version from the official Zabbix website.
- Stop the current Zabbix server process.
- Install the new version using your preferred method (e.g., package manager or manual installation).
- Start the new Zabbix server process.
- Log in to the Zabbix frontend and navigate to ‘Administration’ > ‘General’ > ‘Upgrade’.
- Follow the instructions on the screen to complete the upgrade process. [2]
By regularly upgrading your Zabbix installation, you can ensure that you have access to all the latest features and improvements while also maintaining system stability and security.
FAQ
How to install Zabbix on Linux?
To install Zabbix on Linux, you can easily follow the comprehensive steps outlined in this document. It provides clear instructions and guidance, ensuring a smooth installation process. Keep in mind that you will need to have root access or sudo privileges to successfully complete the installation. These privileges grant you the necessary permissions to make system-wide changes and configurations. By following these steps, you’ll be able to set up Zabbix and leverage its powerful monitoring capabilities effectively.
How to install Zabbix on Ubuntu?
To install Zabbix on Ubuntu, you can follow the same steps as for Linux. However, it is highly recommended to use a package manager such as apt-get or yum for a more simplified and streamlined installation process. These package managers not only handle the installation of Zabbix but also take care of any dependencies and ensure that the software is up to date. This approach saves time and effort, making the overall installation experience smoother and more efficient.
How to install Zabbix on a virtual machine?
To install Zabbix on a virtual machine, you can follow the same steps as you would for a physical server. The process remains consistent, ensuring a seamless installation experience. However, it is crucial to allocate sufficient resources, including CPU, RAM, and storage, to your virtual machine. This ensures optimal performance, allowing Zabbix to efficiently monitor and manage your network infrastructure. By providing the necessary resources, you can guarantee a smooth and reliable monitoring solution for your virtual environment.
How to install a Zabbix host?
To install a Zabbix host, begin by referring to the comprehensive document that outlines the step-by-step process. Following the instructions carefully, you’ll be guided on how to seamlessly add the host to your Zabbix server. Once added, take advantage of the flexibility to configure the monitoring parameters according to your specific requirements. With these detailed steps, you can ensure a smooth installation and efficient monitoring for your Zabbix host.
Which is better: Nagios vs Zabbix?
Both Nagios and Zabbix are powerful monitoring tools with their own unique features. While Nagios is more established and has a larger community, Zabbix offers a more user-friendly interface and advanced functionalities such as auto-discovery and triggers. Ultimately, the choice between the two will depend on your specific requirements and preferences.
Is Zabbix a Russian company?
No, Zabbix is not a company but an open-source software project developed by a diverse team of developers from various countries. The project was initially created by Alexei Vladishev, a talented developer hailing from Latvia. Over time, Zabbix has gained popularity and recognition worldwide, leading to the availability of its official website and documentation in multiple languages, including Russian. This inclusivity allows users from different linguistic backgrounds to fully access and utilize the extensive features and capabilities of Zabbix.
Why is Zabbix free?
Zabbix is available for free as it is an open-source software released under the GNU General Public License (GPL), which grants users the freedom to use, modify, and distribute it without any restrictions. This accessibility and flexibility have made Zabbix a popular choice among organizations and individuals alike. However, for enterprise users who require additional assistance, there are also paid support services offered, ensuring that they can receive expert guidance and timely solutions tailored to their specific needs.
Useful Video: How to network monitor using Raspberry PI 4 | Zabbix Tutorial
Conclusion
In this document, we have discussed how to install and configure Zabbix on a Raspberry Pi. We have covered all the necessary steps to get your monitoring system up and running, including setting up prerequisites, installing Zabbix components, configuring databases and web server, and managing server performance.
We have also provided additional tips for optimizing Zabbix’s performance and managing multiple servers. With the right tools and knowledge, you can easily set up a powerful monitoring system using Zabbix on your Raspberry Pi.
We hope this document has been informative and helpful to you. Thank you for choosing Zabbix as your monitoring solution, and happy monitoring!
References
- https://bestmonitoringtools.com/how-to-install-zabbix-on-raspberry-pi-raspbian/
- https://simplificandoredes.com/en/how-to-install-zabbix-on-raspberry-pi/
- https://pimylifeup.com/raspberry-pi-zabbix/




Leave a Reply