The Raspberry Pi is a popular single-board computer that has gained popularity due to its low cost and versatility. One of the most common uses for a Raspberry Pi is as a media center, but it can also be used for various other projects such as home automation, game emulation, and more.
One way to enhance the functionality of your Raspberry Pi is by adding a touchscreen. This allows for a more user-friendly interface and can make your projects more interactive. In this guide, we will show you how to install the Kuman touchscreen on your Raspberry Pi.
What is a Kuman Touchscreen?
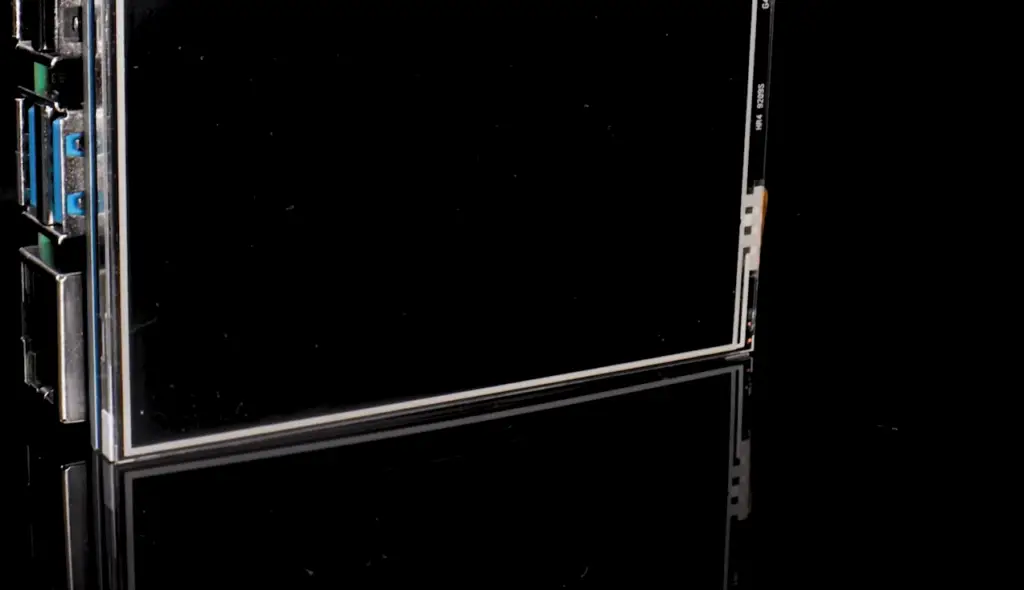
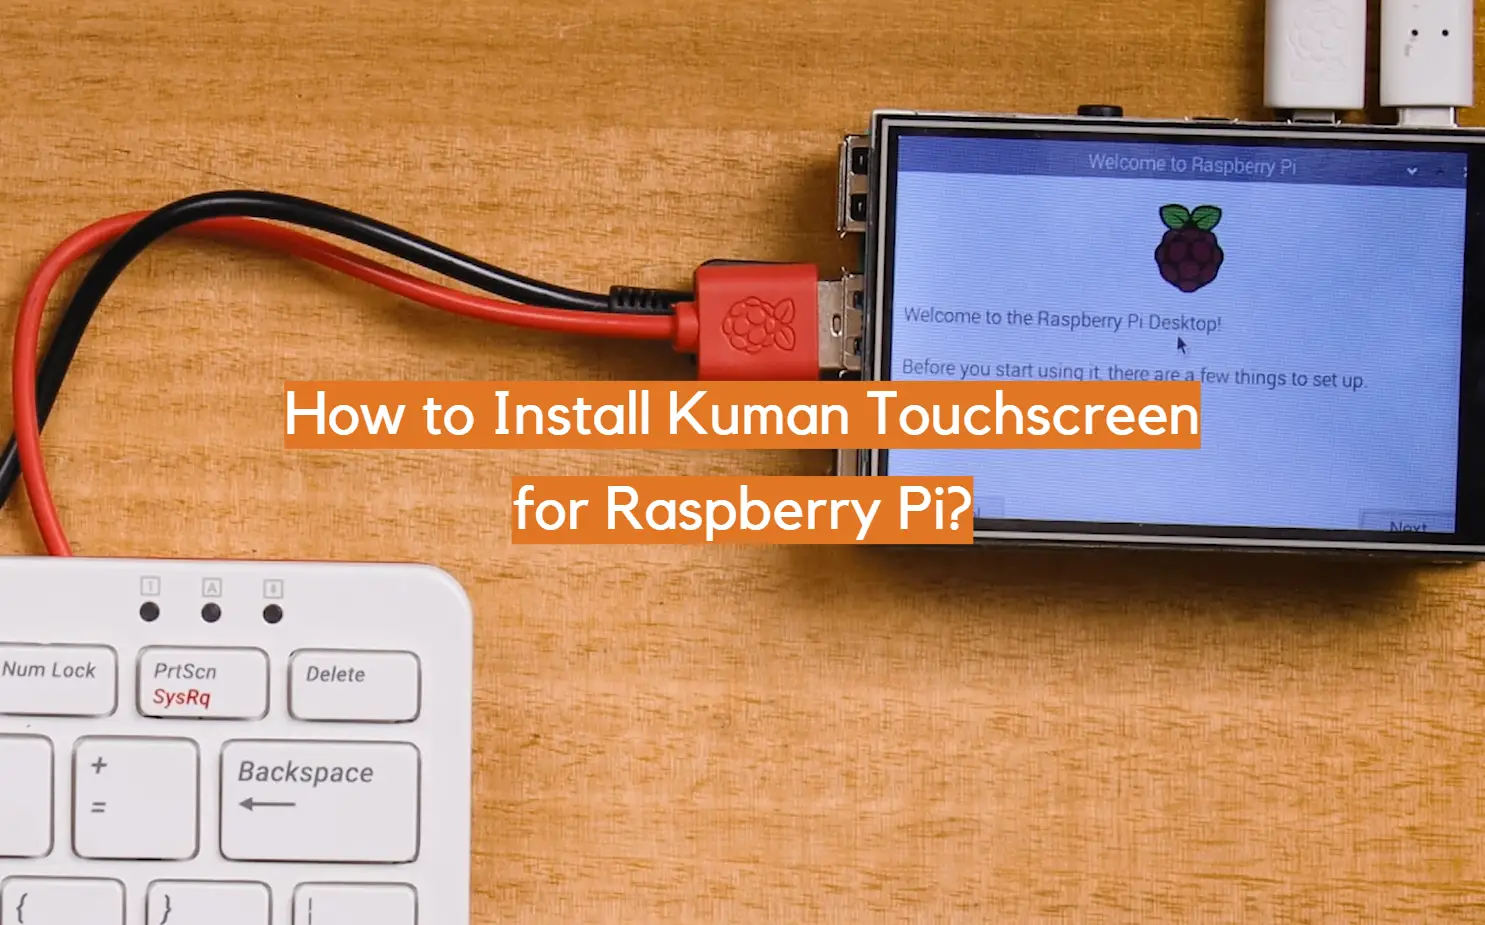
Before we dive into the installation process, let’s first gain a clear understanding of what a Kuman touchscreen is. A Kuman touchscreen is essentially an LCD display that incorporates a touch panel, allowing for seamless interaction with your Raspberry Pi. This versatile display option comes in a wide range of sizes and resolutions, ensuring compatibility with various models of Raspberry Pi. With its user-friendly design and exceptional responsiveness, the Kuman touchscreen elevates the overall experience of using your Raspberry Pi to new heights. [1]
What is a Raspberry Pi?
If you’re new to the world of Raspberry Pi, let me take a moment to introduce you to this fascinating device. The Raspberry Pi is not just any computer; it’s a small, affordable, and highly versatile computer that was specifically designed to promote basic computer science education in schools. Its creation was driven by the goal of making computing more accessible and enjoyable for students of all ages.
Despite its humble origins, the Raspberry Pi has quickly gained popularity and recognition far beyond the classroom. Its low cost and extensive capabilities have made it a beloved choice among hobbyists and professionals alike. Whether you’re a curious tinkerer or an experienced developer, the Raspberry Pi offers endless possibilities for exploration and innovation.
What sets the Raspberry Pi apart is not just its compact size, but also its remarkably powerful performance. It may be small, but don’t let that fool you – this little computer packs a punch! With its impressive processing power, graphics capabilities, and connectivity options, the Raspberry Pi is more than capable of handling a wide range of projects and applications.
So, whether you’re interested in building your own home automation system, setting up a media center, or experimenting with robotics, the Raspberry Pi is an ideal choice. Its flexibility, affordability, and strong community support make it an excellent platform for learning, creating, and bringing your ideas to life. [1]
Step One: Display Assembly on Raspberry PI
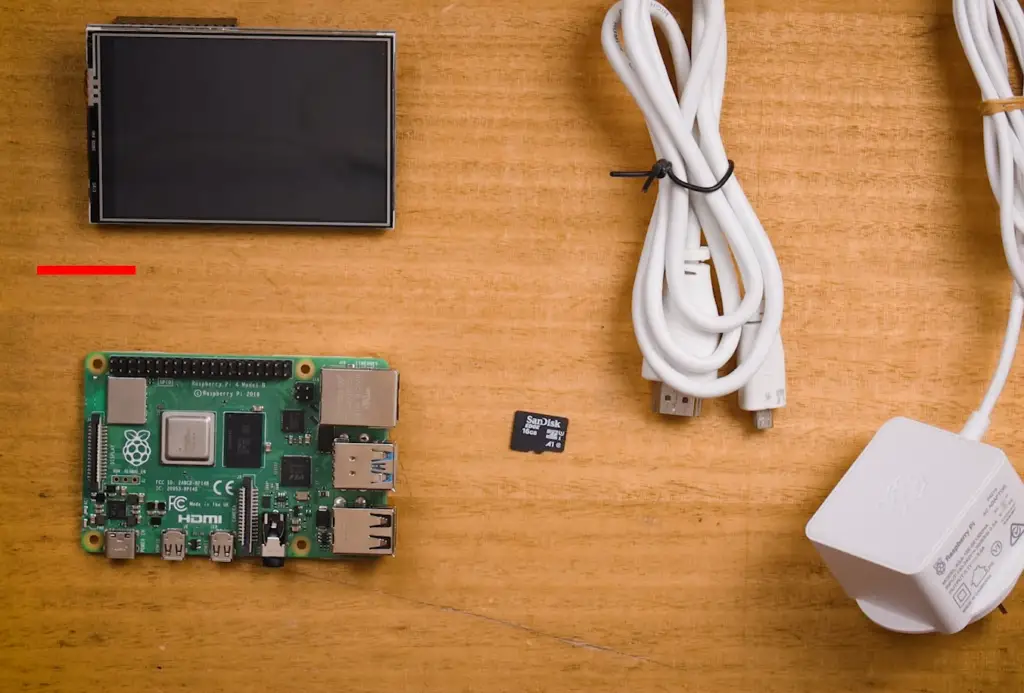
The first step to installing the Kuman touchscreen involves assembling it onto your Raspberry Pi. This process may vary slightly depending on the specific model of touchscreen you have, so be sure to refer to your device’s user manual for detailed instructions. However, here are some general steps that should help guide you through the process.
- Connect the HDMI cable from your Raspberry Pi to the HDMI port on the touchscreen.
- Connect the USB cable from your Raspberry Pi to the USB touch control board on the touchscreen.
- Connect the GPIO pins from your Raspberry Pi to the corresponding pins on the touchscreen (if applicable).
- Securely attach the touchscreen onto your Raspberry Pi using any mounting hardware provided.
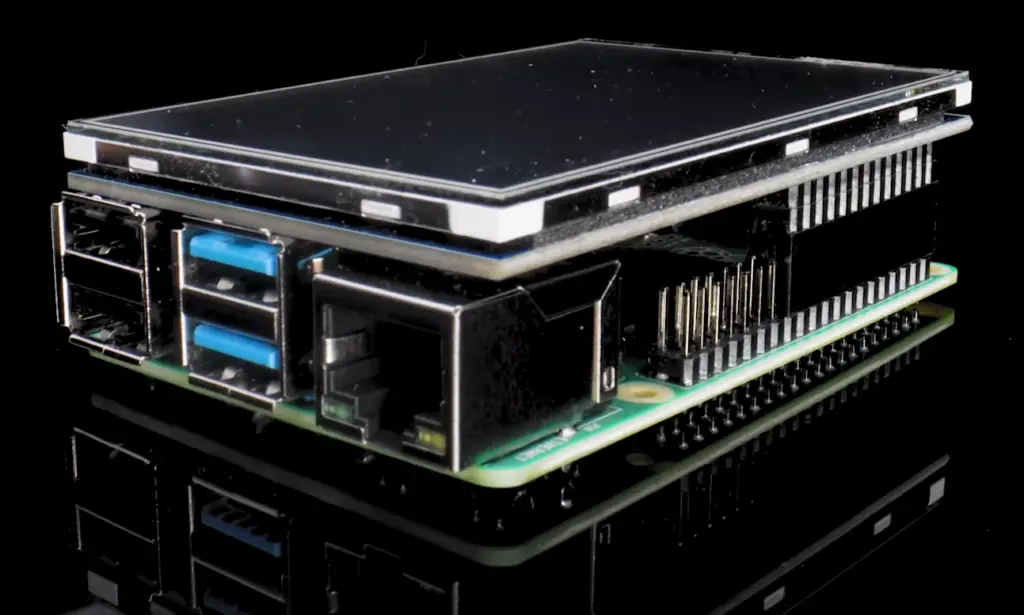
Once you have completed these steps, you should now have a fully assembled Kuman touchscreen attached to your Raspberry Pi. [1]
Step Two: RetroPie on Raspberry PI
Next, we need to ensure that our Raspberry Pi is running the appropriate operating system for our touchscreen. In this guide, we will be using RetroPie, a popular operating system for retro gaming and emulation on the Raspberry Pi. If you have not yet installed RetroPie on your Raspberry Pi, follow these steps:
- Begin by visiting the official RetroPie website, where you can find and download the latest version of the RetroPie software package. This software is specifically designed to turn your Raspberry Pi into a retro gaming powerhouse.
- Once you have downloaded the RetroPie software, you will need to use a program like Etcher to flash the RetroPie image onto your microSD card. Etcher is a user-friendly tool that ensures a smooth and reliable flashing process.
- After flashing the RetroPie image onto your microSD card, carefully insert the card into the dedicated slot on your Raspberry Pi. Ensure that the Raspberry Pi is powered off before doing so.
- Once the microSD card is securely inserted, power on your Raspberry Pi. The RetroPie software will automatically boot up and guide you through the initial setup process. Follow the on-screen prompts to configure your desired settings, such as controller setup and wireless network connectivity.
By following these steps, you will be able to download, flash, and set up RetroPie on your Raspberry Pi, allowing you to enjoy a vast library of retro games and relive the nostalgia of classic gaming experiences. [1]
Step Three: Connect to the Raspberry Pi via SSH
To ensure that our touchscreen is properly configured, we will now connect to the Raspberry Pi via SSH (Secure Shell). This allows us to access the command line interface of the Raspberry Pi remotely and make any necessary configurations.
- Connect your Raspberry Pi to your local network using an Ethernet cable or Wi-Fi connection.
- Open a terminal on another computer connected to the same network.
- Use the command `ssh pi@[Raspberry Pi IP address]` to connect to the Raspberry Pi via SSH. (Note: Replace [Raspberry Pi IP address] with the actual IP address of your Raspberry Pi).
- When prompted, enter the default username and password for RetroPie (user: pi, password: raspberry). [1]
You should now be connected to your Raspberry Pi via SSH and ready to make any necessary configurations.
Step Four: Commands for Installation
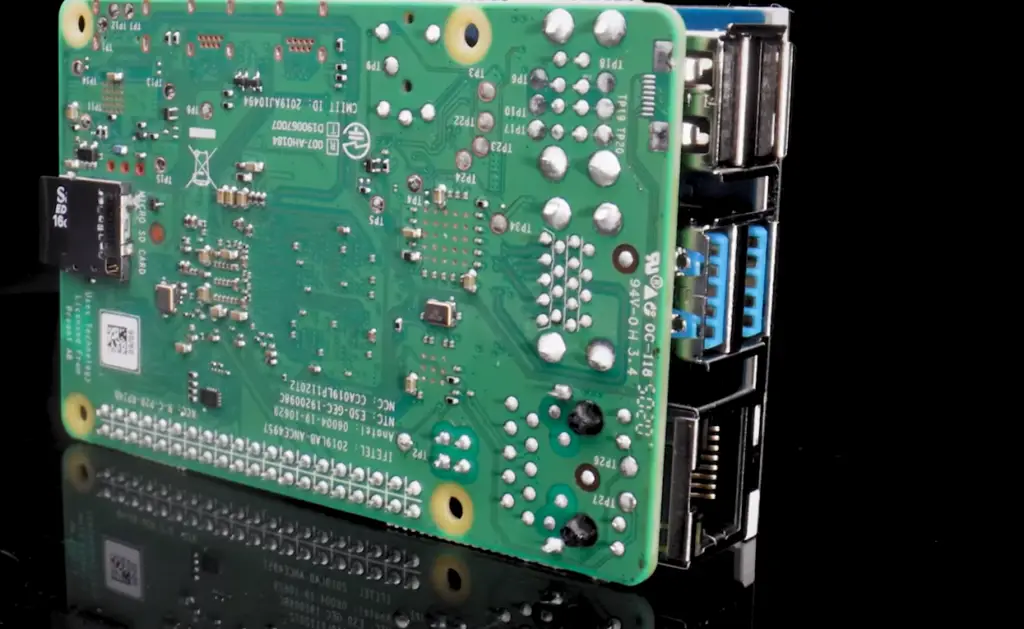
Now that we have successfully connected to the Raspberry Pi via SSH, we can use some simple commands to install the necessary packages for our Kuman touchscreen.
- Here are the steps to update and install necessary packages on your Raspberry Pi:
- Start by updating the package list. Open the terminal and run the command `sudo apt update`. This command will fetch the latest information about available packages.
- After updating the package list, proceed to install the required driver packages. Use the command `sudo apt-get install xserver-xorg-input-evdev -y`. This command will install the necessary driver package for your Raspberry Pi.
- Once the installation is complete, it’s recommended to reboot your Raspberry Pi for the changes to take effect. You can do this by running the command `sudo reboot` in the terminal. [1]
By following these steps, you will update the package list, install the necessary driver packages, and reboot your Raspberry Pi to ensure proper functioning.
Step Five: Troubleshooting
If, for any reason, you encounter issues during the installation process or after connecting your Kuman touchscreen to your Raspberry Pi, there are a few things you can try:
- Here are the steps you can follow to troubleshoot your Kuman touchscreen:
- Double-check all connections and ensure they are securely connected. Ensure that all cables and connectors are properly plugged in.
- Verify that the correct drivers have been installed. You can do this by using the command `lsmod` in the terminal. This will display a list of loaded kernel modules, including the touchscreen driver.
- Check if the touchscreen is being detected by using the command `cat /proc/bus/input/devices`. This command will provide information about input devices connected to your system, including the touchscreen.
- If you are still experiencing issues, it is recommended to consult the official documentation for your specific model of Kuman touchscreen. The documentation should provide further troubleshooting steps and solutions tailored to your device. [1]
By following these steps, you can effectively troubleshoot and resolve any issues you may encounter with your Kuman touchscreen.
Safety Precautions
Tips for Usage
Now that your Kuman touchscreen is successfully installed on your Raspberry Pi, here are some detailed tips to help you maximize the potential of your device:
- Explore the wide range of settings and configurations available on RetroPie, the popular gaming platform, to customize your setup according to your preferences. Tweak the display, audio, and control settings to create the perfect gaming experience tailored to your liking.
- Take full advantage of the touchscreen’s responsive touch capabilities by immersing yourself in a plethora of different games and applications. From classic retro games to modern indie titles, the possibilities are endless. Dive into the vibrant world of gaming and unlock new levels of interactivity with the power of touch.
- Unleash your creativity by utilizing the GPIO (General Purpose Input Output) pins on your touchscreen for exciting additional projects and experiments. Connect sensors, LEDs, or other electronic components to create interactive installations or explore the world of physical computing. The GPIO pins offer endless possibilities for innovation and exploration.
- To ensure your touchscreen stays in optimal condition, it’s important to keep it clean. Regularly wipe the screen with a soft, dry cloth to remove any dust or smudges that may affect its functionality. By maintaining a clean surface, you can enjoy a clear and responsive touchscreen experience every time you use it. [1]
By following these detailed tips, you can fully unleash the potential of your Kuman touchscreen and elevate your Raspberry Pi experience to new heights. Happy exploring and creating!
FAQ
Can I use a touchscreen with Raspberry Pi?
Yes, you can use a touchscreen with Raspberry Pi by installing the necessary drivers and making some configurations. Kuman touchscreens are compatible with Raspberry Pi, and their installation process is straightforward.
How to setup an LCD screen on Raspberry Pi?
The process of setting up an LCD screen on Raspberry Pi varies depending on the specific model and manufacturer. However, the general steps involve connecting the touchscreen to the GPIO pins on your Raspberry Pi and installing the necessary drivers and packages. Consult the official documentation for your specific LCD screen model for detailed instructions.
How to install a 5 inch touch screen LCD on Raspberry Pi 4?
To install a 5 inch touch screen LCD on Raspberry Pi 4, follow the same steps as outlined in this document for installing a Kuman touchscreen. Make sure to use the correct driver package for your specific model of touchscreen.
How do I connect my 7 inch screen to my Raspberry Pi?
To connect your 7 inch screen to your Raspberry Pi, you will need to make connections using the GPIO pins on your Raspberry Pi. Consult the official documentation for your specific screen model for detailed instructions on how to make these connections. Once connected, follow the steps outlined in this document for installing the necessary drivers and packages.
How big is a 5 inch Raspberry Pi screen?
A 5 inch Raspberry Pi screen typically measures 4.9 inches in width and 2.75 inches in height, with a resolution of 800×480 pixels.
Is 5V enough for Raspberry Pi?
Yes, 5V is enough to power a Raspberry Pi. However, it is recommended to use the official Raspberry Pi power supply or a power supply that can deliver at least 2.5A of current for optimal performance and stability. Make sure to check the power requirements for your specific model of Raspberry Pi before selecting a power supply.
How many GB can Raspberry Pi handle?
The maximum storage capacity that a Raspberry Pi can handle depends on the model. The latest model, Raspberry Pi 4, can support up to 8GB of RAM and has a microSD card slot for expandable storage. Models with lower specifications may have different maximum capacities. It is recommended to consult the official documentation for your specific model of Raspberry Pi for more information on its storage capabilities.
How many screens can a Raspberry Pi run?
The number of screens a Raspberry Pi can run depends on its processing power and available ports. Most models have an HDMI port that can support one external monitor. However, there are ways to connect multiple displays using adapters and split the display output across them. It is recommended to consult the official documentation for your specific model of Raspberry Pi for more information on its multi-screen capabilities.
Useful Video: How To Set Up A GPIO Screen For Raspberry Pi | Waveshare 3.5 Inch Touch LCD
Conclusion
Congratulations on successfully installing your Kuman touchscreen for Raspberry Pi! With its responsive touch capabilities, endless customization options, and compatibility with various projects, your Raspberry Pi has now been enhanced to take on a whole new level of functionality. We hope this guide has been informative and helpful in making the installation process smooth and hassle-free. Now go forth and explore the exciting world of Raspberry Pi with your new touchscreen! So, why wait? Get started today and experience the endless possibilities of the Raspberry Pi and Kuman touchscreen combination. Happy tinkering!
References
- https://www.hackster.io/manuelfelipe_ramos/how-to-install-kuman-tft-3-5-for-raspberry-pi-and-retropie-c49800




Leave a Reply