Are you looking to unlock the powerful potential of Arduino Uno limit switch interfacing and programming? Have you been searching for an all-inclusive article which fully answers common questions and provides useful tips about limit switch interfacing and programming for Arduino Uno? If so, then this comprehensive guide is exactly what you need! Packed with information, it offers the perfect way to understand how to make use of the Limit Switch Interfacing feature on Arduino Uno.
Arduino in General
The Arduino board itself consists of a microcontroller, which is the main programmable chip or processor. The board also has various inputs and outputs (I/O) that allow it to interact with circuits. This includes pins for digital I/O, analog input, PWM output, communication protocols like SPI and I2C, as well as USB connections for programming and powering the board.
Arduino code is written in Processing — an open source language based on Java — so it’s easy to learn if you have some basic programming knowledge already. With Processing you can write instructions for the microcontroller to read and execute.
Programs written in Arduino are called “sketches” and they usually contain two main parts: setup() and loop(). The setup() function is where you set up your board, like initializing any variables or pin modes. The loop() function is where you add code that should repeat each time the board is powered on, such as turning an LED on or off, checking a sensor reading, etc.
Arduino also comes with a library of functions that makes coding easier and faster. You can use these functions to perform common tasks like sending data over a serial port or accessing digital I/O pins without having to write the code from scratch. [1]
Hardware Components
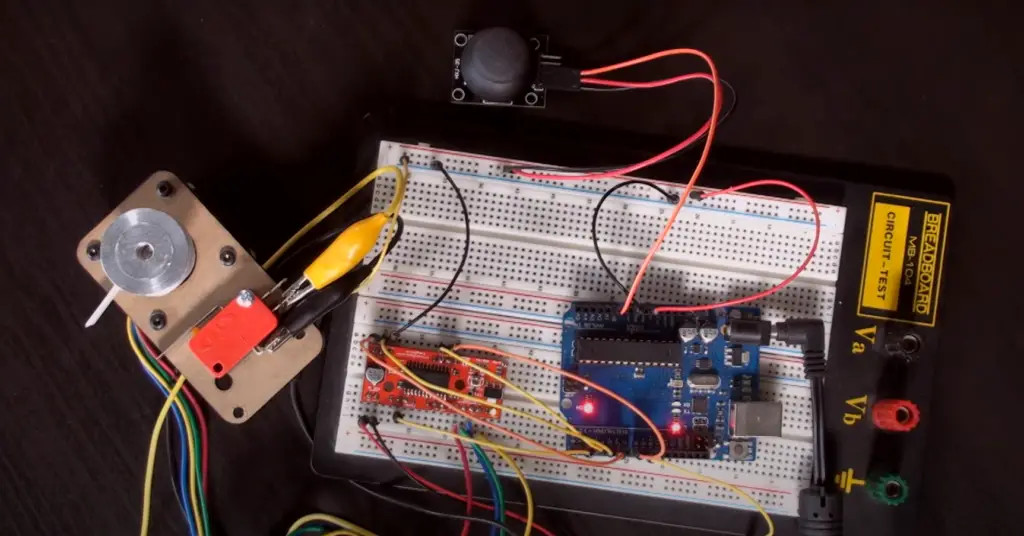
Now that you understand the basics of Arduino, let’s talk about what components you need to interface with limit switches. This project can be completed with the following components:
- Arduino UNO
- USB 2.0 cable type A/B
- Limit Switch
- Wires
- Heat Shrink Tubing
- (Optional) Soldering Iron
- 9V Power Adapter for Arduino
- (Optional) Screw Terminal Block Shield for Arduino
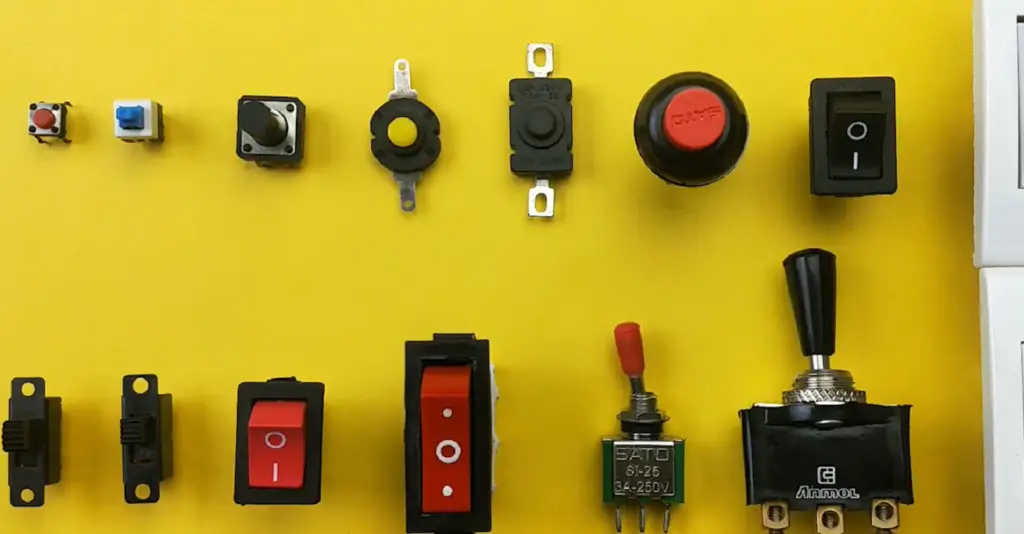
The limit switches are important for this project because they will act as inputs to the Arduino, telling it when a certain condition has been met. They are available in different sizes, shapes, and configurations. It is important to choose a limit switch that will fit the application you are working on.
It’s important to talk about the Limit Switch pinout a little before connecting it to the Arduino. The limit switch typically has three pins: C pin, NO pin and NC pin. The C pin is the common pin, used to provide power to the switch. The NO (Normally Open) and NC (Normally Closed) pins are output pins that tell the Arduino when a limit has been reached.
The Arduino UNO board will be used as the main controller for this project. It can be programmed in the Arduino IDE, an open-source electronics platform based on easy-to-use hardware and software. The USB 2.0 cable type A/B connects your computer to the Arduino Uno board so you can upload code and debug it.
Connecting everything
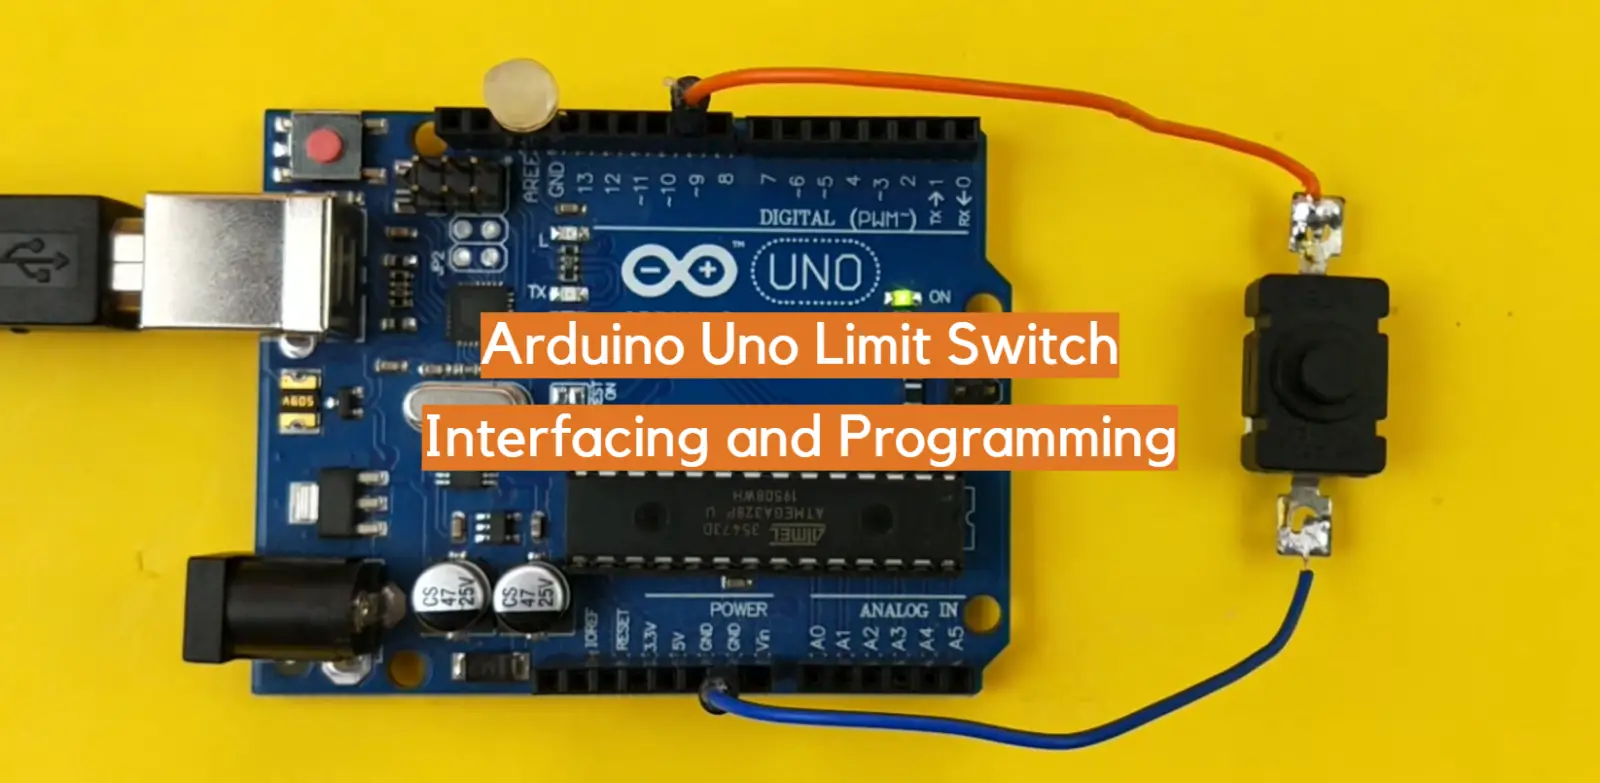
Now it’s time to connect everything together. Since the limit switch has only three pins there are several ways you can connect it to an Arduino board.
One of those ways is connecting the C pin to GND pin, leaving NC unconnected and connecting NO pin to Arduino input pin.
The second way has NO pin and NC pin switched places. Connect C pin to GND, NC pin to Arduino input and NO will be unconnected.
For the third and fourth methods, you will just need to connect the C pin to the VCC and follow the first or second methods for the NO and NC pins.
Once you decide how to connect the limit switch, it’s time to make sure everything is connected correctly. To do this, you will need a multimeter and some wire cutters or strippers.
You may also need a soldering iron if you want to make sure the connections are secure.
Code
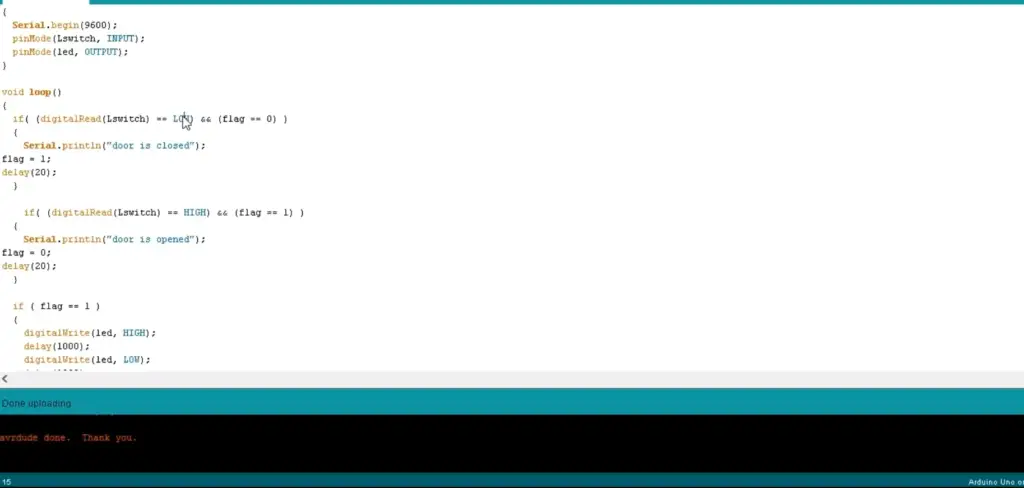
When everything is connected properly, it’s time to write your Arduino code and upload it to the board. Below we will provide you with a complete example of how to code your limit switch:
/*
* Created by ArduinoGetStarted.com
*
* This example code is in the public domain
*
* Tutorial page: https://arduinogetstarted.com/tutorials/arduino-limit-switch
*/
#include
ezButton limitSwitch(7); // create ezButton object that attach to pin 7;
void setup() {
Serial.begin(9600);
limitSwitch.setDebounceTime(50); // set debounce time to 50 milliseconds
}
void loop() {
limitSwitch.loop(); // MUST call the loop() function first
if(limitSwitch.isPressed())
Serial.println(“The limit switch: UNTOUCHED -> TOUCHED”);
if(limitSwitch.isReleased())
Serial.println(“The limit switch: TOUCHED -> UNTOUCHED”);
int state = limitSwitch.getState();
if(state == HIGH)
Serial.println(“The limit switch: UNTOUCHED”);
else
Serial.println(“The limit switch: TOUCHED”);
}
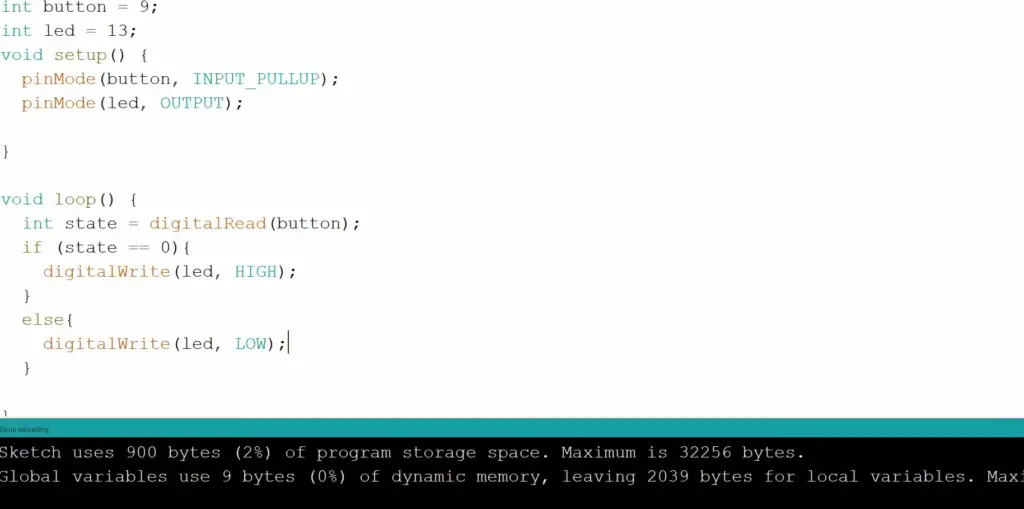
As we can see from the code above, it is quite straightforward to program an Arduino UNO limit switch. First, declare the limit switch pin with ezButton library and set debounce time. Then, check if it is pressed or released in a loop. Finally, use a getState() function to see what state the limit switch is in.
Once you upload this code to your board, it will be ready to start controlling the limit switch. When programming and debugging your limit switch project, make sure that you understand all the concepts and parameters of the ezButton library. This will help ensure that your project works correctly and efficiently.
Finally, remember to always double check connections before powering up the Arduino Uno board! An incorrect connection may cause serious damage to both the Arduino board and components connected to it. [2], [3]
Applications of Limit Switches
By now you might know how to connect a limit switch and program it with the Arduino Uno. But what can you do with limit switches, anyway? Let’s discuss the most common applications for limit switches and why you might use them in your project.
Machine automation
One of the most common uses for limit switches is in machine automation. Limit switches are used to detect the physical positions of various parts in an automated system and trigger events or actions based on those positions. For example, a limit switch might be used to detect when a robotic arm has reached its destination and then stop it from moving any further.
Limit switches can also be used to check if something has gone wrong with the system. If a switch detects that a part has moved beyond its designated range, it can trigger an emergency shutdown of the system until the problem is fixed. This helps prevent damage caused by mechanical failure or operator error.
Home automation
Similarly, limit switches can be used in home automation. For example, a limit switch can be used to detect when a door has been opened or closed and then trigger an action such as turning on the lights or activating an alarm system.
Limit switches can also help aid security by detecting if someone is trying to break into your house. A limit switch connected to a window or door could detect when it has been opened without permission and trigger an alert.
In addition, limit switches can also be used for simple tasks like turning off the power to a device after it has been inactive for a certain period of time (i.e., energy saving).
Industrial processing equipment
Next, limit switches can be used in industrial processing equipment. For instance, a limit switch connected to a conveyor belt could detect when the belt has reached its end and then trigger an action to stop it from moving any further. This would prevent items from being processed beyond their designated area or falling off the edge of the belt.
Limit switches can also be used to check if something has gone wrong with the system.
Conveyor systems
Conveyor systems often use limit switches to detect when an item has reached the end of its journey. The switch can be used to trigger an event such as slowing down or stopping the conveyor belt.
Limit switches are also useful for detecting if something is not moving along the conveyor belt. For example, a switch can be used to detect when an item has been stuck for too long and then trigger an alarm or shut down the system until the problem is fixed.
Industrial Safety systems
Finally, limit switches can be used in industrial safety systems. Limit switches are often used as part of a circuit that monitors if a machine is operating within its safe parameters and shuts it down if not. This prevents accidents and damage to the machinery or personnel.
The use of limit switches in these situations ensures that machines are working safely and efficiently, protecting both the people using them and the environment around them. [4]
FAQ
How to connect the limit switch with Arduino?
The limit switch can be connected to the Arduino Uno in two ways.
First, the limit switch can be directly connected to digital pins of the Arduino. For this, you will need to connect the C pin of the limit switch to the GND pin of the Arduino, and the NC (Normally-closed) pin of the limit switch to the digital pin.
Second, the limit switch can be connected using a pull-up resistor. For this method, you will need to connect one end of the resistor to VCC(5V) and the other end of the resistor to the C(Common) pin of the limit switch. Then, connect the NC(Normally-closed) pin of the limit switch to any digital output pins on your Arduino board.
Can I use Python for Arduino?
Yes, you can use Python for Arduino programming. However, in order to do so, you will need to install the Arduino IDE with the Python plugin on your computer. Once installed and set up, you can program and upload programs written in Python onto your Arduino board.
How do I connect my ESP32 limit switch?
The ESP32 can be connected to a limit switch in two ways: directly or with an integrated circuit (IC).
When connecting the limit switch directly, you need to ensure that it is properly wired. Connect the input pin of your ESP32 board to the NO pin of the limit switch and then connect the C pin of the switch to ground. You should also connect a pull-up resistor between the VCC and digital output pin as this will ensure consistent readings from the sensor.
What is the purpose of limit switches?
Limit switches are used to protect engines and other machines from damaging themselves by going beyond their normal operating limits. Limit switches are activated when they come into contact with the object they are protecting, which causes the switch to open or close, depending on its configuration. This triggers a signal that can be read by an Arduino Uno board, allowing it to send a signal to stop the machine before serious damage occurs.
How to connect a microswitch to an Arduino?
The most basic way to connect a microswitch to Arduino is through the use of a Digital Input Pin. By connecting the switch in series with a 10K pull-down resistor and then connecting it to one of the digital pins on an Arduino, this will create an input that can be read by the Arduino software. When the switch is pressed, it will close the circuit between power and ground, sending a HIGH signal back to the Arduino which can then be used to trigger an action.
There are several other ways that microswitches can be connected to an Arduino such as using analog inputs or interrupts, however these methods require more advanced programming knowledge than just using digital input pins. It’s also possible to connect multiple switches together to create a single input, or use the Arduino signals to control external circuitry such as relays.
Useful Video: arduino uno limit switch Tutorial | Limit switch code | Limit switch wiring | limit switch arduino
Conclusion
Limit switches are a helpful tool in your Arduino journey and can be utilized to control motors, activate actuators, and provide feedback on the status of objects. In this article, we have discussed how limit switches work, how to interface them with the Arduino Uno board and then program them within the Arduino IDE. We also discussed some tips and tricks for troubleshooting common issues when using limit switches.
We hope that this guide has been able to provide you with all the information you need to successfully use an Arduino Uno board to interface and program limit switches. With enough practice, you will soon become an expert at coding your own projects involving limit switches! If you have any questions or comments about this article please leave them below – we would love to hear from you! Happy coding!
References
- https://docs.arduino.cc/learn/starting-guide/whats-arduino
- https://arduinogetstarted.com/tutorials/arduino-limit-switch
- https://www.thegeekpub.com/278078/arduino-limit-switch-tutorial/
- https://www.circuits-diy.com/limit-switch-using-arduino-uno/




Leave a Reply