If you’re new to electronics, you may be wondering what 50 milliamps looks like on a multimeter. This article will walk you through the basics of measuring current with a multimeter, and explain what 50 milliamps looks like in terms of voltage and amperage. We’ll also provide some tips for taking accurate measurements and troubleshooting problems. Read on to learn more!
What are Milliamps, Microamps and Amperes
To start with, we need to understand the difference between milliamps (mA) and microamps (µA). All these units measure electric current, but on different scales.
Let’s talk about currents.
Just as there are different sizes of pipes for different rates of water flow, there are also different sizes of wires for different rates of electron flow. A large wire can carry more electrons per second than a small wire.
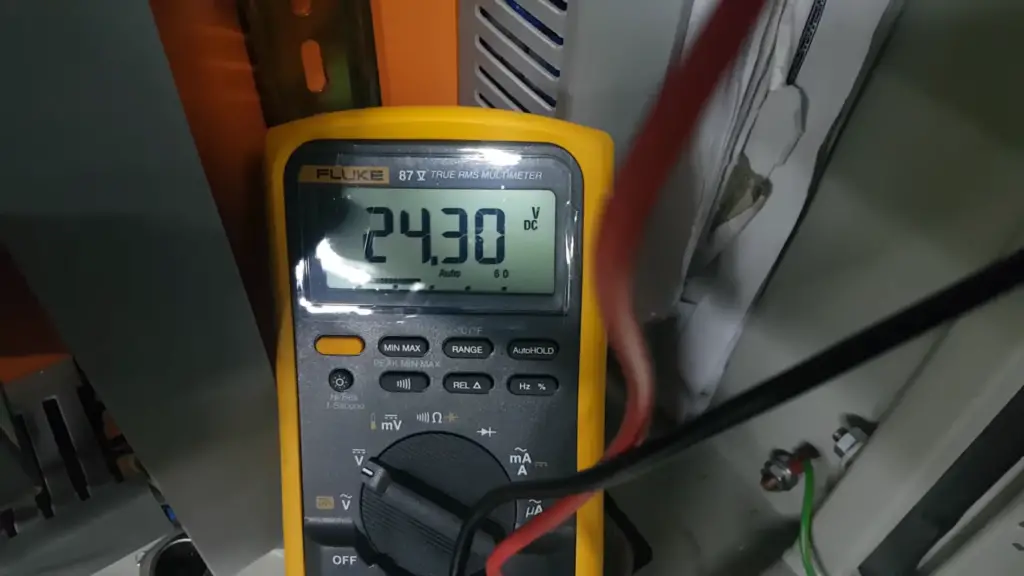
The standard unit for measuring large currents is the ampere, while the milliampere is more commonly used for measuring smaller currents.
Amperes, often shortened to amps, are a measure of the electrical current flowing through a circuit. One amp is equal to a flow of electrons at a rate of one coulomb per second.
Milliamps, or mA, are a unit of measurement that measures electrical current. Current is measured in amperes, or amps, and milliamps are one-thousandth of an amp. MA is often used to measure small amounts of current, such as the amount of current flowing through an LED light.
Microamps are one-millionth of an amp, or 0.000001 amps. They are a measurement of electrical current flow. The higher the number of microamps, the greater the amount of current flowing through an object. [1], [2]
What is a Multimeter?
A multimeter is a device that measures electrical voltage, current, and resistance. Multimeters are used to troubleshoot electrical problems in a circuit. They can measure AC or DC voltage, AC or DC current, and resistance.
Multimeters come in two basic types: analog and digital. Analog multimeters use a needle to point to a scale that indicates the measurement being taken. Digital multimeters display the measurements on an LCD screen.
Digital multimeters are more accurate than analog ones because they use a digital readout instead of an analog needle. Most digital multimeters can also store data so you can take multiple readings and compare them later.
We suggest getting a digital multimeter because they are more accurate, and you can take multiple readings with them. [3]
What Does 50 Milliamps Look Like on a Multimeter
Finally, we can answer the question: What does 50 milliamps look like on a multimeter?
One thing to consider, is that when measuring current with a multimeter, the readings will be in amps, not milliamps. So, to find out the exact value in milliamps, you will need to know how to convert amps to milliamps.
To do this, you can either use a calculator or multiply by 1000. This is because there are 1000 milliamps in one amp. So, 50 milliamps is equal to 0.05 amps.
Converting amps to microamps is also easy. You just have to multiply the value by 1000000. So, 0,00005 amps is equal to 50 microamps. [1], [2]
Measuring Current Using Multimeter
Now that we know what 50 milliamps looks like on a multimeter, let’s move on to the next topic: how to measure current with a multimeter.
Wear safety equipment when measuring live current
As we mentioned before, current is measured in amps and is a measure of the flow of electrons. This means that when you are measuring current, you are essentially measuring the movement of electrons.
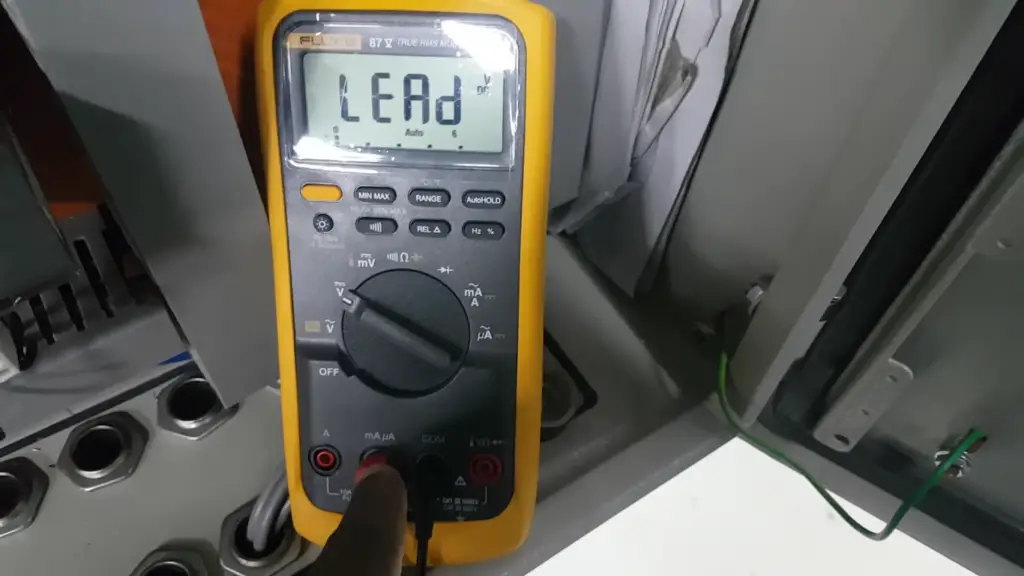
And since electrons are tiny particles, they can be very dangerous if they come into contact with your skin or eyes. That’s why it’s important to always wear safety equipment such as gloves and goggles when working with current, just to be on the safe side.
Never touch metal parts when the current is on
Another safety tip to keep in mind is to never touch any of the metal parts on the multimeter when the current is on.
Doing so could result in an electric shock, which could be dangerous or even deadly. So, always make sure that the current is turned off before you attempt to touch any of the metal parts on the multimeter.
Always turn the device off before testing it
Remember to always turn off the power before testing the device. This way, you can avoid any potential accidents that could occur if the device were to turn on while you are testing it.
Inspect the multimeter before testing
As with any electrical testing, it is important to always inspect your equipment before use. This includes the multimeter itself and the test leads.
Check that the multimeter is in good condition and that there are no cracks or damage on the casing. Also, make sure that the test leads are securely connected to the multimeter. It is also a good idea to check the batteries in the multimeter. If they are low, they may not be able to give accurate readings.
Make sure the multimeter leads are securely connected to the multimeter as well. Not only will this avoid a potential electrical hazard, but it will also ensure that the multimeter readings are accurate.
Inspect the device you will be testing
To ensure the correct measurement is taken, it is important to first inspect the device you will be testing. You want to check for any damage that may have occurred during use or storage. Once you have verified that the device is in good condition, you can proceed with the measurement.
This step is also important for safety reasons. If there is any damage to the device, it could cause an electrical hazard.
Insert the black lead into COM port
Once you have inspected the multimeter and test leads, you can proceed with the actual current measurement. To do this, turn the device on and insert the black lead into the COM (common) port on the multimeter.
Insert the red lead into VΩmA port
After that, take the red lead and insert it into the port labeled VΩmA on the multimeter. This is the port that is used for measuring current.
If you are not sure which port to use, consult the multimeter manual. Most digital multimeters will have a diagram on how to properly connect the leads for different measurements.
Select the current measurement range
The next step is to select the current measurement range. This is usually done by turning a knob on the multimeter. Turn the dial until it is on the correct setting. If your multimeter has an auto-ranging feature, it will automatically select the proper range of measurement based on the amount of current flowing through the circuit.
Turn on the test device
Once the multimeter is properly set up, you can turn on the test device. This can be anything from a light bulb to a computer. As long as the device is turned on and there is current flowing through it, the multimeter should be able to pick up the readings.
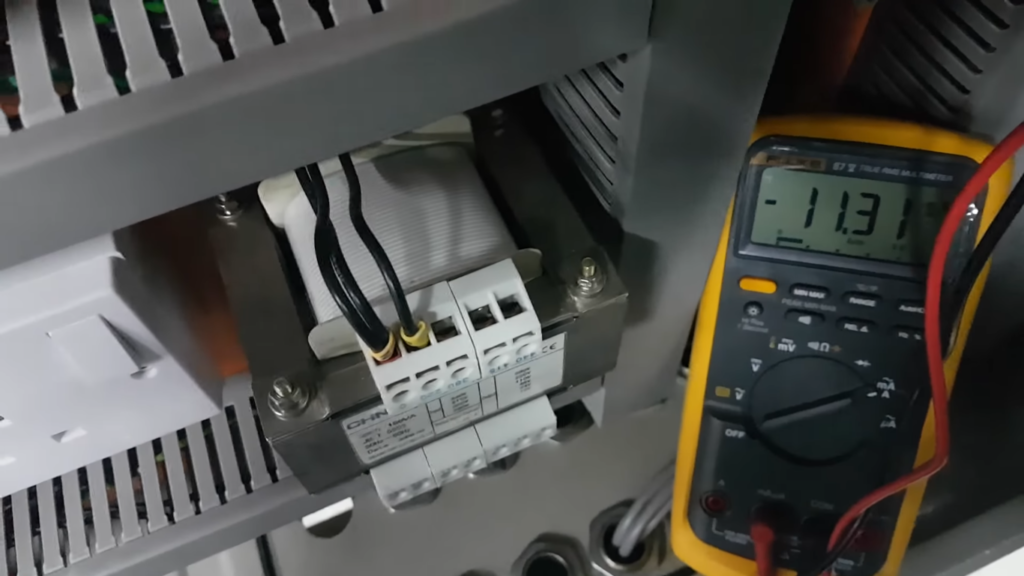
Probe the device
Now, take the black lead and touch it to one of the metal prongs sticking out of the device. Then, take the red lead and touch it to the other prongs.
If everything is set up correctly, the multimeter should display a reading in amps. This is the amount of current flowing through the device.
You can also use alligator clips to attach the leads to the terminals if it is more convenient. Just make sure that they are securely connected so that there is no risk of them coming loose and causing an electrical hazard. [1], [2]
FAQ
How do you read milliamps on a meter?
To read milliamps on a meter, you will need to use the amp setting. Once you have switched your meter to the amp setting, you can then touch the probes to the circuit and read the amp reading on the display.
What is the symbol for milliamps on a multimeter?
Multimeters don’t show the readings in mA, they use amp, or A, as the symbol. To get the reading in milliamps, you have to multiply the reading by 1000. So if your multimeter says it’s showing 0.5A, that means it’s really showing 500 milliamps.
Is 0.05 amps the same as 50 milliamps?
The two terms are equivalent. 0.05 amps is simply a different way of expressing 50 milliamps. Both terms refer to the same quantity of electrical current.
How do you measure milliamps?
The most common way to measure milliamps is with a multimeter. To do this, you’ll need to set your multimeter to the “amperage” setting. Once you’ve done this, you can touch the probes to the positive and negative sides of the circuit to get a reading. Convert the reading to milliamps by multiplying it by 1000.
It’s important to note that many multimeters will only give you an accurate reading up to 10 amps. If you’re trying to measure something that’s higher than this, you’ll need to use an amp clamp instead.
Useful Video: Learn How To Measure Milliamps Through a multimeter.
Conclusion
When measuring smaller currents, you might be confused about how to read milliamps on a multimeter. Multimeters are devices that measure multiple electrical properties, including voltage, resistance, and current. Many multimeters have a setting for measuring current and they will show you readings in amps, not milliamps.
When measuring 50 milliamps with a digital multimeter, you should see a reading of 0.050 on the display. One good trick to remember, when dealing with milliamps, is to multiply the reading by 1000 to convert it to milliamps. This can help you quickly and easily determine if a circuit is carrying the right amount of current. Thanks for reading and feel free to leave any questions in the comments below!
References
- https://electrouniversity.com/what-does-50-milliamps-look-like-on-a-multimeter/
- https://mystolenhome.com/what-does-50-milliamps-look-like-on-a-multimeter/
- https://www.fluke.com/en-us/learn/blog/electrical/what-is-a-digital-multimeter





Leave a Reply