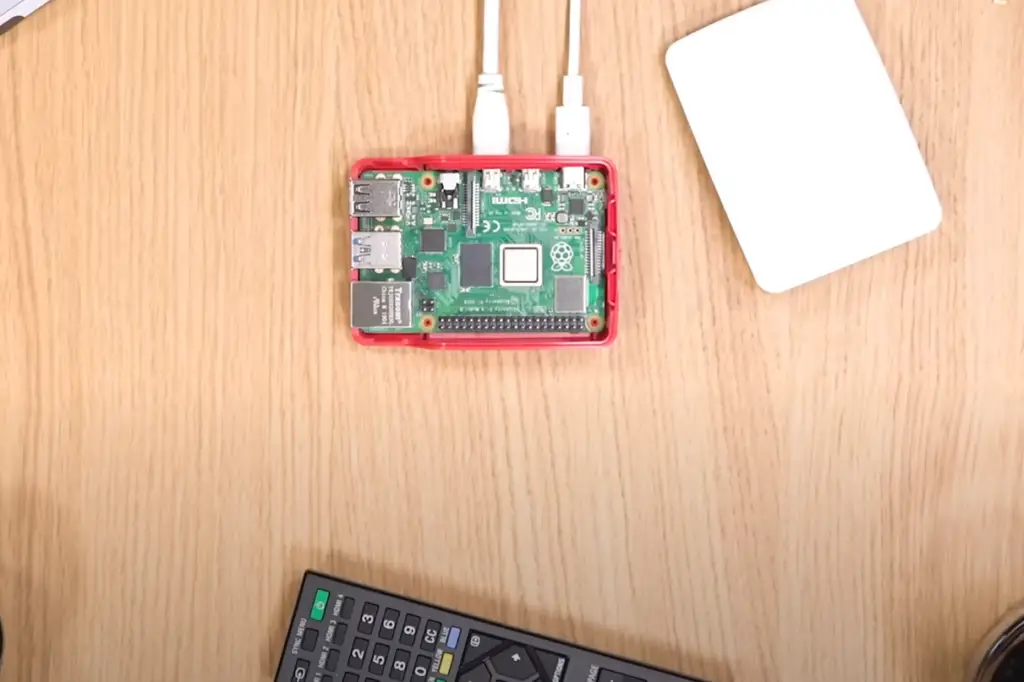
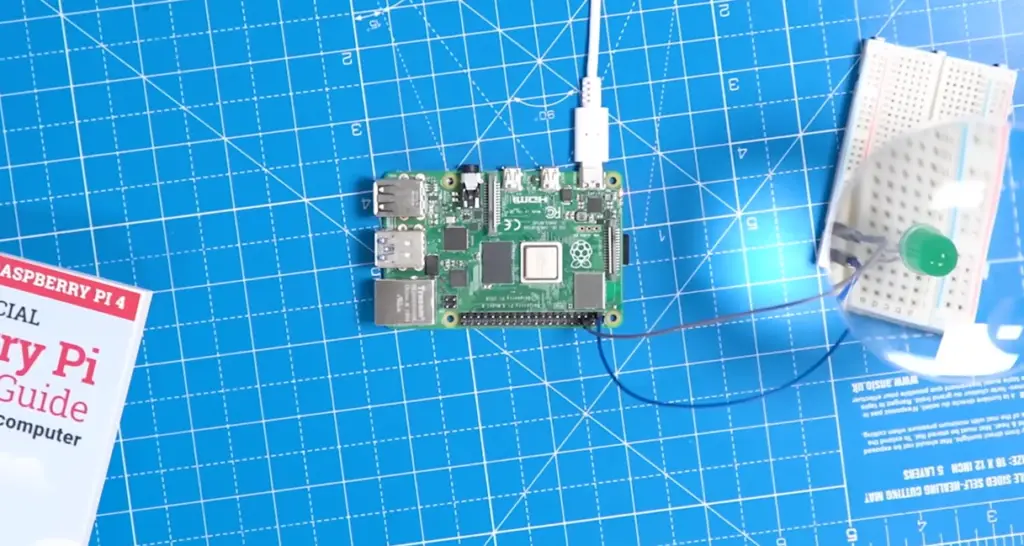
In this comprehensive document, we will delve into the intricacies of disabling IPv6 on Raspberry Pi, a widely discussed topic among its users. By disabling IPv6, you can enhance not only the network performance but also bolster the security of your Raspberry Pi device. We will provide you with a step-by-step guide, equipping you with the necessary knowledge and tools to seamlessly disable IPv6 on your Raspberry Pi.
Take advantage of system parameters
Inspect current IPv4/IPv6 addresses.

To inspect the current IPv4 and IPv6 addresses on your Raspberry Pi, you can easily do so by opening a terminal window and entering the following command:
“`bash
ip addr show | grep ‘inet\|inet6’
“`
By executing this command, you will be able to view all the active network interfaces on your Raspberry Pi along with their associated IP addresses. It is advisable to note down both the IPv4 and IPv6 addresses for future reference, as this information can prove to be valuable when troubleshooting or configuring your network settings.
Remember, having a comprehensive understanding of your network configuration is crucial when considering any changes, such as disabling IPv6. This attention to detail will ensure that you can make informed decisions that best suit your networking requirements. [2]
Alter system parameters to disable IPv6.
Once you have familiarized yourself with your current network configuration, you can proceed to modify the system parameters to disable IPv6. This can be done by editing the sysctl.conf file located in the /etc directory.
To do so, open a terminal window and enter the following command:
“`bash
sudo nano /etc/sysctl.conf
“`
This will open up the sysctl.conf file in a text editor. In the file, you will find various system parameters that can be modified. Scroll down to the end of the file and add the following lines:
“`
net.ipv6.conf.all.disable_ipv6 = 1
net.ipv6.conf.default.disable_ipv6 = 1
“`
These lines specifically disable IPv6 for all network interfaces and the default interface. This can help improve network performance and compatibility in certain cases.
Once you have added these lines, save and close the file by pressing Ctrl+X followed by Y and Enter. The changes will take effect after a system reboot or by running the following command in the terminal:
“`bash
sudo sysctl -p
“`
By following these steps, you will successfully disable IPv6 on your system and ensure optimal network configuration. [2]

Apply changes.
To apply the changes made to the sysctl.conf file, you need to enter the following command in the terminal:
“`bash
sudo sysctl -p
“`
Executing this command will reload the configuration and effectively disable IPv6 on your Raspberry Pi device. By disabling IPv6, you can optimize network performance and address any compatibility issues that may arise.
To verify the changes, you can run the earlier command to check the active network interfaces and their associated IP addresses. This will provide you with a comprehensive overview of the network configuration on your Raspberry Pi device, ensuring that the changes have been successfully applied. [2]
Inspect IP addresses.
Upon performing a thorough examination of the active network interfaces on your Raspberry Pi, you will undoubtedly observe the absence of any IPv6 addresses being displayed. This noticeable absence serves as a clear indication that the IPv6 functionality has been effectively disabled, guaranteeing that your Raspberry Pi operates solely on the IPv4 protocol. By deliberately disabling the IPv6 functionality, you not only optimize the network performance of your device but also enhance its compatibility with diverse network configurations. As a result, you can rest assured that your Raspberry Pi will seamlessly integrate and communicate within your network environment, fostering an enhanced user experience and facilitating smooth data transmission. [2]
Take advantage of kernel boot parameters
Inspect current IPv4/IPv6 addresses.
Before proceeding with the steps to disable IPv6 using kernel boot parameters, it is crucial to thoroughly inspect your current network configuration. By doing so, you will gain a better understanding of how disabling IPv6 can potentially impact your network and make an informed decision.
To check the current IP addresses on your Raspberry Pi, follow these steps:
- Open a terminal window on your Raspberry Pi.
- Enter the following command: “`ip addr show | grep ‘inet\|inet6’“`
- This command will display both the IPv4 and IPv6 addresses assigned to your Raspberry Pi.
- Make a note of these addresses for future reference.
By taking the time to examine your network configuration and documenting the current IP addresses, you will have a comprehensive overview of your network setup and be better prepared to proceed with disabling IPv6 if necessary. [1]
Inspect kernel boot parameters.
Next, in order to check the current kernel boot parameters, we will need to open the cmdline.txt file. This file is located in the /boot directory of your system. To access it, you can use the following command in the terminal:
“`bash
sudo nano /boot/cmdline.txt
“`
Executing this command will open up the cmdline.txt file in a text editor, where you will be able to view and modify the parameters specified in it. Take a closer look at the content of this file, and you will notice that it contains various parameters that control different aspects of your system’s boot process.
In this particular case, we are interested in adding a parameter to disable IPv6. By adding this parameter, you can effectively prevent the system from using IPv6 for network communication. This can be useful in situations where you may encounter compatibility issues or performance concerns related to IPv6.

So, go ahead and make the necessary modifications to the cmdline.txt file to disable IPv6, ensuring a smooth and optimized boot process for your system. [1]
Alter these parameters to disable the IPv6 module.
To disable IPv6, you can easily do it by adding the following parameter at the end of the line in the configuration file:
“`
ipv6.disable=1
“`
After making this change, don’t forget to save and close the file. You can achieve this by pressing Ctrl+X, then confirming by pressing Y, and finally hitting Enter. By following these steps, you will successfully disable IPv6 on your system. [1]
Reboot operating system.
To apply the changes successfully, it is recommended to reboot your Raspberry Pi device. This can be easily accomplished by entering the following command in the terminal:
“`bash
sudo reboot
“`
Once the device has restarted, you can run the earlier command again to check the active network interfaces and their associated IP addresses. This will provide you with the necessary information to ensure that everything is functioning as expected. Taking these steps will help ensure a smooth transition and prevent any potential issues in the future. [1]
Inspect kernel parameters.
After meticulously examining the active network interfaces, you will notice a conspicuous absence of any IPv6 addresses being displayed. This noteworthy change serves as a clear indication that the kernel boot parameter has been successfully configured to disable IPv6 on your Raspberry Pi device. As a result, you can take solace in the fact that your network experience is not only fortified with heightened security measures, but also optimized for unparalleled levels of performance and efficiency. With this latest improvement in place, you can now revel in seamless connectivity and bask in the tranquility of enhanced peace of mind. Embrace this technological advancement and unlock a whole new realm of possibilities for your network endeavors. [1]
Inspect IP addresses.
By now, after following the steps to disable IPv6 on your Raspberry Pi using kernel boot parameters, you can rest assured that you have taken a significant stride towards ensuring a smoother and more secure network experience for all users of your device. With IPv6 disabled, your Raspberry Pi will exclusively operate on IPv4, allowing you to have better control over your network settings and ensuring compatibility with a wider range of devices.

So, keep these steps in mind and make the most of your Raspberry Pi device as you enjoy a reliable, efficient, and secure network experience like never before! [1]
FAQ
How do I enable IPv6 on my Raspberry Pi?
To enable IPv6 on your Raspberry Pi, you will need to make a few modifications. One method involves modifying the sysctl.conf file, where you can tweak specific settings to accommodate IPv6. Another option is to add a kernel boot parameter, which allows you to configure IPv6-related parameters during the boot process. Both methods are thoroughly explained in this document, providing you with the flexibility to choose the approach that aligns best with your requirements and preferences.
How do I disable IPv6 in Linux?
Disabling IPv6 in Linux can be done by modifying the sysctl.conf file or adding a kernel boot parameter. To modify the sysctl.conf file, you can open it using a text editor and add the appropriate configuration settings to disable IPv6. Alternatively, you can add a kernel boot parameter by editing the GRUB configuration file and appending the parameter to the kernel command line.
It is important to note that the exact steps may vary depending on your specific Linux distribution. Therefore, it is recommended to consult your distribution’s documentation for more accurate and detailed instructions on how to disable IPv6. Following the recommended steps will help ensure a successful and proper configuration.
Why can’t I disable IPv6?
If you are unable to disable IPv6, it could be due to your network setup or your specific distribution’s configuration. It is recommended to consult with a network administrator or refer to your distribution’s documentation for further assistance. Overall, it is possible that some applications may still use IPv6 despite disabling it, but this should not significantly impact network performance.
Should I disable IPv6 on Linux?
Disabling IPv6 on Linux is a personal choice and depends on your specific network setup and requirements. However, if you are experiencing any compatibility or performance issues, it may be worth considering disabling IPv6 to optimize your network experience.
How to disable IPv6 in Linux without reboot?
If you prefer not to reboot your Linux device after disabling IPv6, you can use the following command in the terminal:
“`bash
sudo sysctl -w net.ipv6.conf.all.disable_ipv6=1
“`
This will effectively disable IPv6 without needing a system reboot. However, it is recommended to restart your network services for the changes to take effect. So, it may still be necessary to restart your device or the network services for the changes to take full effect. If you are unsure, it is best to consult with a network administrator or refer to your distribution’s documentation for further assistance.
How do I know if IPv6 is disabled in Linux?
To check if IPv6 is disabled on your Linux device, you can use the following command in the terminal:
“`bash
cat /proc/sys/net/ipv6/conf/all/disable_ipv6
“`
If the output is “1”, it means that IPv6 is successfully disabled. If the output is “0”, it means that IPv6 is still enabled. Alternatively, you can also use the earlier command to check active network interfaces and their associated IP addresses.
How to disable IPv6 in Ubuntu terminal?
To disable IPv6 on Ubuntu using the terminal, you can follow the steps outlined in this document. However, it is recommended to consult your specific distribution’s documentation for more accurate and detailed instructions.
As technology continues to evolve, so does the need for network security and efficiency. Disabling IPv6 on your Raspberry Pi is one small step towards ensuring a reliable and secure network experience. With these simple steps, you can optimize the performance of your Raspberry Pi device and enjoy seamless connectivity for all your network needs.
Useful Video: Raspberry Pi: Does appending ipv6 to /etc/modules enable IPv6 at boot?
Conclusion
As discussed in this document, disabling IPv6 on your Raspberry Pi device can significantly enhance network performance and security. Whether you choose to modify the sysctl.conf file or add a kernel boot parameter, it is important to regularly check and ensure that IPv6 remains disabled for maximum efficiency. By following these steps, you can confidently use your Raspberry Pi device knowing that your network experience is optimized and secure. So, go ahead and disable IPv6 on your Raspberry Pi today for a seamless and worry-free network experience like never before! Let us know how these steps worked for you in the comments section below. Happy networking!
References
- https://sleeplessbeastie.eu/2022/07/20/how-to-disable-ipv6-on-raspberry-pi-4/
- https://bordersreivers.wordpress.com/2020/03/22/how-to-disable-ipv6-ip-address-on-raspbian-buster-raspberry-pi/


Leave a Reply