For many people, the word “circuit” conjures up images of complex electrical wiring. But circuits can be simple, too – and they can be a lot of fun to build! In this post, we’ll show you some easy circuit projects that anyone can do. So whether you’re a beginner or an experienced electronics hobbyist, there’s something here for you. Let’s get started!
What are Simple Electronic Circuits?
Compact and straightforward electronic circuits are composed of just a handful of essential elements, including resistors, transistors, capacitors, and diodes. They allow for the control of energy flow and/or power around a circuit board to create a desired effect. In most cases, these devices can be wired together without specialized tools or knowledge. Simple electronic circuits are widely used in many everyday appliances and gadgets that people use every day. Examples include cell phone chargers, remote controls, game consoles, music players, and more.
Building simple electronic circuits is an excellent way for beginners to learn the basics of electronics and gain hands-on experience with components like batteries, LEDs (Light Emitting Diodes), transistors, resistors and capacitors. With the availability of components and tools, even absolute beginners can get started with circuit projects for beginners at home or in a classroom or lab setting.
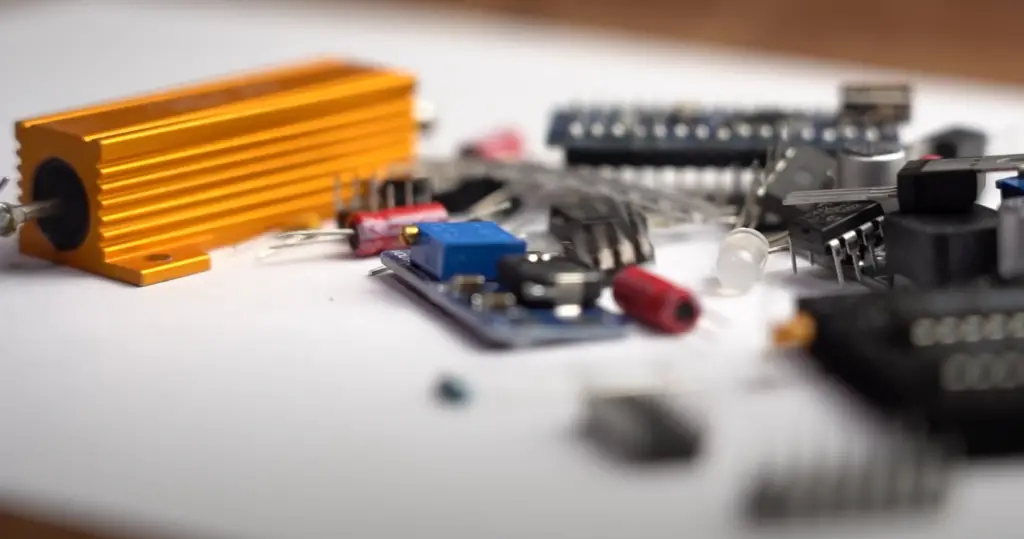
There are many different types of simple electronic circuits available for building, depending on your particular interests or needs. Popular circuit projects for beginners include basic LED light circuits that use a battery to power an LED (Light Emitting Diode), blinker circuits that use transistors to flash a LED on and off, and motor control circuits which are used to operate motor devices such as fans and electric drills. There are also more complex things like logic gates, frequency counters, oscillators and other digital devices that can be created using simple electronic circuit elements as well. [1]
Simple Electronic Circuits for Beginners
DC Lighting Circuit
This circuit is perfect for anyone just getting started with electronics. It’s simple to build and can be used to power a light from a 9V battery or other DC power source. All you need are a few basic components such as a resistor, capacitor, switch, LED, and some wire.
Rain Alarm Circuit
Rain Alarm Circuit is a fun and educational circuit project that can be done at home. This project utilizes basic materials such as electrical wire, resistor, diode, transistor, LED, and buzzer to build an alarm circuit with the ability to detect rain or humidity. The circuit works by connecting various components in series and parallel so that the current flows through them when the conditions are met. It is ideal for those looking for a simple yet interesting way to learn about electricity and engineering principles. With this project you can easily make your own rain alarm system and know exactly when it’s time to take cover!
Simple Temperature Monitor
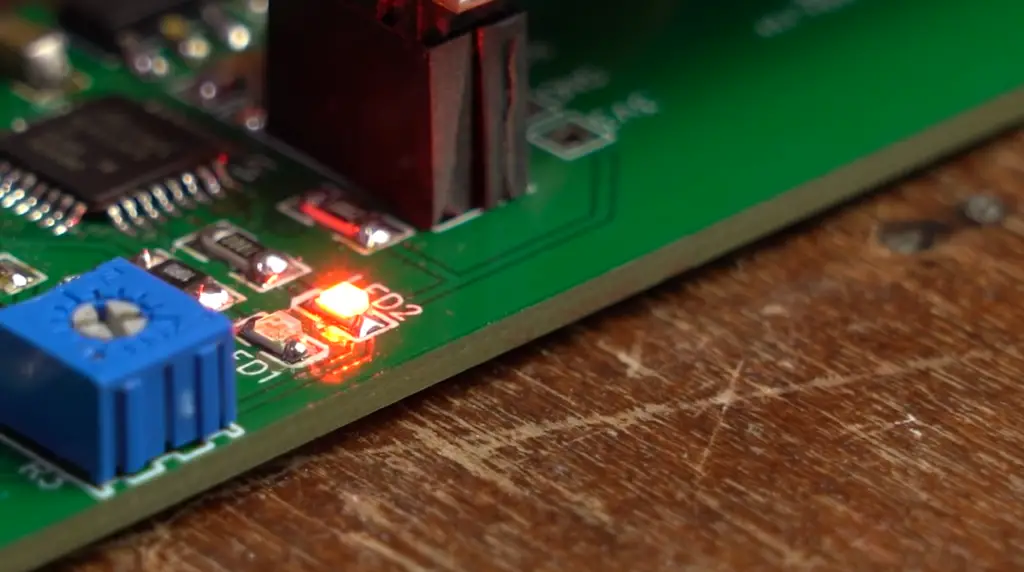
Simple Temperature Monitor is a great circuit project for learning the basics of electronic components and building circuits. This project involves measuring temperature with an NTC thermistor, displaying it on an LCD screen and controlling it with a microcontroller. The main components needed to build this circuit include resistors, capacitors, transistors, LEDs, ICs (integrated circuits), and microcontrollers. With this project you can learn how to measure temperatures accurately and monitor them in real-time using simple circuitry. Additionally, this circuit project helps you understand how signals get processed through a circuit in order to display them on an LCD screen or another device. [2]
Touch Sensor Circuit
A touch sensor circuit is an ideal project for beginners to learn about basic electronics. This type of circuit uses a lead that needs to be touched in order to complete a circuit, which can then be used to trigger an event such as turning on a light or activating a buzzer. Building the circuit requires knowledge of resistors, transistors and other components such as switch contacts and capacitors. With the right components, you can build your own touch sensor circuit and start experimenting with different projects!
Multimeter Circuit
A multimeter circuit is also a great project for novices to try their hand at. This type of circuit requires the use of a multimeter, which is an instrument that measures electrical current and voltage. By using this device in conjunction with some resistors, capacitors, transistors and other components, you can create a working multimeter circuit that allows you to measure various electricity levels within your circuit. With the right skillset and materials, you can construct your own multimeter circuit to expand your knowledge of electronics!
LED Flasher Circuit
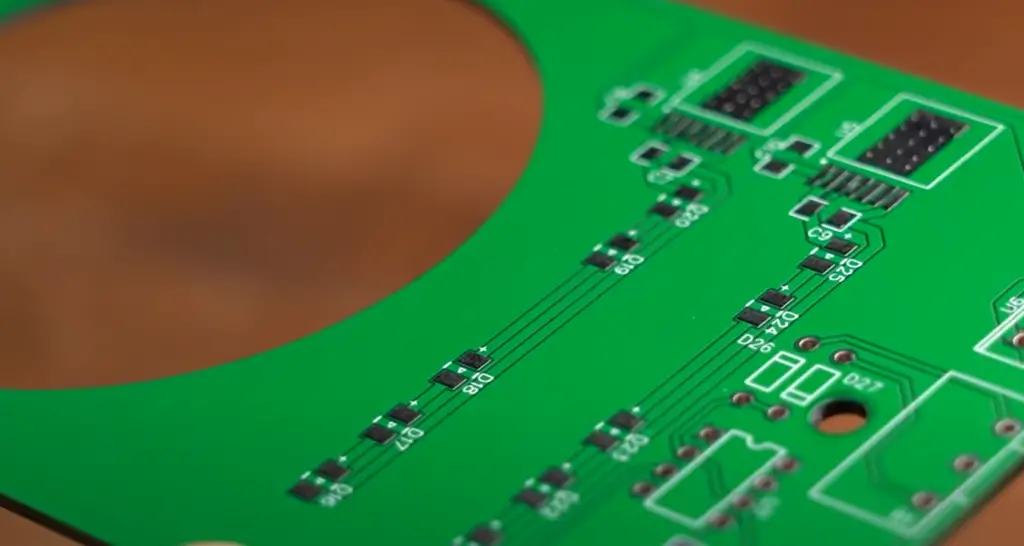
This is an easy and fun circuit project for beginners. An LED flasher circuit involves the use of a 555 timer chip to create a cycle of flashing lights. This type of circuit can be used in all sorts of projects, such as decorative lights or even signaling alarms. In this project, you will learn how to build your own LED flasher circuit using basic electronic components.
To get started, you will need to gather some supplies. For this project, you will need a breadboard, resistor, capacitor, 555 timer chip IC (integrated circuit), two LEDs with any color combination that you like, two potentiometers (also known as variable resistors), and some wires for connecting everything together. [3]
The first step is to connect the power source, which can be a 9-volt battery or a DC adapter. Once the power is connected, place the 555 timer chip on the breadboard and connect it to the positive power rail of your circuit.
Now you need to add two resistors and two potentiometers at the output pin of the 555 timer chip. The resistors provide current limiting for both LEDs, while the potentiometers act as variable resistance to control how fast or slow you want your flashing lights to blink.
Finally, connect each LED with its respective resistor and then plug in your wires from each end of your circuit into one side of each LED – this will ensure that when power is applied, all four elements are connected properly. After that, all that’s left to do is turn on the power and you will have a flashing light circuit!
Auto Night Lamp
This beginner-friendly circuit project is an ideal starting point for anyone looking to explore the world of electronics.
Auto Night Lamp consists of two main parts: a Light Sensing Resistor (LDR) and a transistor (T1). The LDR senses changes in ambient light levels and passes on this information to the transistor. The transistor then switches the output relay accordingly, either turning it on or off depending on the amount of darkness present. This creates an automated system wherein the lamp will turn on as soon as it gets dark, and turn off when the ambient light level increases.
This project is a great opportunity to learn about basic electronics components and their working principles. It also provides an introduction to programming concepts such as logic gates, transistors, and relays. [4]
Fire Alarm
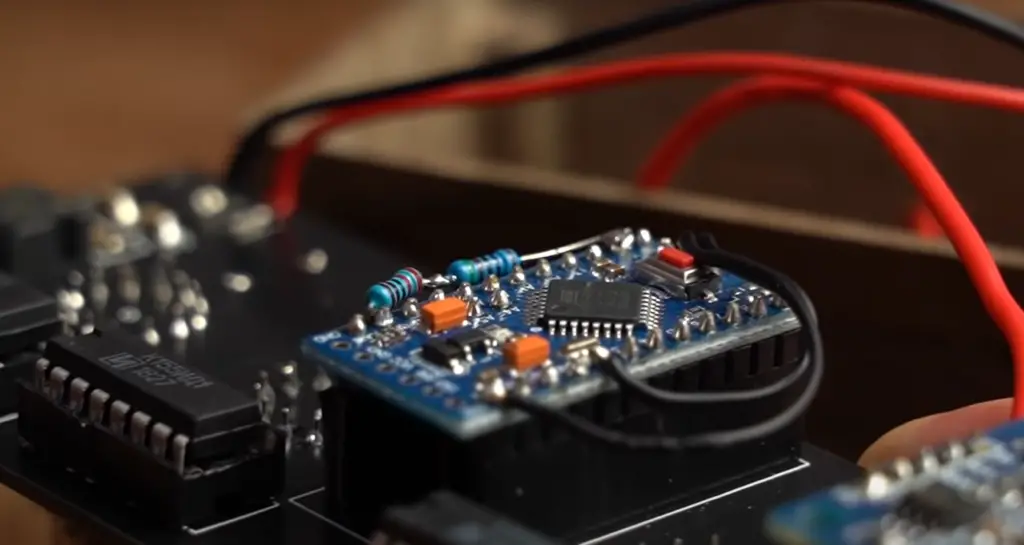
Fire Alarm is another great project for beginner circuit enthusiasts. This project involves creating a circuit that detects smoke and sets off an alarm when it does. The components used in this project include a smoke detector, LEDs, buzzer and some resistors. Assembling these components together will create a working fire alarm system that can be used at home or in any other place where there is potential for fires to occur.
This project requires basic understanding of how electrical circuits work, as well as knowledge on how to program the components using logic gates and transistors. It also serves as an introduction to more advanced topics such as digital electronics and power supply design.
Automatic Hand-Wash Timer
One of the most important circuit projects for beginners is an Automatic Hand-Wash Timer. This project is perfect for those just starting out in electronics and circuitry as it requires minimal effort to assemble. The main components of this project are a timer, some wires, and a few small electronic components such as LEDs, resistors, and transistors. This timer can be used to time the duration of hand-washing or other short activities that require monitoring. It’s simple design makes it ideal for learning about basic circuits and how they operate.
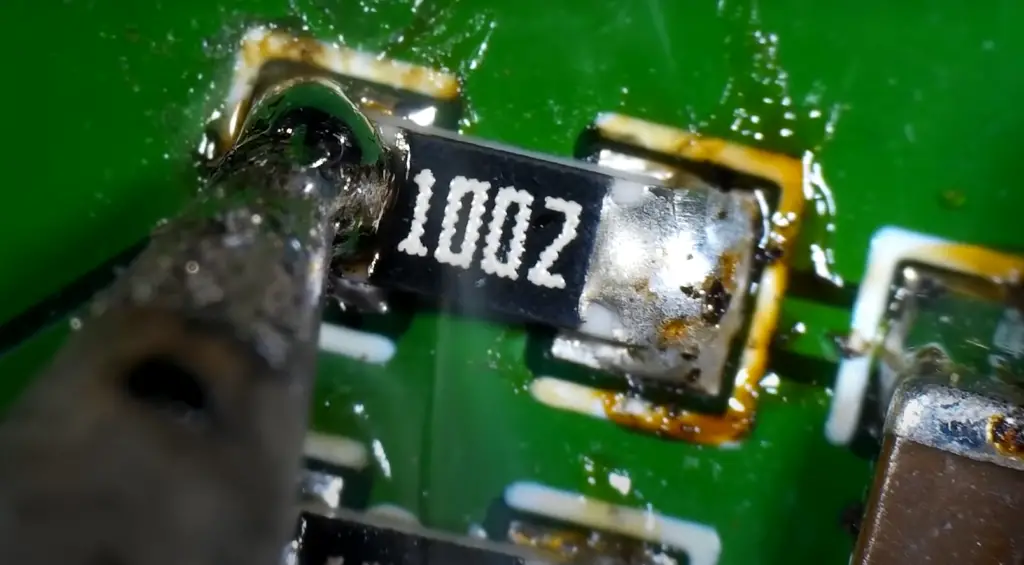
To build an Automatic Hand-Wash Timer you will need:
- A breadboard
- Wires – jumper wires & electrical cables
- Resistors (1K ohm resistors)
- Transistors (2N7000 transistors)
- LEDs (5mm Red & Green LEDs)
- A timer chip/module (555 timer IC or CD4060BE Timer Chip).
To begin your project, start by laying out the components on a breadboard so that you can easily access and identify each item. Attach all of the components to the breadboard according to the circuit diagram. Make sure to connect the positive and negative sides of each component properly. This is especially important when dealing with electronic components such as timers and transistors which need to be connected in a certain way for them to work correctly.
Once all of these connections are made, the circuit will be ready to test. Using a multimeter, you can now test the circuit by measuring the voltage and current readings across each component. Once everything is working correctly, it’s time to assemble the casing. This can be done using any type of material that you have at hand such as cardboard or wood. Cut out a rectangular shape from this material and use screws and bolts to attach all of the components securely inside.
Finally, connect up a power source such as an AC adapter and your Automatic Hand-Wash Timer is ready! [5]
Clap Switch Circuit
A clap switch circuit is a great project for beginners to get their feet wet with electronics. This simple circuit uses sound waves to turn something on and off, making it an interesting and fun way to explore the world of electricity. The basic components you will need are: two transistors, two resistors, one capacitor, one diode, one relay and some wire.
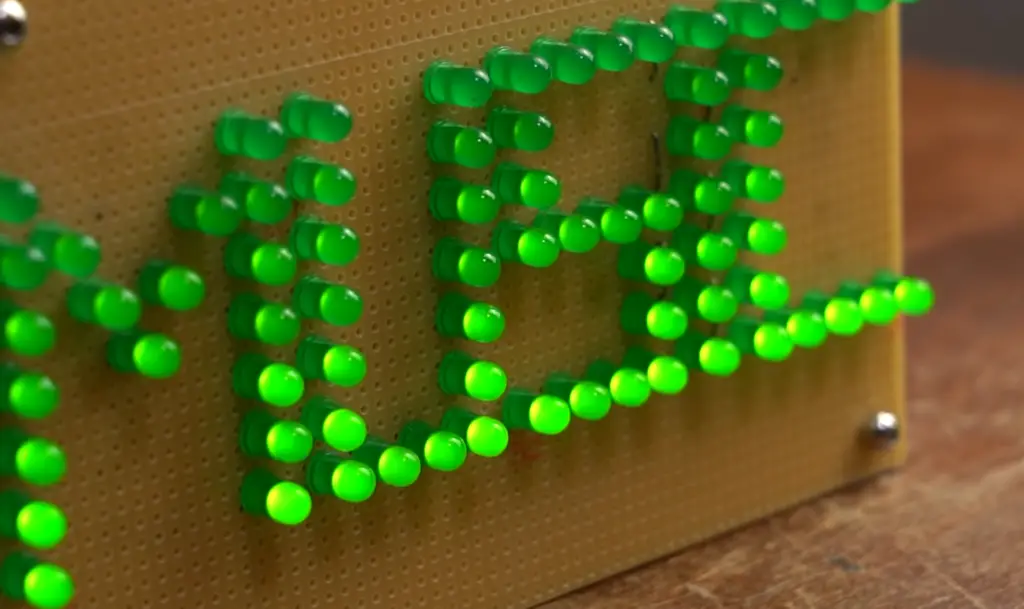
Start by connecting the first transistor (Q1). You can use any type of transistor – BJT, FET or MOSFET – but make sure that the pinouts match your chosen model. Connect the collector to one end of the resistor R1 and then connect the other end of this resistor to the base of the second transistor (Q2). Then, connect the emitter of Q1 to ground and the emitter of Q2 to one end of R2. Connect the other end of R2 to the +5V power supply.
Now, connect the collector of Q2 to one side of a capacitor C1 and then connect the diode D1 across this capacitor with its anode at the same side as C1. Connect one end of a relay coil between these two components, then place a jumper wire from the other end of this coil to ground.
Finally, complete your circuit by connecting a 5V buzzer between one side of D1 and ground. When you activate this circuit by clapping, the sound waves will trigger Q1 and Q2, completing the circuit and activating the buzzer.
Automatic Staircase Light Sensor
Automatic staircase lights are a great project for beginners because they require only basic electronics knowledge. This circuit uses a light sensor to detect when someone is on the stairs and turns on an LED light automatically. You will need the following components: one LDR, one transistor, two resistors (R1 and R2) and one LED. Start by connecting your LDR across the power supply with its positive end connected to +5V and its negative end connected to ground. Connect the collector of the transistor (Q1) to +5V, then place R1 in between the emitter of Q1 and ground. Connect R2 between the base of Q1 and ground as shown in the diagram below.
Finally, connect the LED between the collector of Q1 and ground. When light falls on the LDR, its resistance decreases, triggering the transistor to turn on and light up the LED. This circuit is an easy way to explore how a photocell sensor works and can be used in various practical applications such as automatic stair lights or security systems. These two circuit projects for beginners are perfect for exploring electronics in a safe and enjoyable way. With these projects you will gain skills that will help you in other more complex electronics projects down the line.
Smart Back Camera
One circuit project for beginners is making a smart back camera. With this project, you can make your own security system that can detect people or objects entering or leaving the house. You will need to purchase a surveillance camera, some wires and connectors, and an Arduino board.
First, connect the surveillance camera to the Arduino board using wires and connectors. Next, write code on the Arduino software so that it can detect motion when someone enters your space and take photos of them as they move in front of the camera.
Finally, connect the Arduino board to your computer or smartphone so you can view live videos of what’s happening at home.
This project is great for beginner makers because it helps teach basic coding skills while also allowing you to build something functional. Plus, it can be used to keep your home secure and give you peace of mind when you’re away. [6]
Collision Protection for Cars
One of the most popular circuit projects for beginners is designing a collision protection system for cars. This project typically involves using sensors and microcontrollers to detect an impending collision and trigger the car’s brakes to avoid or mitigate the impact. Designing this type of system can be complex, but it provides an excellent opportunity to learn about different electronics components, digital logic design and programming.
To create a simple version of this system, you would need several sensors such as infrared or ultrasound sensors, as well as a microcontroller and several different electronic components that will enable the system to recognize when a collision is imminent. Once these components are in place, you can program your controller with software algorithms which allow it to detect objects ahead of the car and trigger the brakes when necessary.
This type of project is a great way for beginners to get hands-on experience with electronics and programming, while also learning about concepts like digital logic design, interrupts and embedded systems. Creating your own collision protection system will give you a sense of accomplishment—and possibly keep you out of harm’s way!
Portable Boombox from Scratch
If you want to take your music on the go, why not make it yourself? A portable boombox from scratch is a great circuit project for beginners. With the right materials and some electrical know-how, you can make a loud and durable speaker that will follow you anywhere.
To start, gather your supplies: soldering iron and solder wire, 9V batteries and battery clip holders, knobs or switches to adjust volume and tone, insulated wires of different colors (for connecting components), an ON/OFF switch with LED indicator light, an amplifier IC chip (such as LM386N-3 or TDA2822M), headphone jack sockets, potentiometers for adjusting volume level up to 6db attenuation, speakers, and 3.5mm audio jacks. Once you have all the components, you can begin wiring them together.
Start by soldering the amplifier chip to the battery clips and connecting the headphone jack sockets to it as well. Then attach two potentiometers (for volume level up to 6db attenuation) to either side of the circuit, following which connect insulated wires of different colors to each one of them. Next add an ON/OFF switch with LED indicator light and knobs or switches for controlling tone and volume right after connecting all these parts together.
Finally, solder speakers onto both sides of your board in order for sound to emit from your boombox upon completion! If you’re unsure of your wiring, most components come with specific instructions on how to wire them together. Now that you have all the parts connected and wired together, it’s time to test the circuit. Connect a 3.5mm audio jack from your device into the boombox’s headphone jack sockets and flip the switch. If you hear sound emitting from both speakers then your portable boombox is up and running! [7]
Digital Altimeter
A digital altimeter is a fun and exciting circuit project for beginners. With this project, you will be able to measure the altitude of your environment using a barometric pressure sensor. To build this project, you will need: an Arduino board, a barometric pressure sensor (such as the BMP180), cables and connectors, power supply or battery pack. You’ll also need some basic knowledge of programming in Arduino IDE to complete the coding part of the project.
Once you have all the components assembled, connect the barometric pressure sensor to your Arduino board using jumper wires and write a basic sketch that can read data from the sensor and convert it into meaningful information like height above sea level. Once you have written your code, upload it to the Arduino board and you are ready to go. With your altimeter project, you can measure the height of any surface or environment with accuracy and precision!
Biometric Attendance System
A biometric attendance system is an ideal project for those interested in circuit projects. This type of system records the presence of individuals in a secure and automated manner. It works by reading a person’s physical features, such as their fingerprints or retinal scans, and using that data to register when they enter and exit a location. This type of project requires knowledge of both hardware and software components. The hardware component consists of sensors for detecting the biological signals from the individual, such as fingerprint scanners or camera lenses for iris recognition. The software component involves programming code that takes this input data and stores it into memory banks or databases for easy access later on.
Biometric attendance systems are becoming increasingly popular due to their efficiency and security benefits. They are widely used in workplaces, educational settings, and other types of institutions that require accurate tracking of attendance. [8]
Solar Phone Charger
Solar phone chargers use solar energy to charge your cell phone battery. This is a great beginner project for people who want to explore the basics of electronics and renewable energy. To construct a basic solar charger, you will need: a PV panel, connectors, diode (to prevent reverse current flow), a voltage regulator (optional), and an external charging cord.
To begin, you should connect your PV panel directly to the battery using the appropriate connectors. Next, you should insert the diode between the PV panel and the battery; it prevents current from flowing back into the panel at night or during cloudy days. An optional step is to add a voltage regulator if your PV panel has too much power for your device’s battery; the voltage regulator will ensure that your battery is not overcharged.
Finally, you should connect the external charging cord to the battery and then to your device. Once you have completed all of these steps, you can test out your solar phone charger! Charge your device in direct sunlight and make sure it’s working properly before using it for longer-term charging needs.
Water Level Indicator
Water Level Indicator is an excellent circuit project for beginners, allowing them to explore the basics of circuitry and electronics. This simple circuit can be used to monitor water levels in tanks or reservoirs, while providing a visual indication when the level rises above or drops below safe limits. The basic design consists of two LEDs that light up depending on whether the water has reached its upper or lower limit. In addition, this project can easily be modified to alert users through sound or other means when a certain level has been reached.
Electronic Mosquito Repellent Circuit
This electronic mosquito repellent circuit can be a great project for circuit enthusiasts who are just starting out. It’s an easy device to build and doesn’t require many components or a lot of time. The circuit is made up of transistors, resistors, capacitors and transformers. Assembling the parts requires soldering skills but it isn’t hard to learn. Once built, the mosquito repellent will emit ultrasound signals that disrupt mosquitoes’ navigational abilities and keep them away from your home or garden area. The frequency range can also be adjusted depending on the type of insect you want to repel. With careful planning, this simple yet effective device could save you from the annoyance of pesky bugs!
Simple Electronic Circuits for Engineering Students
Smart Fan Project
This project is perfect for engineering students who are looking to create their own electronic circuit. The fan uses a few basic components and can be put together in just a few hours. It is an easy way to explore the basics of electronics and get a feel for how the components interact with each other.
Light Sensor Project
The light sensor project can help those new to electronics gain insight into how various devices work. This project requires assembling multiple components such as LEDs, transistors and resistors, as well as wiring them together in order to complete it. By doing this, users learn about how electricity works and how different components affect each other when connected in certain ways. [9]
LED Dimmer Project
LED dimmer circuit projects are one of the simplest and most rewarding projects that can be completed by beginners. They provide a great way to gain knowledge about resistors, diodes and capacitors and how they interact with each other in order to modify electrical signals. The basic principle behind LED dimmer circuits is fairly straightforward: a voltage source is used to feed into one side of the circuit which then passes through a resistor as well as either a transistor or an opto-coupler switch before reaching the LED at its output end. The resistor is necessary in order to limit the current passing through the circuit otherwise it could damage both itself and the LED. The transistor or opto-coupler switch allows for a wide range of dimming effects to be achieved depending on the voltage applied to the circuit.
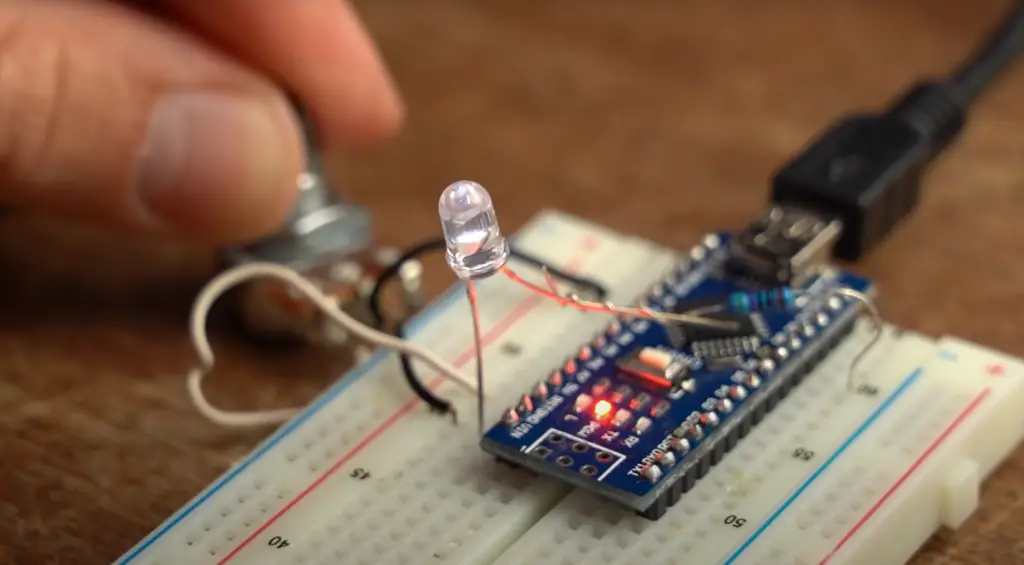
With enough practice, this project can help give beginners an understanding of basic electronics and how components interact with each other in order to produce desired outcomes. This project is great for those just starting their journey into electronics as well as for experienced makers looking for a quick and easy way to experiment with different components and create interesting lighting effects.
FAQ
What can you build with circuits?
Circuits can be used to build a variety of projects, ranging from simple devices like flashlights and doorbells to more complex inventions like robots, vehicles and electronic musical instruments. With the right components and a bit of creativity, there are endless possibilities for building fun and interesting projects with circuits.
What kind of parts do you need for circuit projects?
There are several basic components that are essential for most circuit projects. These include resistors, transistors, diodes, capacitors, LEDs (Light Emitting Diodes), switches, batteries and motors. Additionally you may also want to use solderless breadboards or prototyping boards to make connections between components easier.
What is the best way to learn about circuits?
The best way to learn is by doing! Start off with simple projects and gradually work your way up to more complex ones. There are plenty of online resources available that can provide helpful guidance, such as tutorials and video demonstrations. Additionally, there are also many books written which explain the basics of circuitry in a clear and accessible manner. Finally, it’s important to practice safety when working with electricity – always unplug power sources before handling components or making connections.
How do you make a circuit for beginners?
Making a circuit for beginners can be a fun and educational project. The most basic type of circuit consists of three main components: a power source, an electrical component (e.g. a light bulb) and connecting wires that allow the electricity to flow from one component to the other. To start building your own circuit, you’ll need some basic supplies such as batteries, wire cutters or strippers, electrical tape, and some form of electric wire such as copper-covered steel or stranded hookup wire. It’s also important to have tools like pliers or tweezers on hand for attaching and manipulating components in your circuit.
Once you have all your materials ready, you’ll be able to build your first circuit by following these steps:
- Connect your power source (e.g. battery) to your chosen electrical component (light bulb, LED, etc.) with wire. Make sure that you leave enough extra wire on either end to ensure a good connection when connecting the components together.
- Test your circuit by making sure that the power source can be securely connected and providing power to the electrical component. If it passes this test, then your circuit is complete!
- To further customize your circuit, add additional components such as resistors or switches which will allow you to control the flow of electricity through the circuit in different ways.
What are the 3 rules for creating a circuit?
- Ensure that all components are connected correctly. This includes connecting the power source (batteries, for example) to the switch and any other component with a positive and negative terminal.
- Make sure that all parts of the circuit have an uninterrupted flow of electricity by using insulated wires or cables. The insulation will help prevent short circuits from occurring.
- Always double-check your circuit before turning it on to make sure there are no loose or broken connections that could cause electrical shock or damage to the components being used. Creating a circuit project is an excellent way to learn about electronics and how they work together to create something new and exciting!
What are the common mistakes when building a circuit?
- Not having the right sized wire for the current being used. Wire that is too thin will not be able to handle the amount of power needed, and wire that is too thick can cause a short circuit.
- Not using insulation on the wires or cables as mentioned in rule 2 above.
- Not double checking connections before turning on the circuit. Even if you think everything is secure, it’s always best to make sure all components are connected correctly with no loose connections that could cause electrical shock or damage to any component in the circuit.
- Not testing out your circuit once completed: even though you may have connected all parts correctly, it’s important to test it out and make sure it works before you call the project complete.
- Overloading a circuit: this can happen when too many components are connected to one power source, or if the power source is not strong enough to handle all of the components in your circuit. Always check that your power source can handle the current being used. Creating and building circuits may seem intimidating at first, but with patience and practice, anyone can become an expert!
Useful Video: Essential Electronics Components that you will need for creating projects!
Conclusion
In conclusion, circuit projects for beginners are a great way to learn the basics of electronics and gain valuable experience in building real-world circuits. With minimal supplies and knowledge, anyone can begin exploring the world of circuitry in no time at all. There is an array of ready-made projects available online, or alternatively why not try making your own unique creation using some basic components? No matter what you decide to do, have fun with it and enjoy learning something new! Good luck!
References
- https://www.elprocus.com/simple-electronic-circuits-for-beginners/
- https://www.homemade-circuits.com/circuit-projects-for-beginners-and-school-students/
- https://www.circuitstoday.com/simple-electronics-projects-and-circuits
- https://www.circuits-diy.com/top-10-simple-electronics-projects-for-complete-beginners/
- https://www.circuitspecialists.com/blog/electronics-projects/
- https://www.instructables.com/Ten-Breadboard-Projects-For-Beginners/
- https://envirementalb.com/simple-electronics-projects
- https://www.yamanelectronics.com/diy-electronic-projects-for-beginners/
- https://www.eleccircuit.com/simple-electronic-circuits/




Leave a Reply